Hamantaschen Muffins

DSC_0521

You might think it’s difficult to turn hamantaschen into muffins, but yes you can muffinize™ the traditional pastry that is served on the Jewish holiday of Purim.

The classic Purim cookie is a three-cornered cookie called “hamantaschen,” which means “Haman’s Pockets” in Yiddish.

The original filling was an Eastern European jam of prune or sweetened poppy seeds. In modern-day Tel Aviv and New York, hamantaschen has been modernized, with lemon, cherry, apricot, chocolate and amaretto.

Now, the cookie’s being transformed yet again. These muffins may be lacking the “three corners,” but they have pockets full of the taste of the original hamantaschen.

Experiment with different fillings, or go traditional.

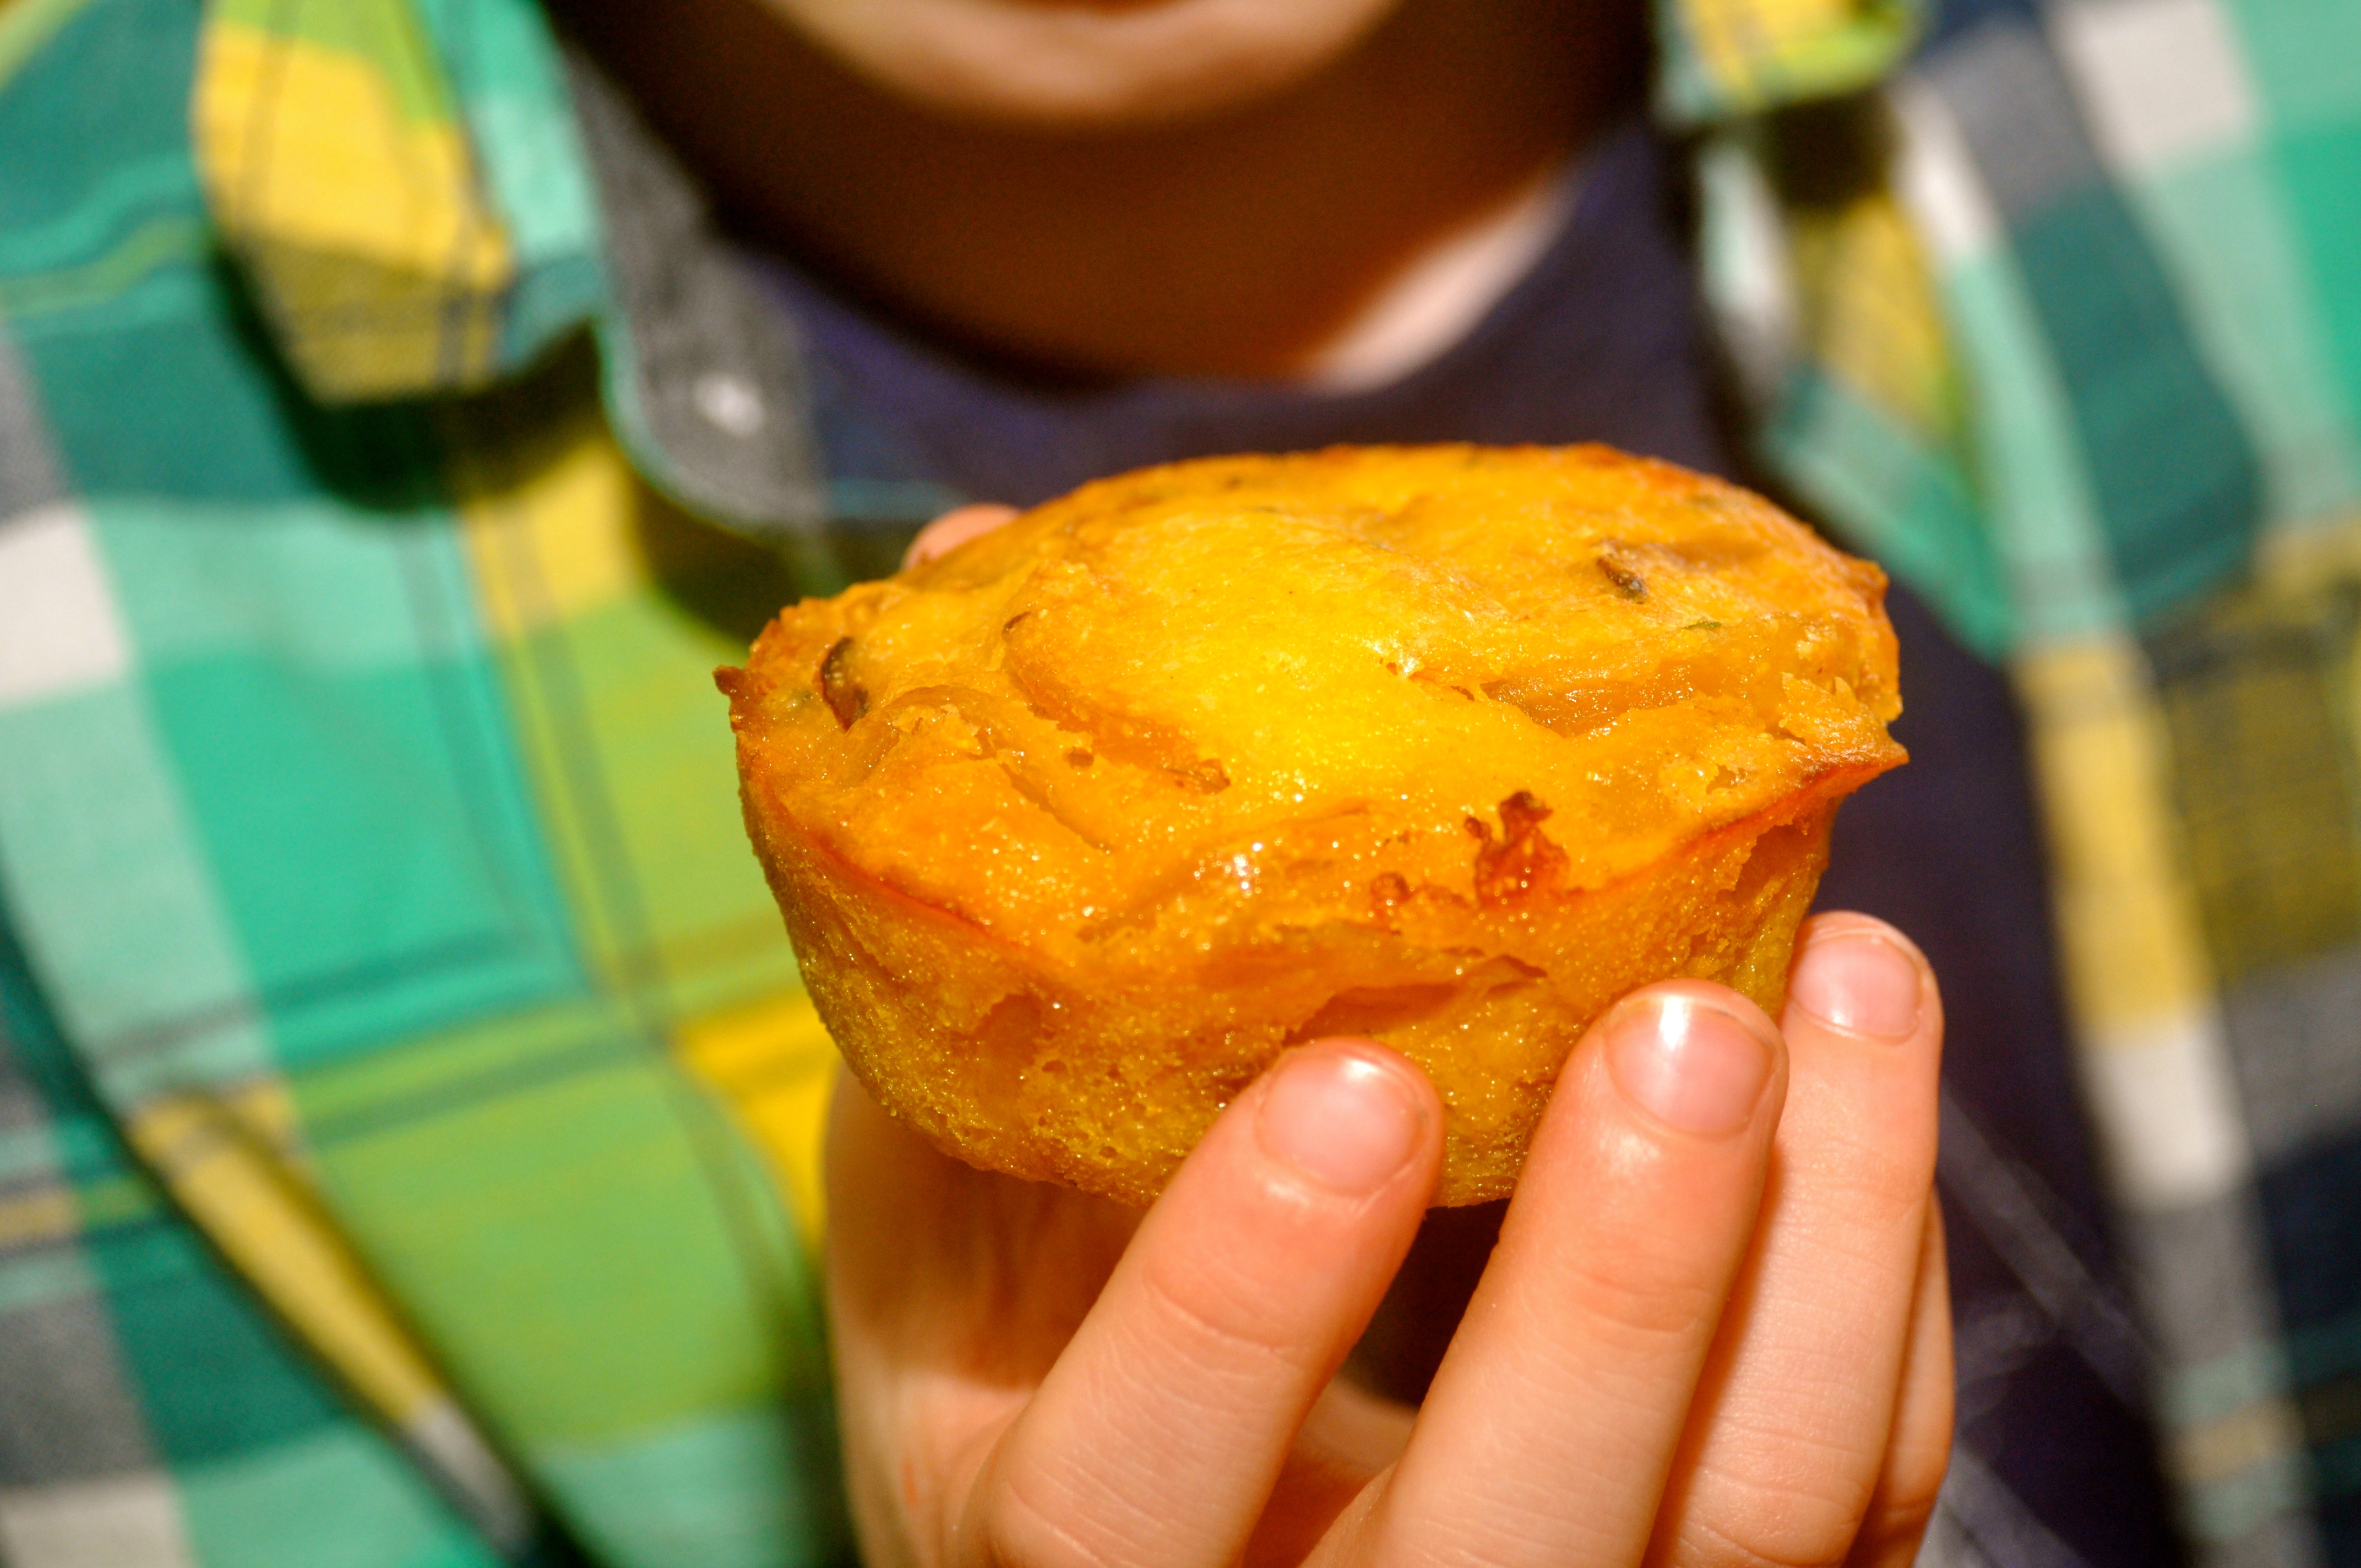
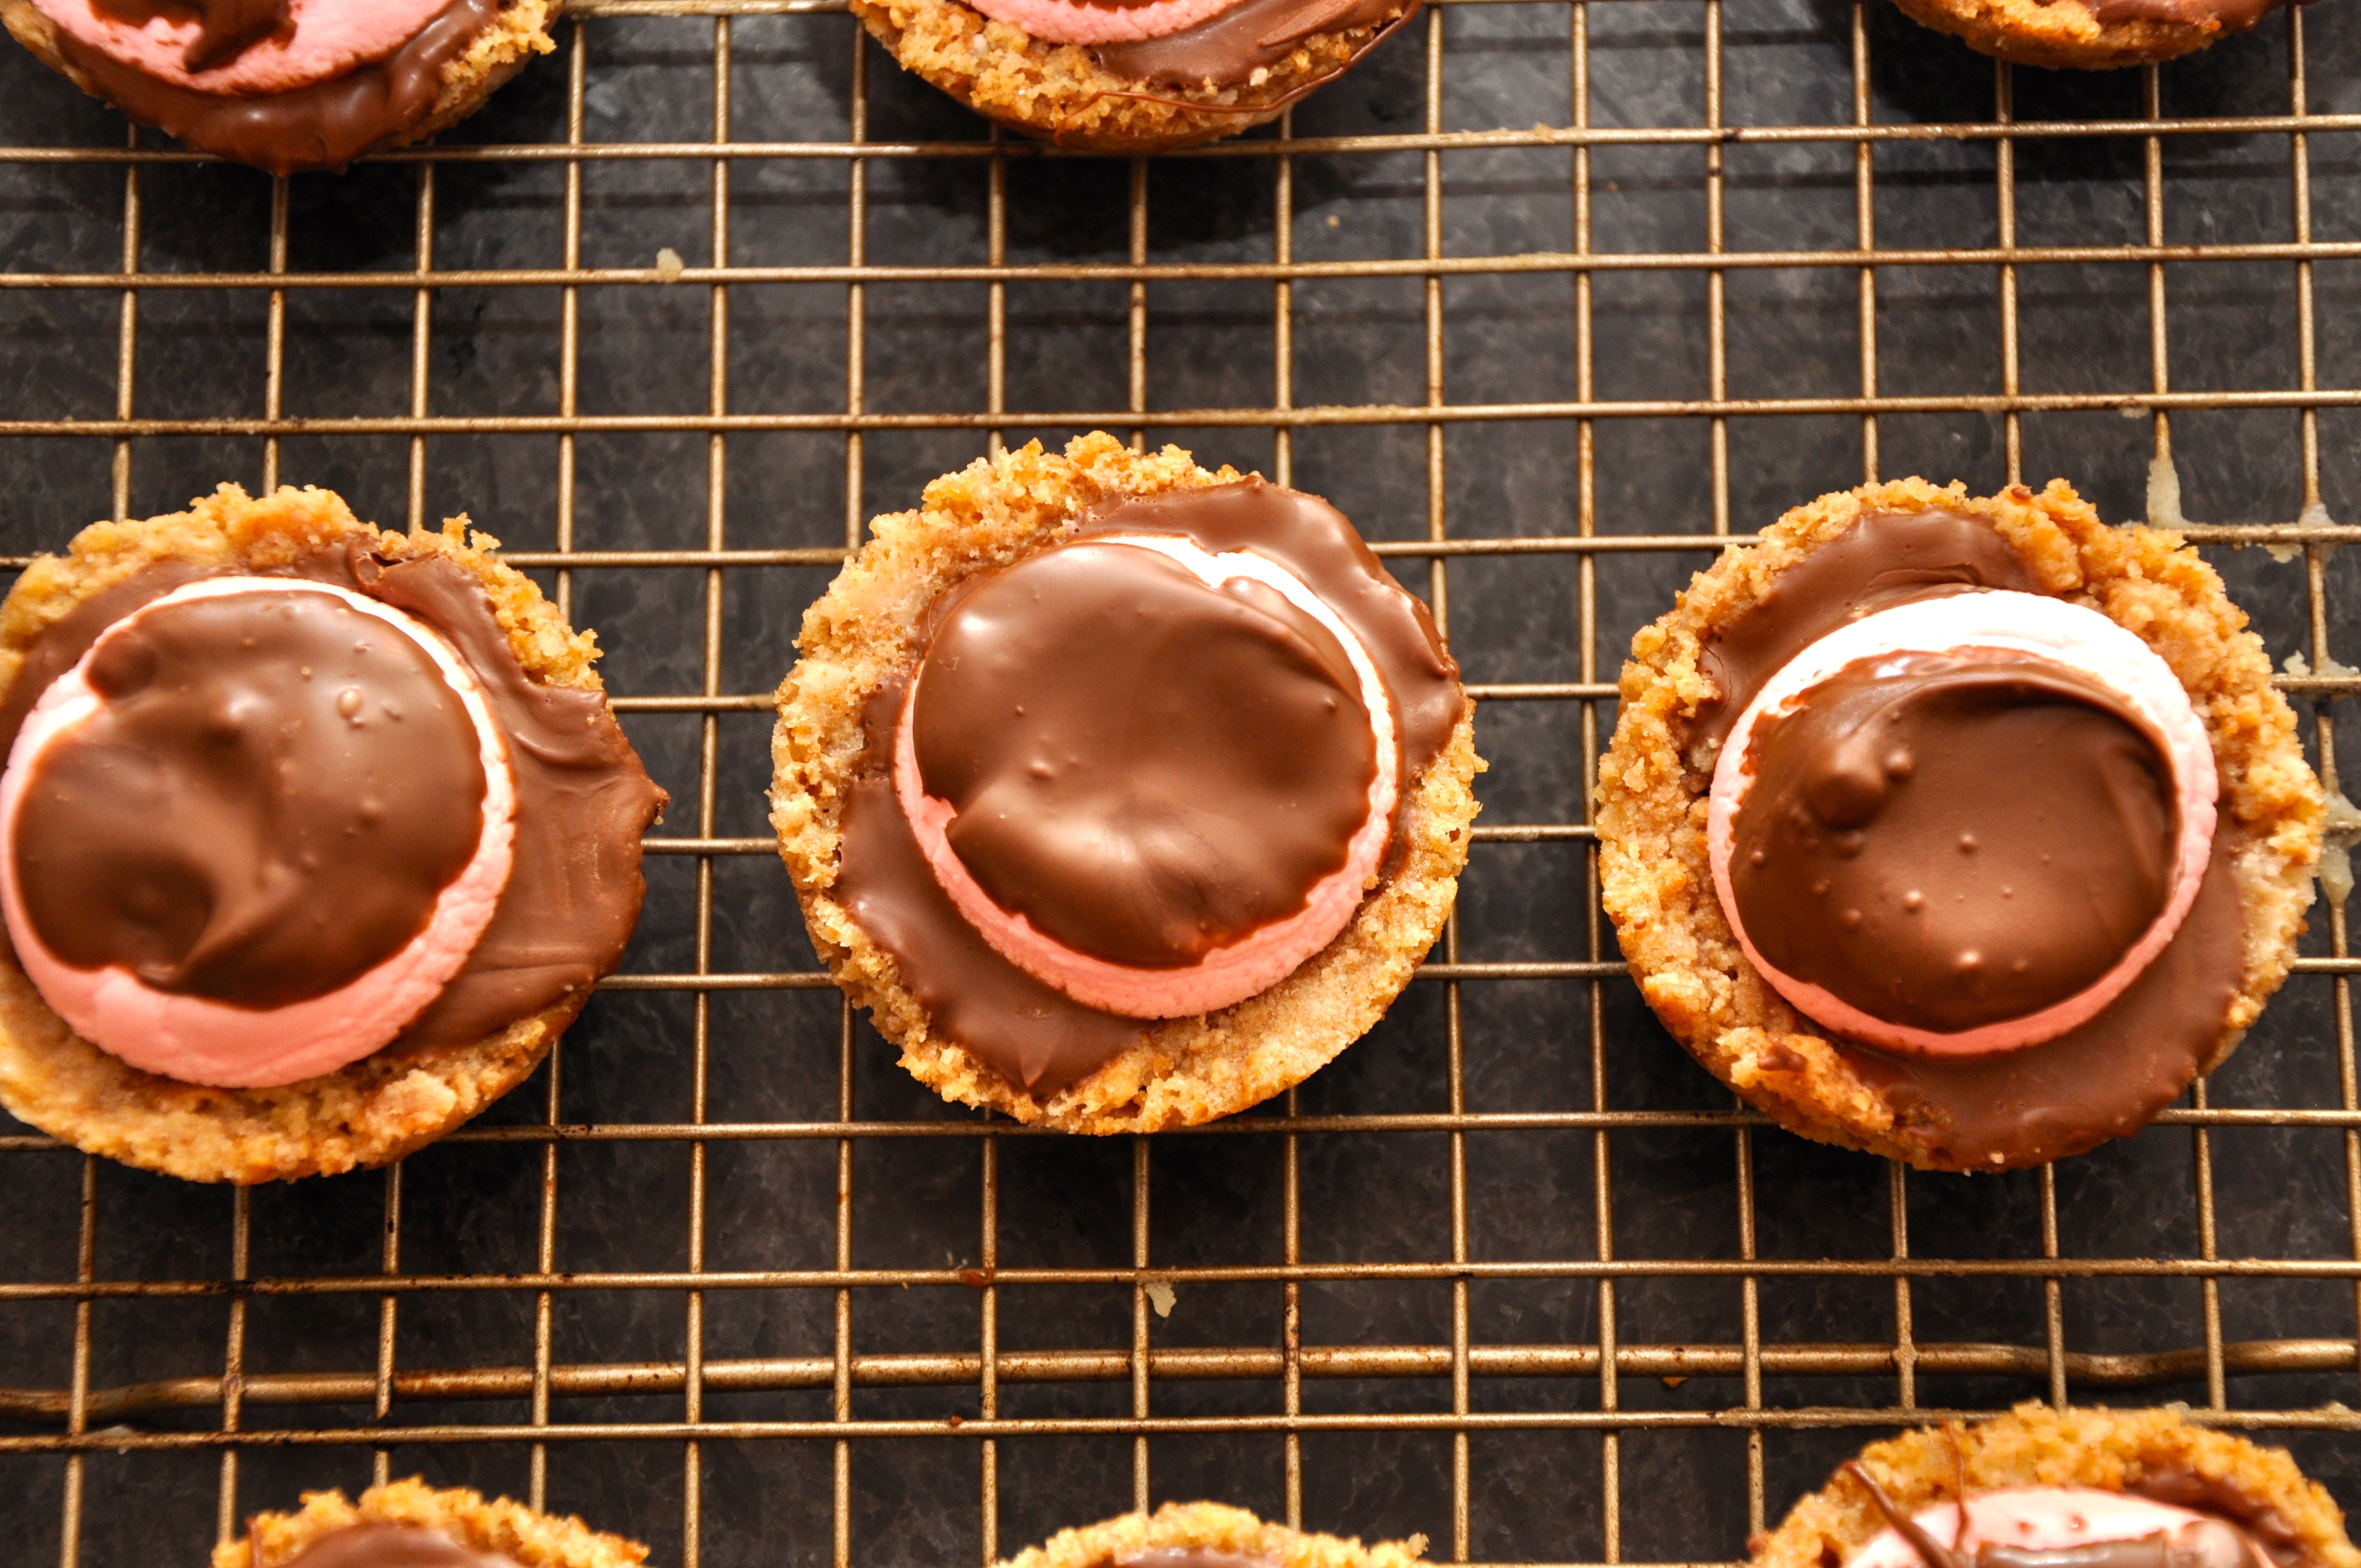
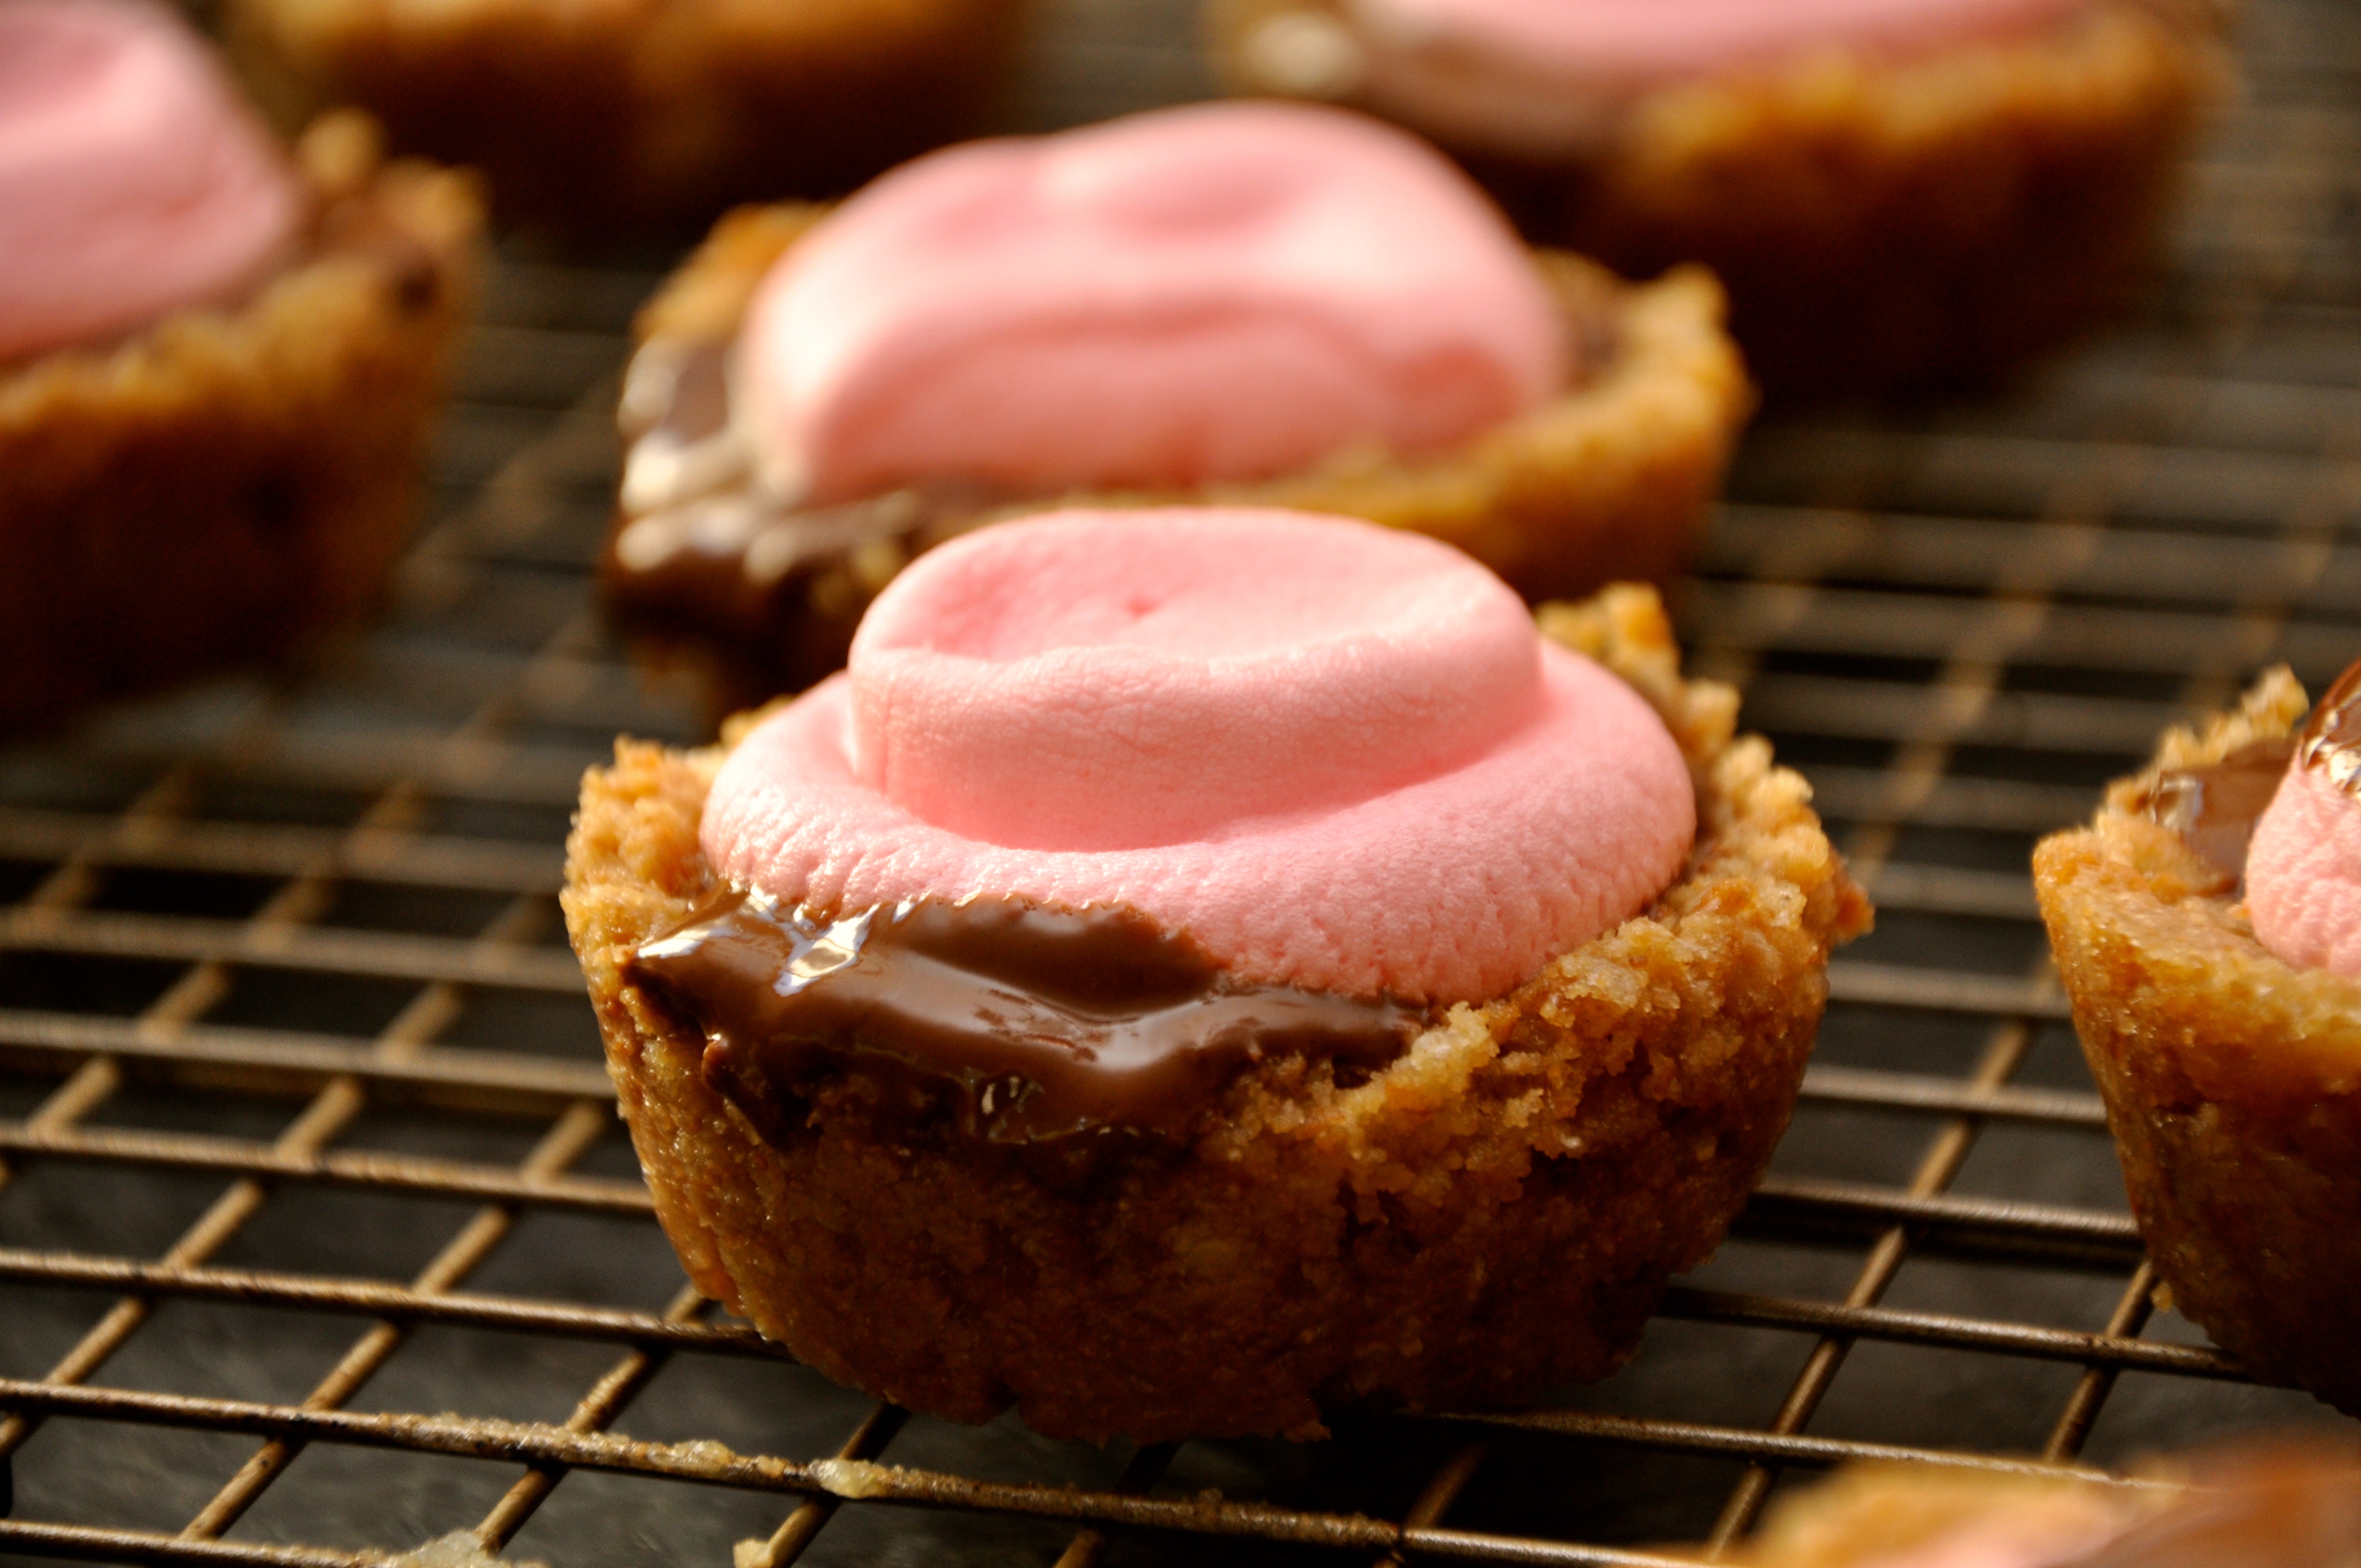
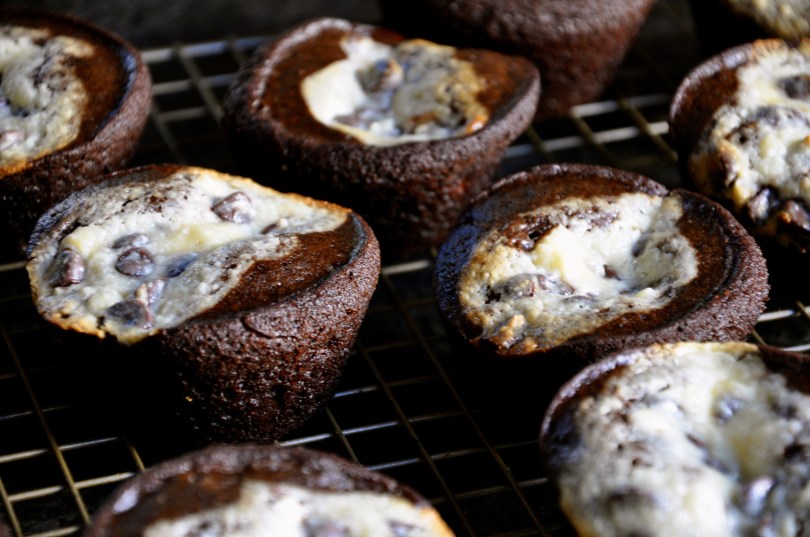
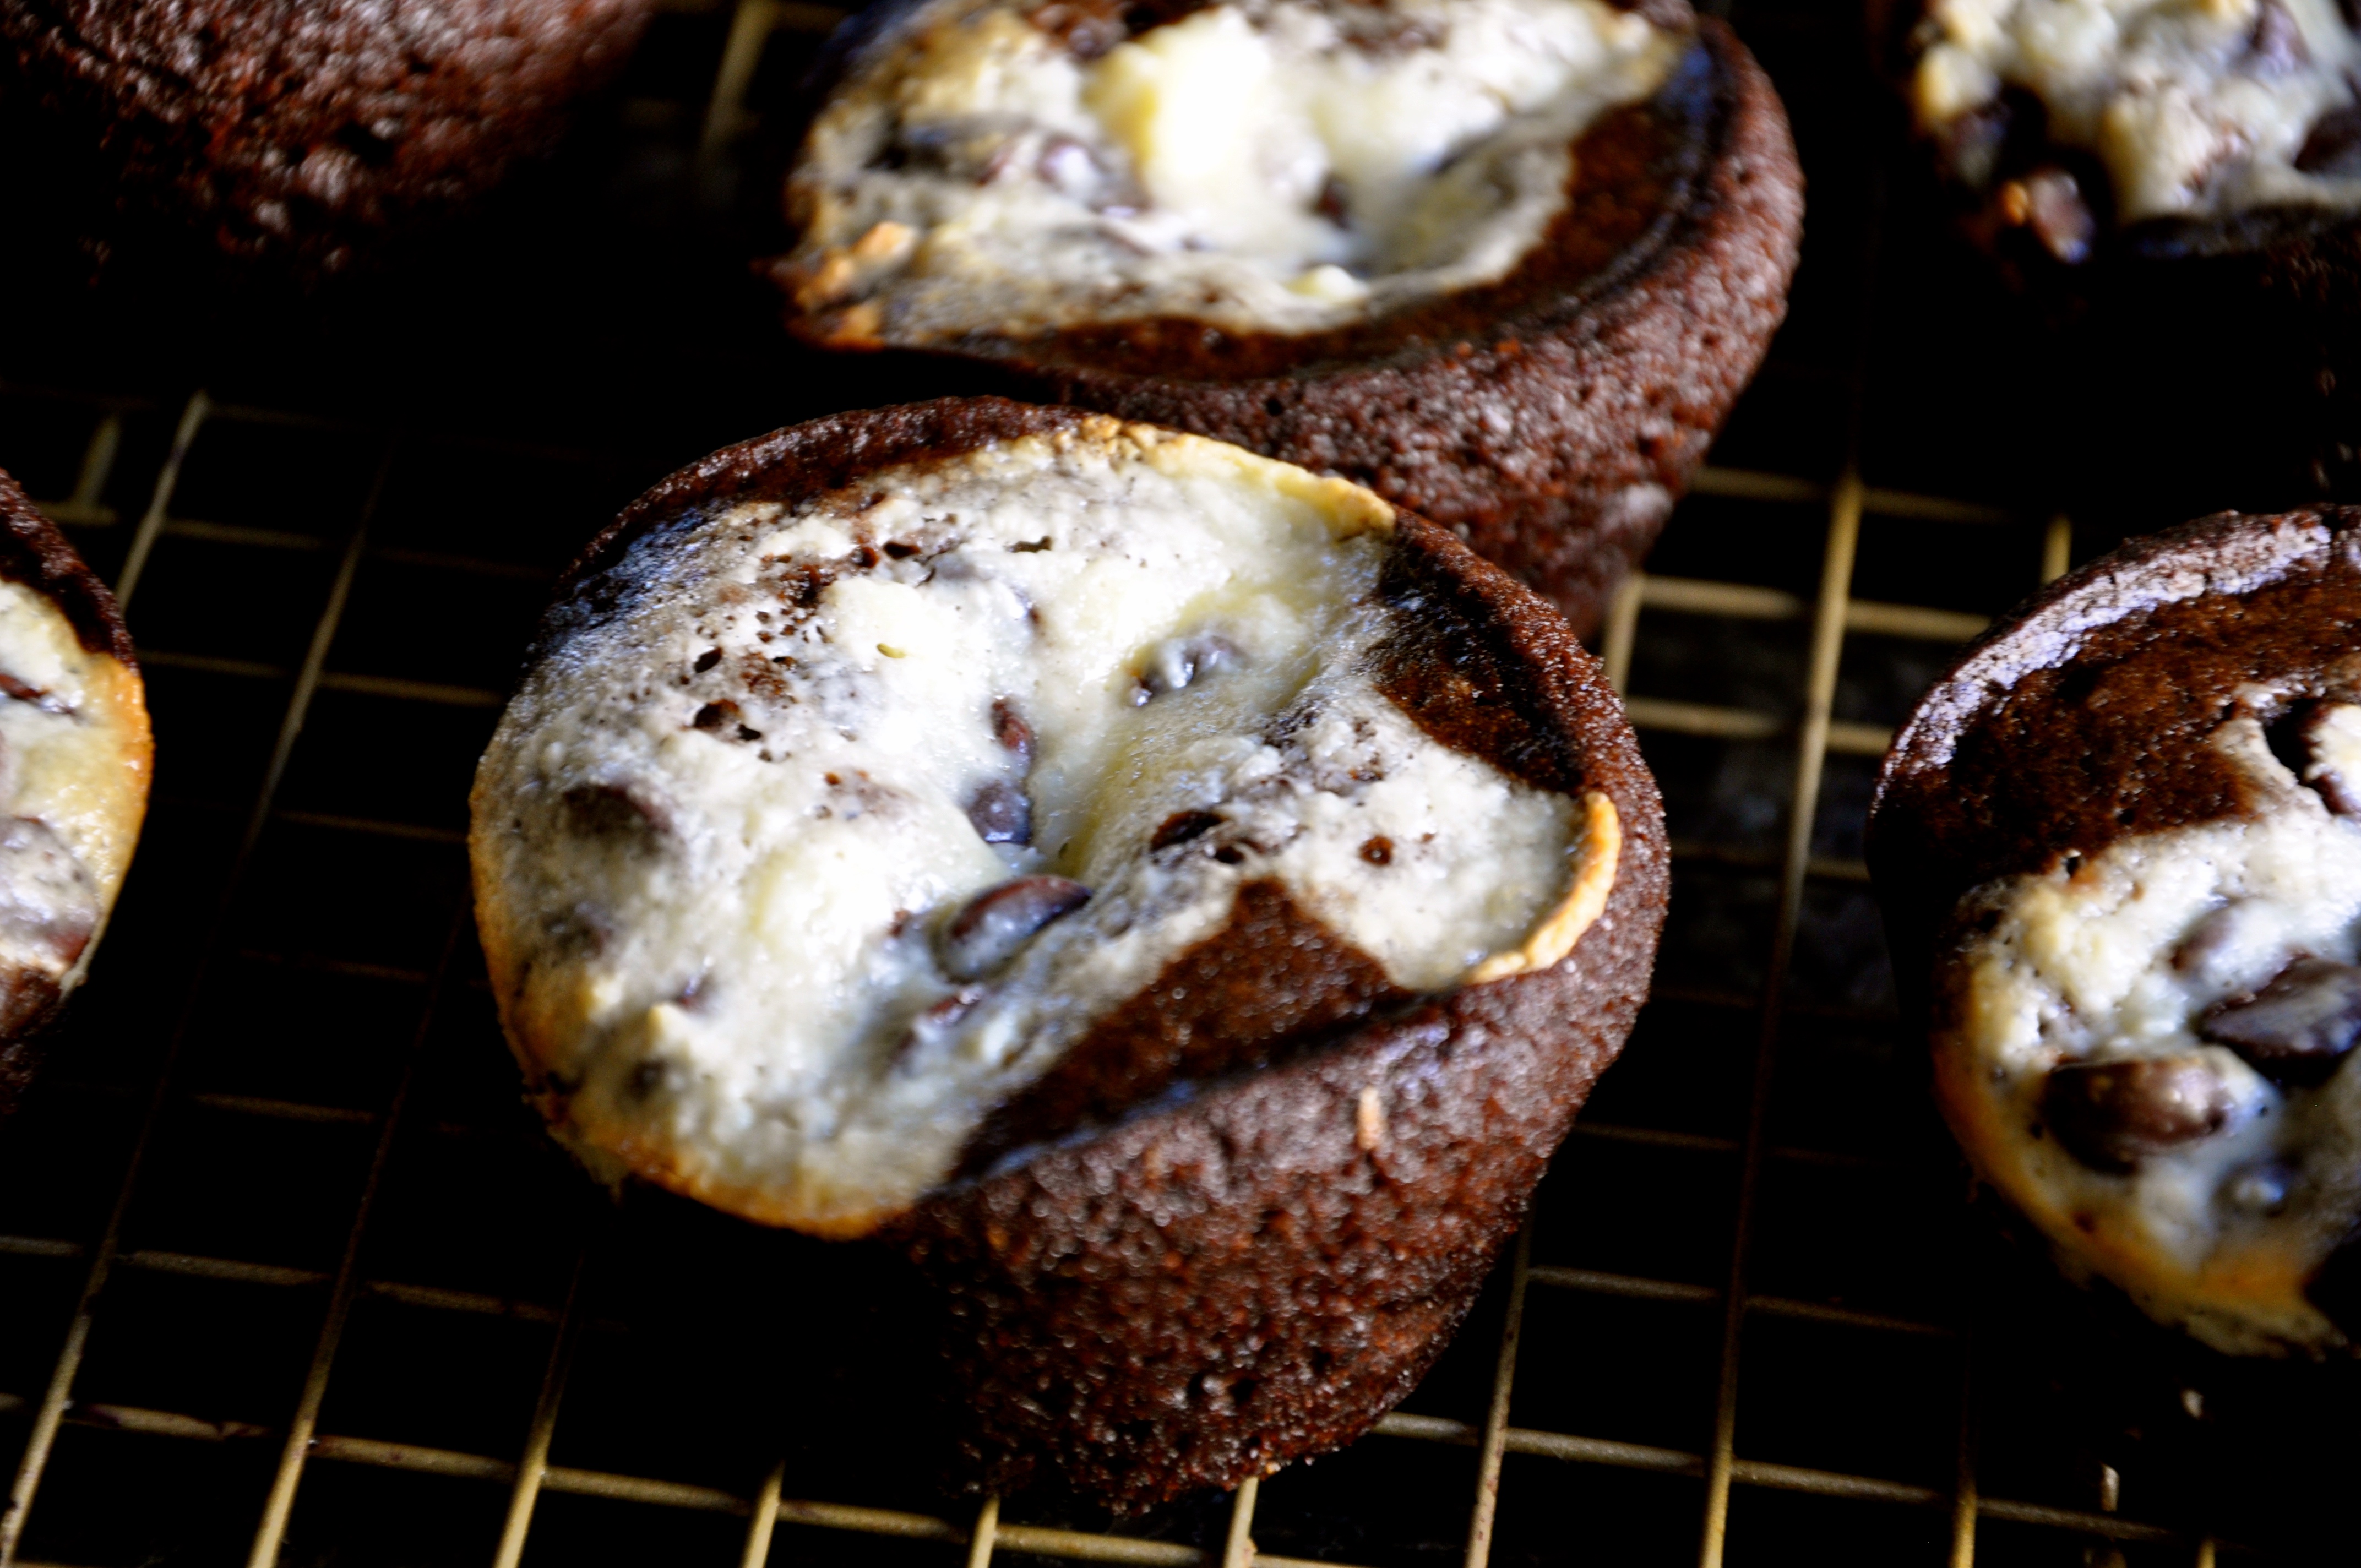
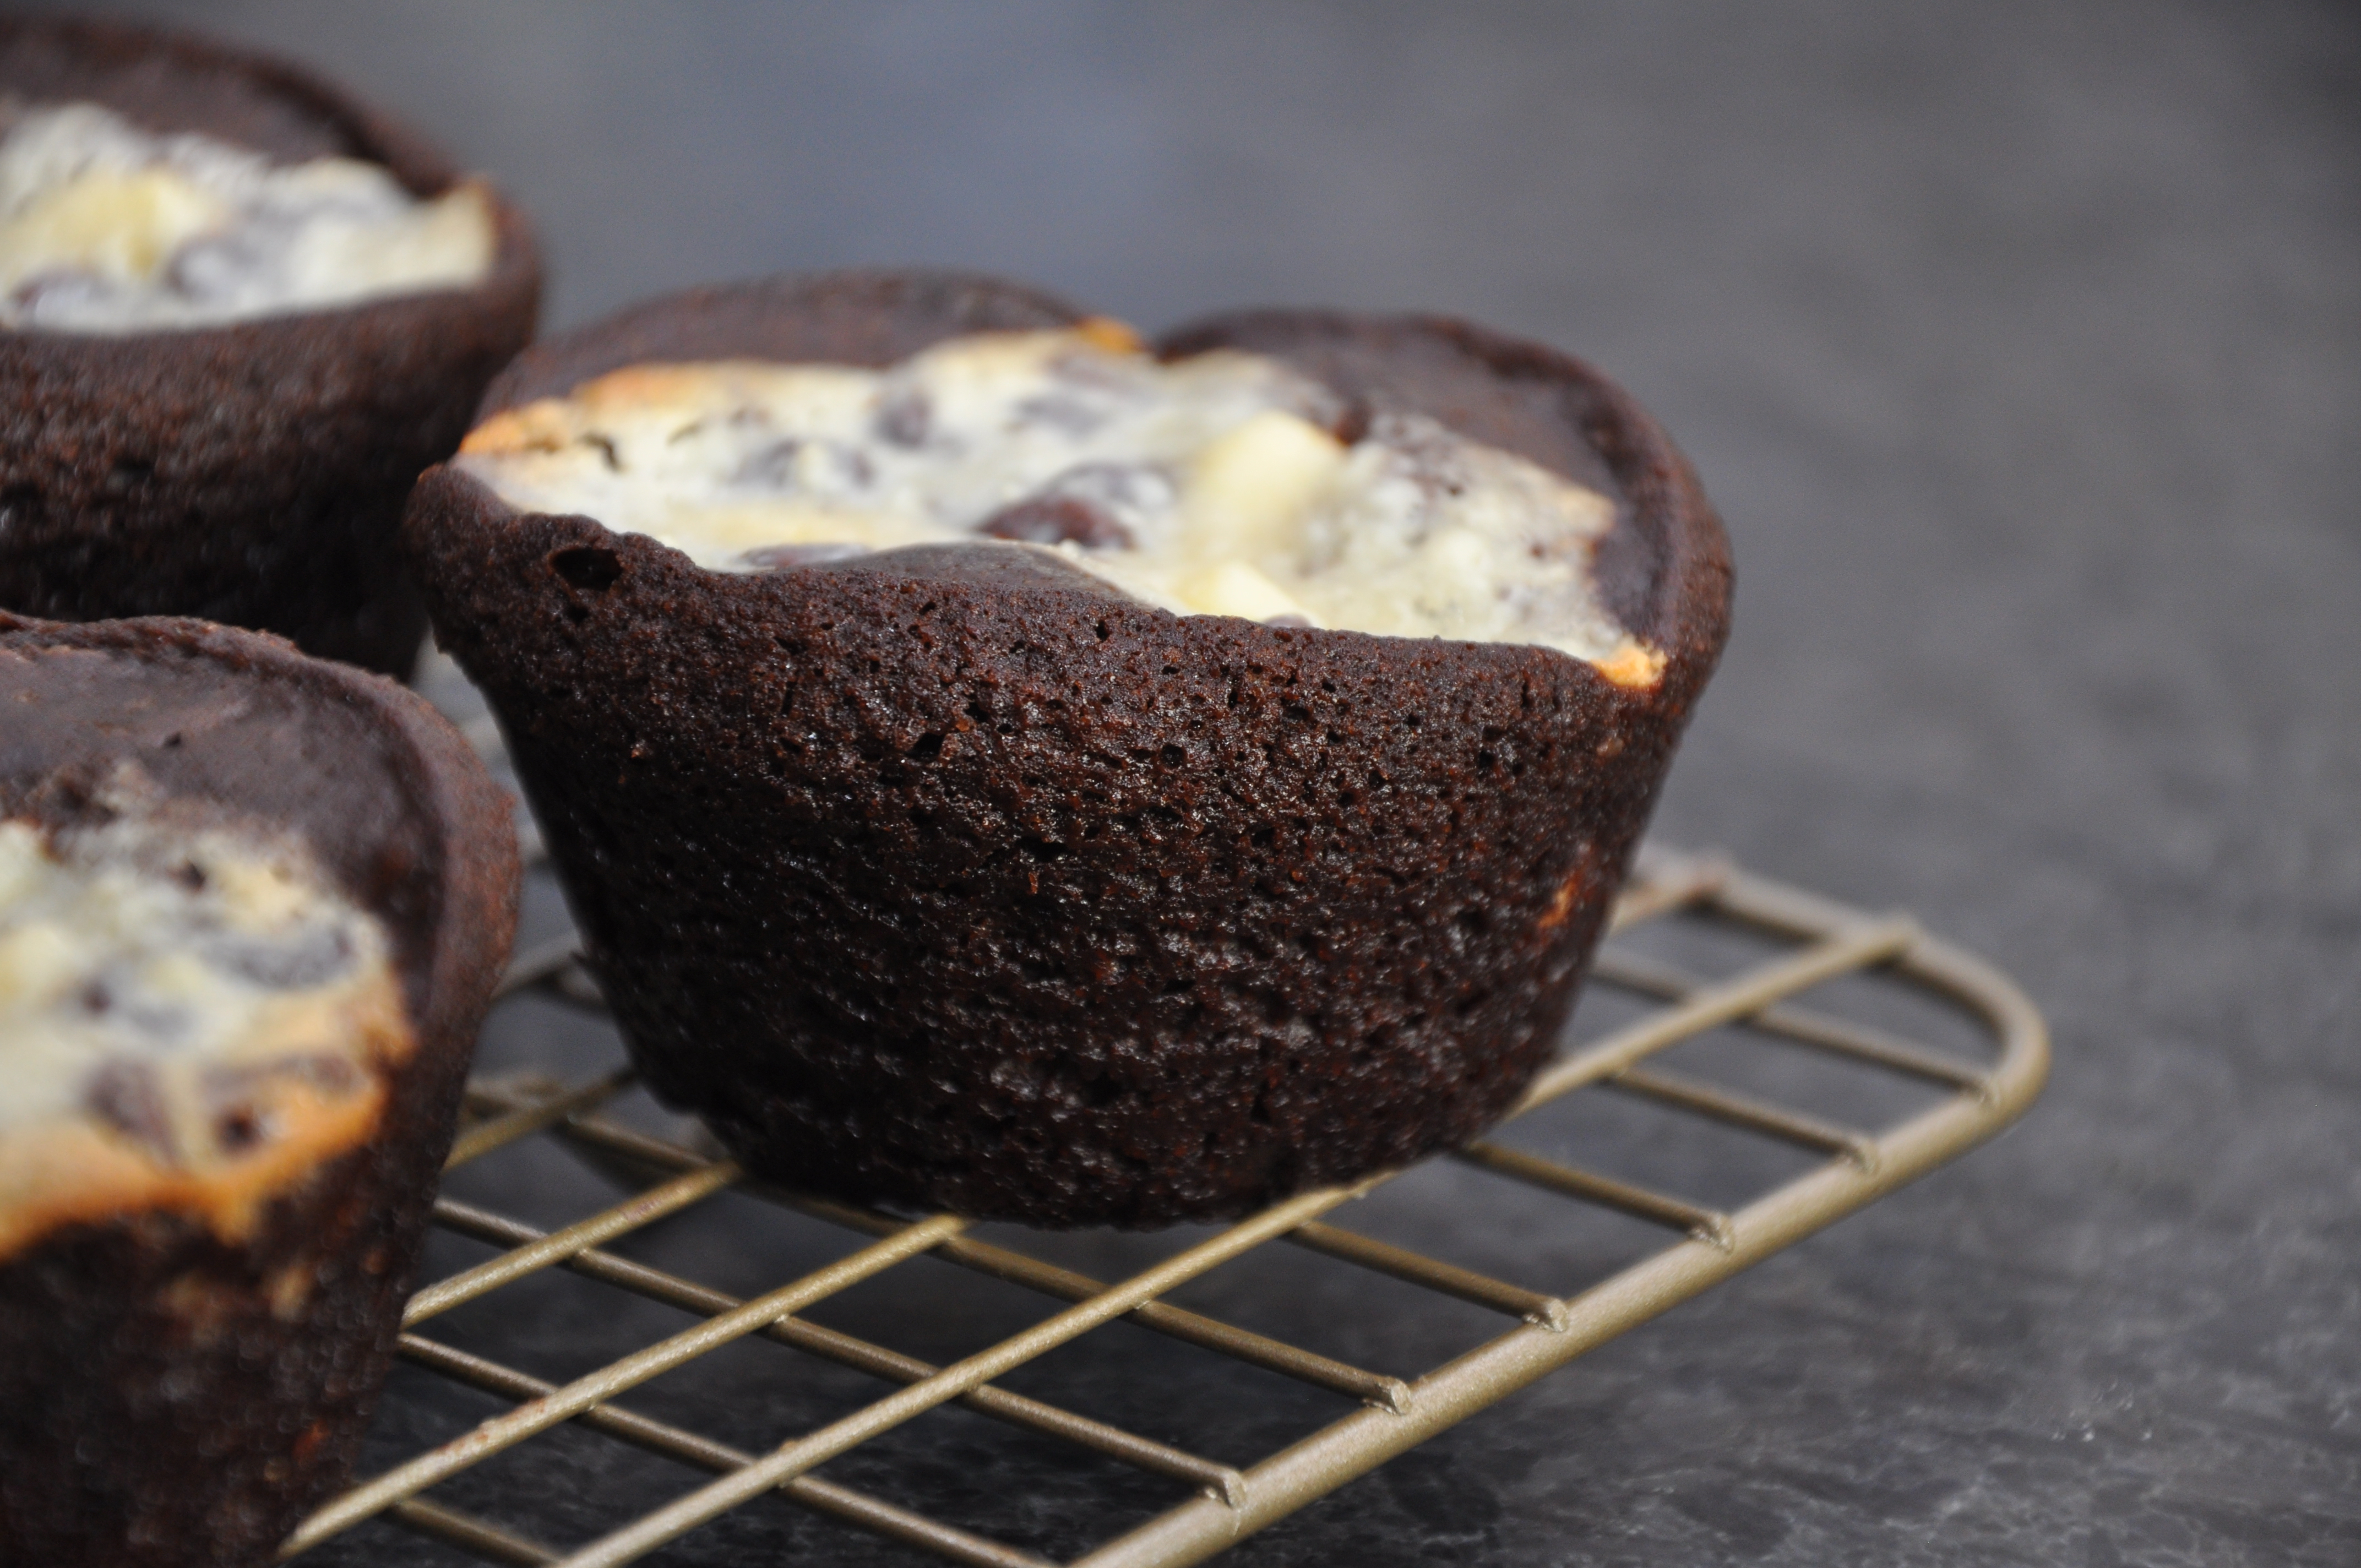
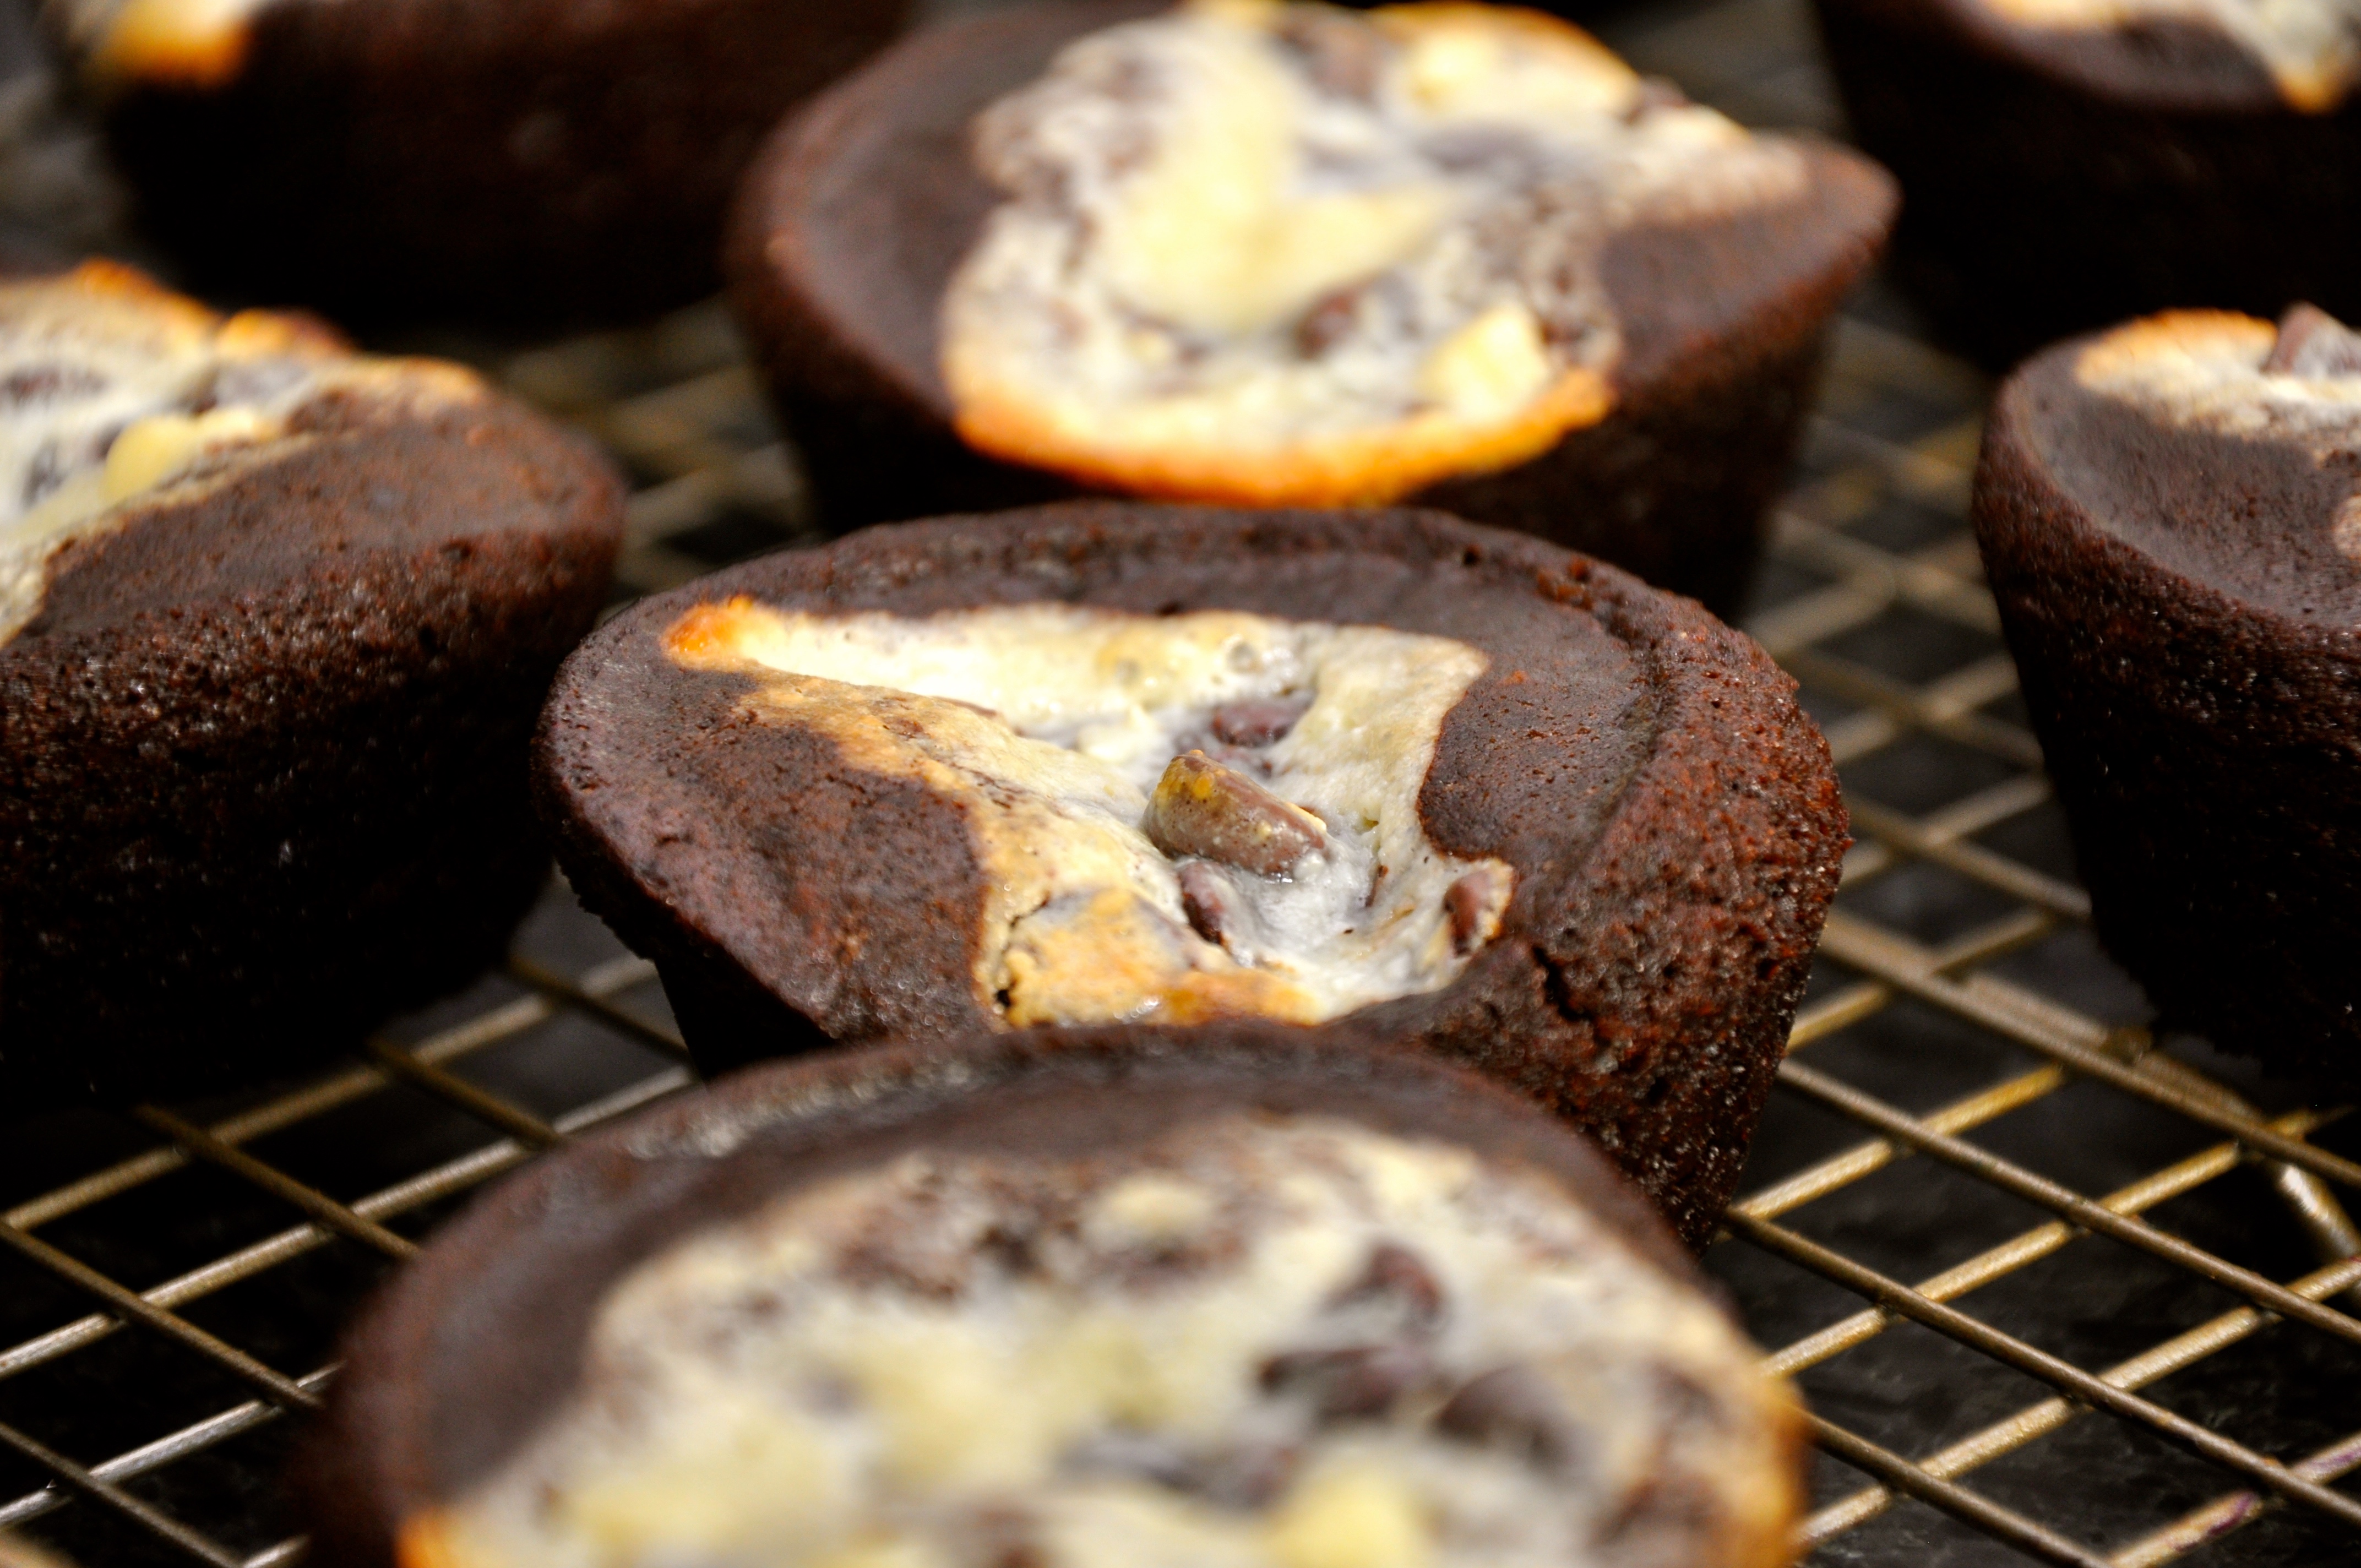
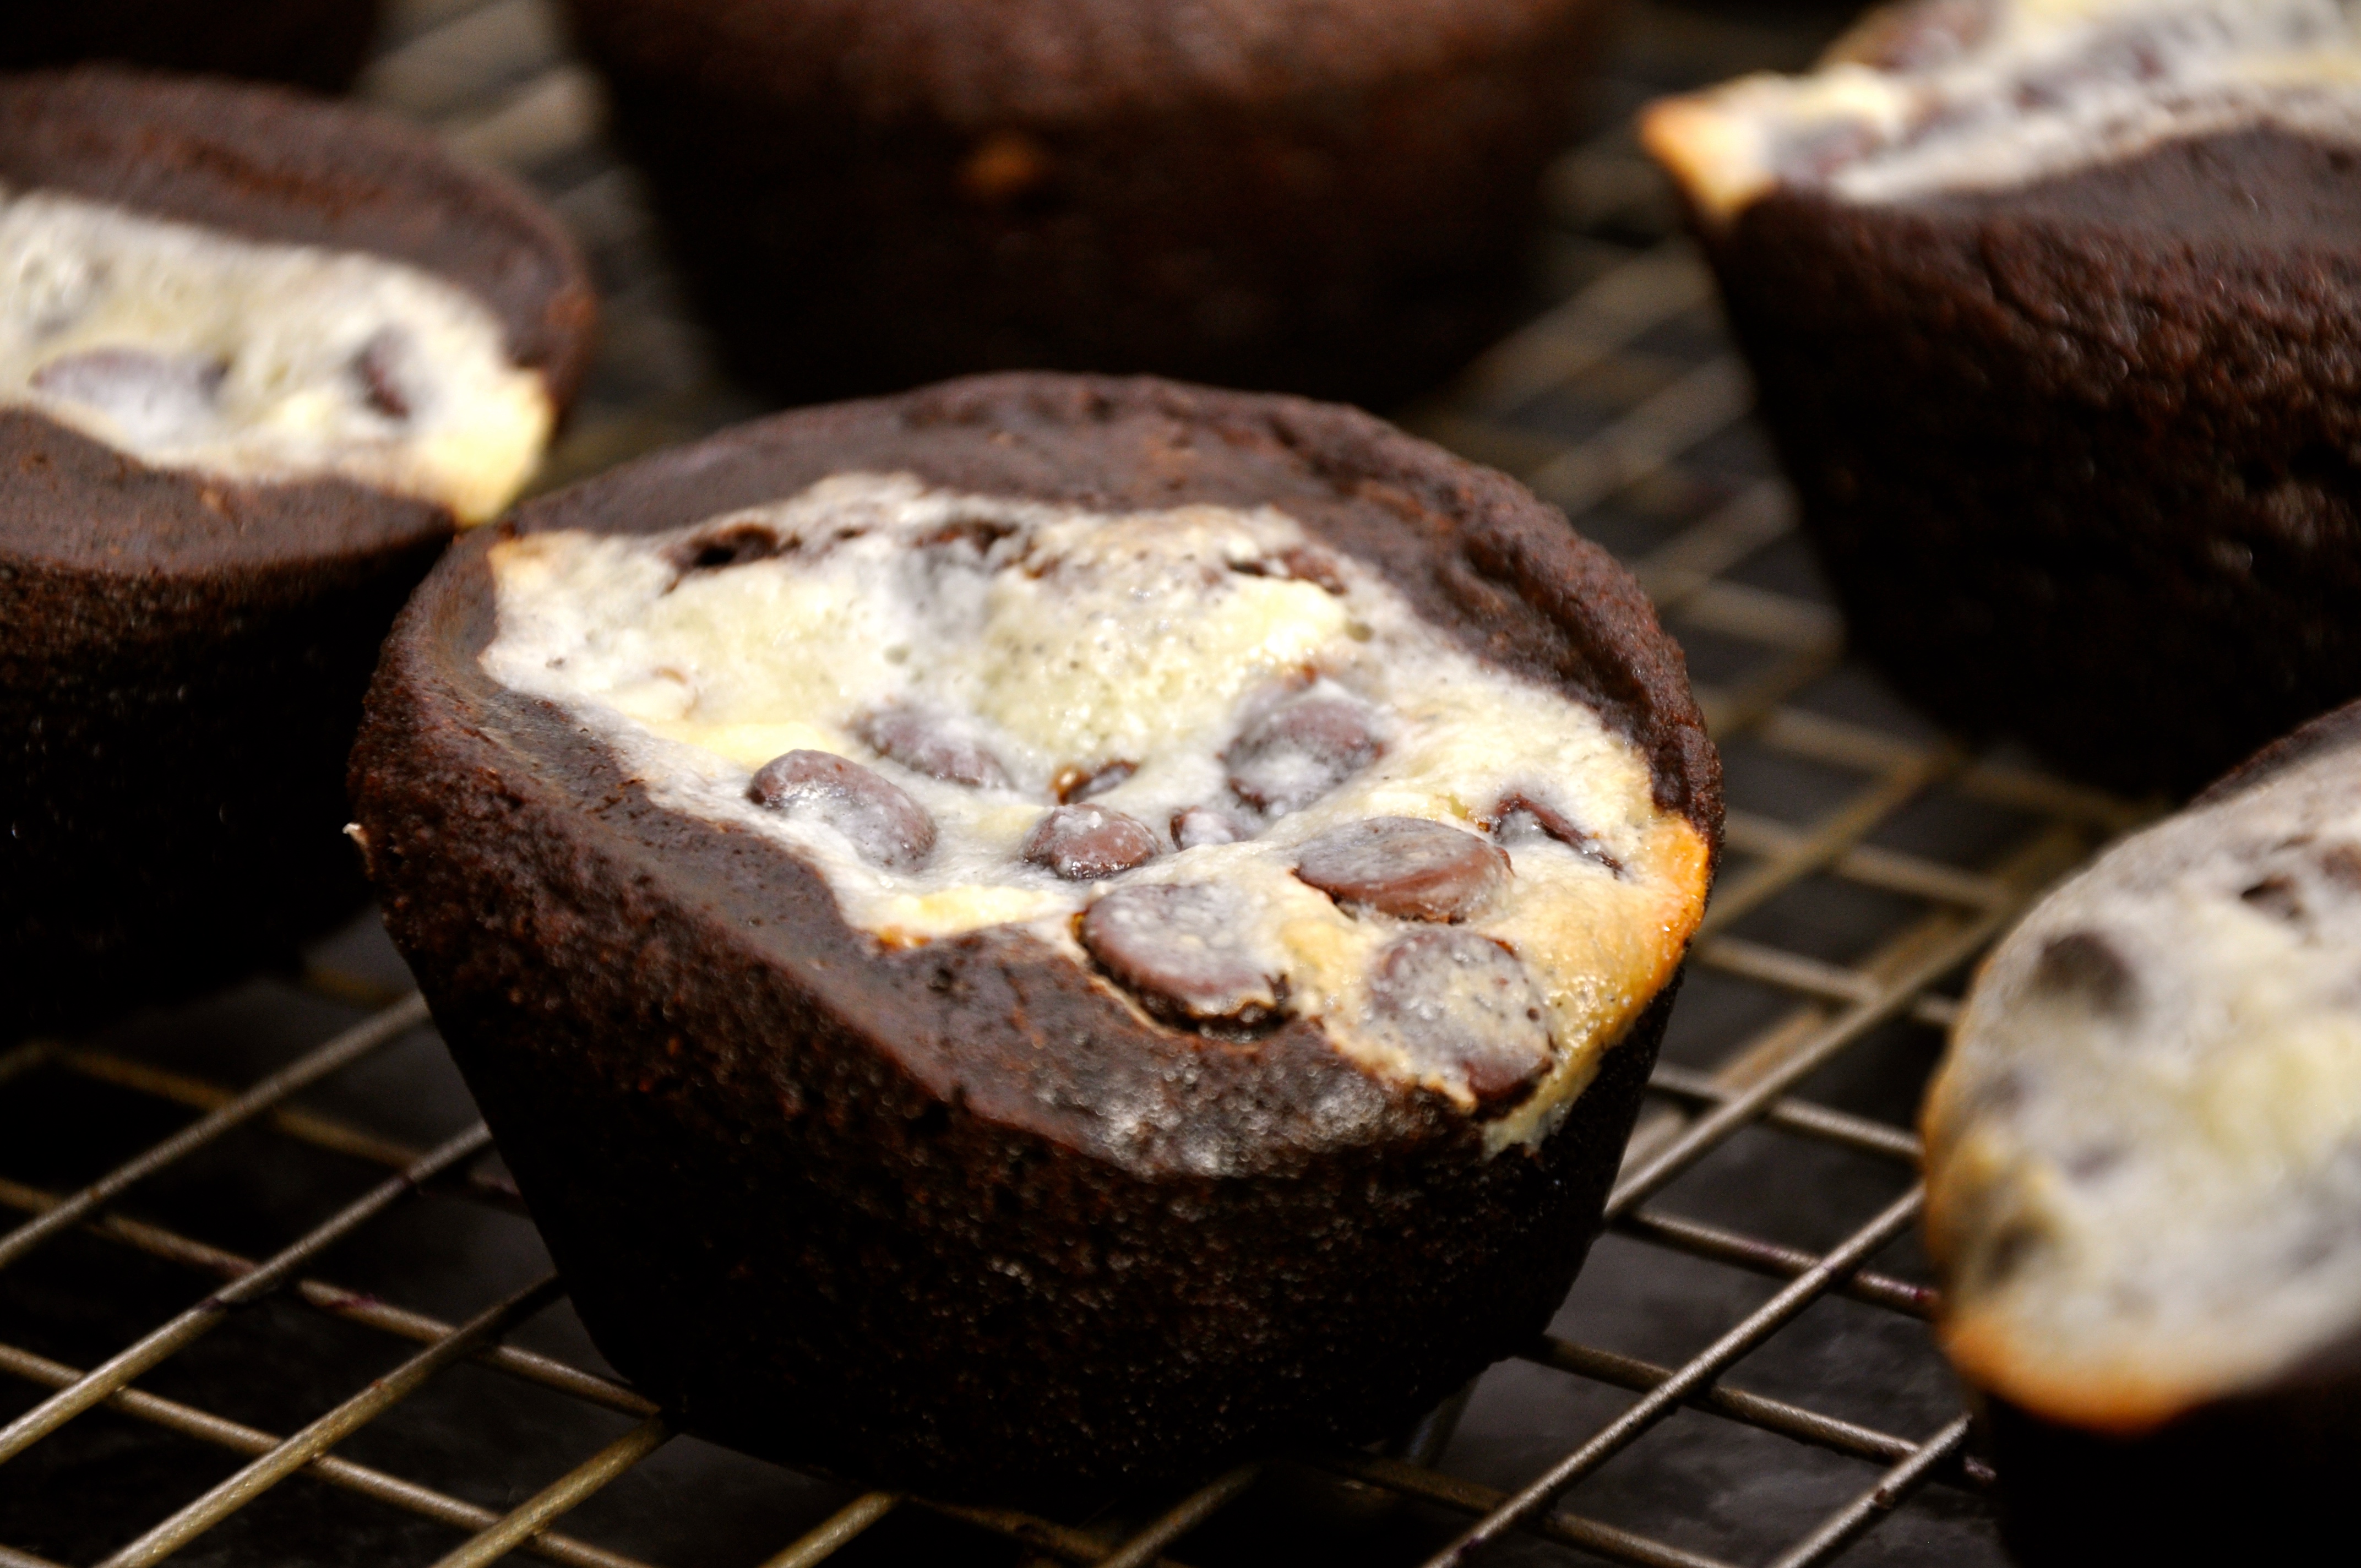
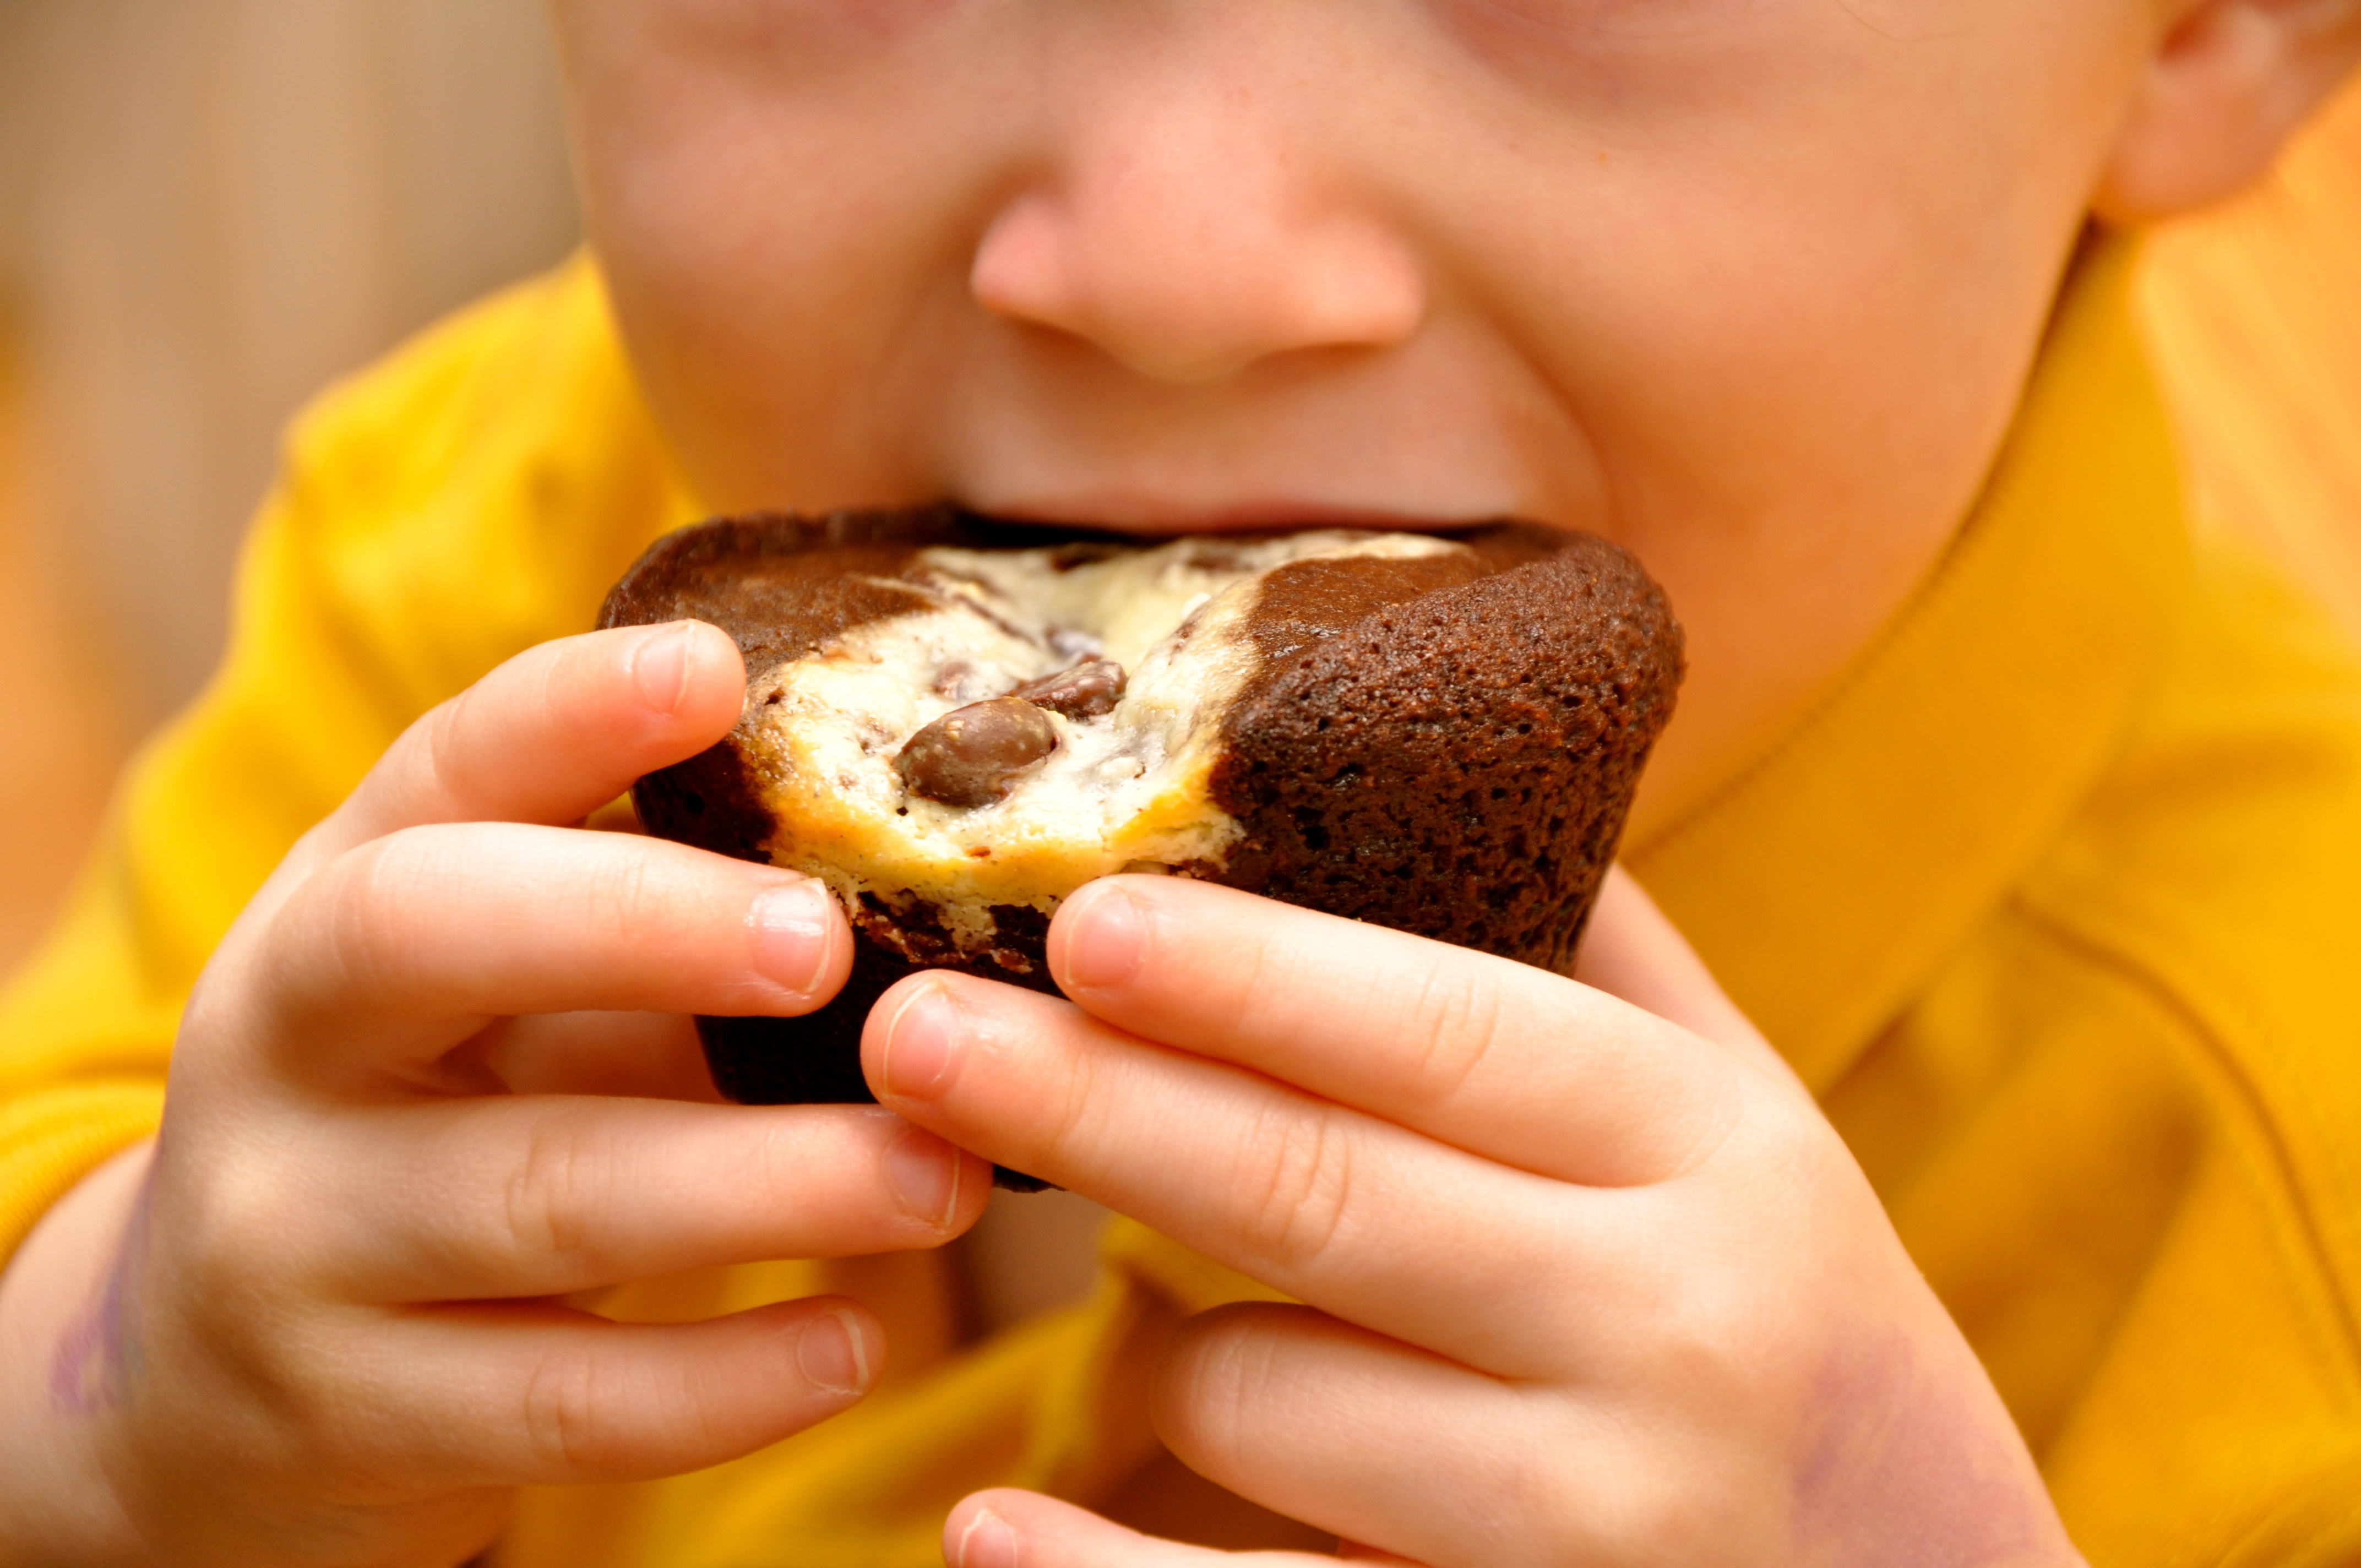
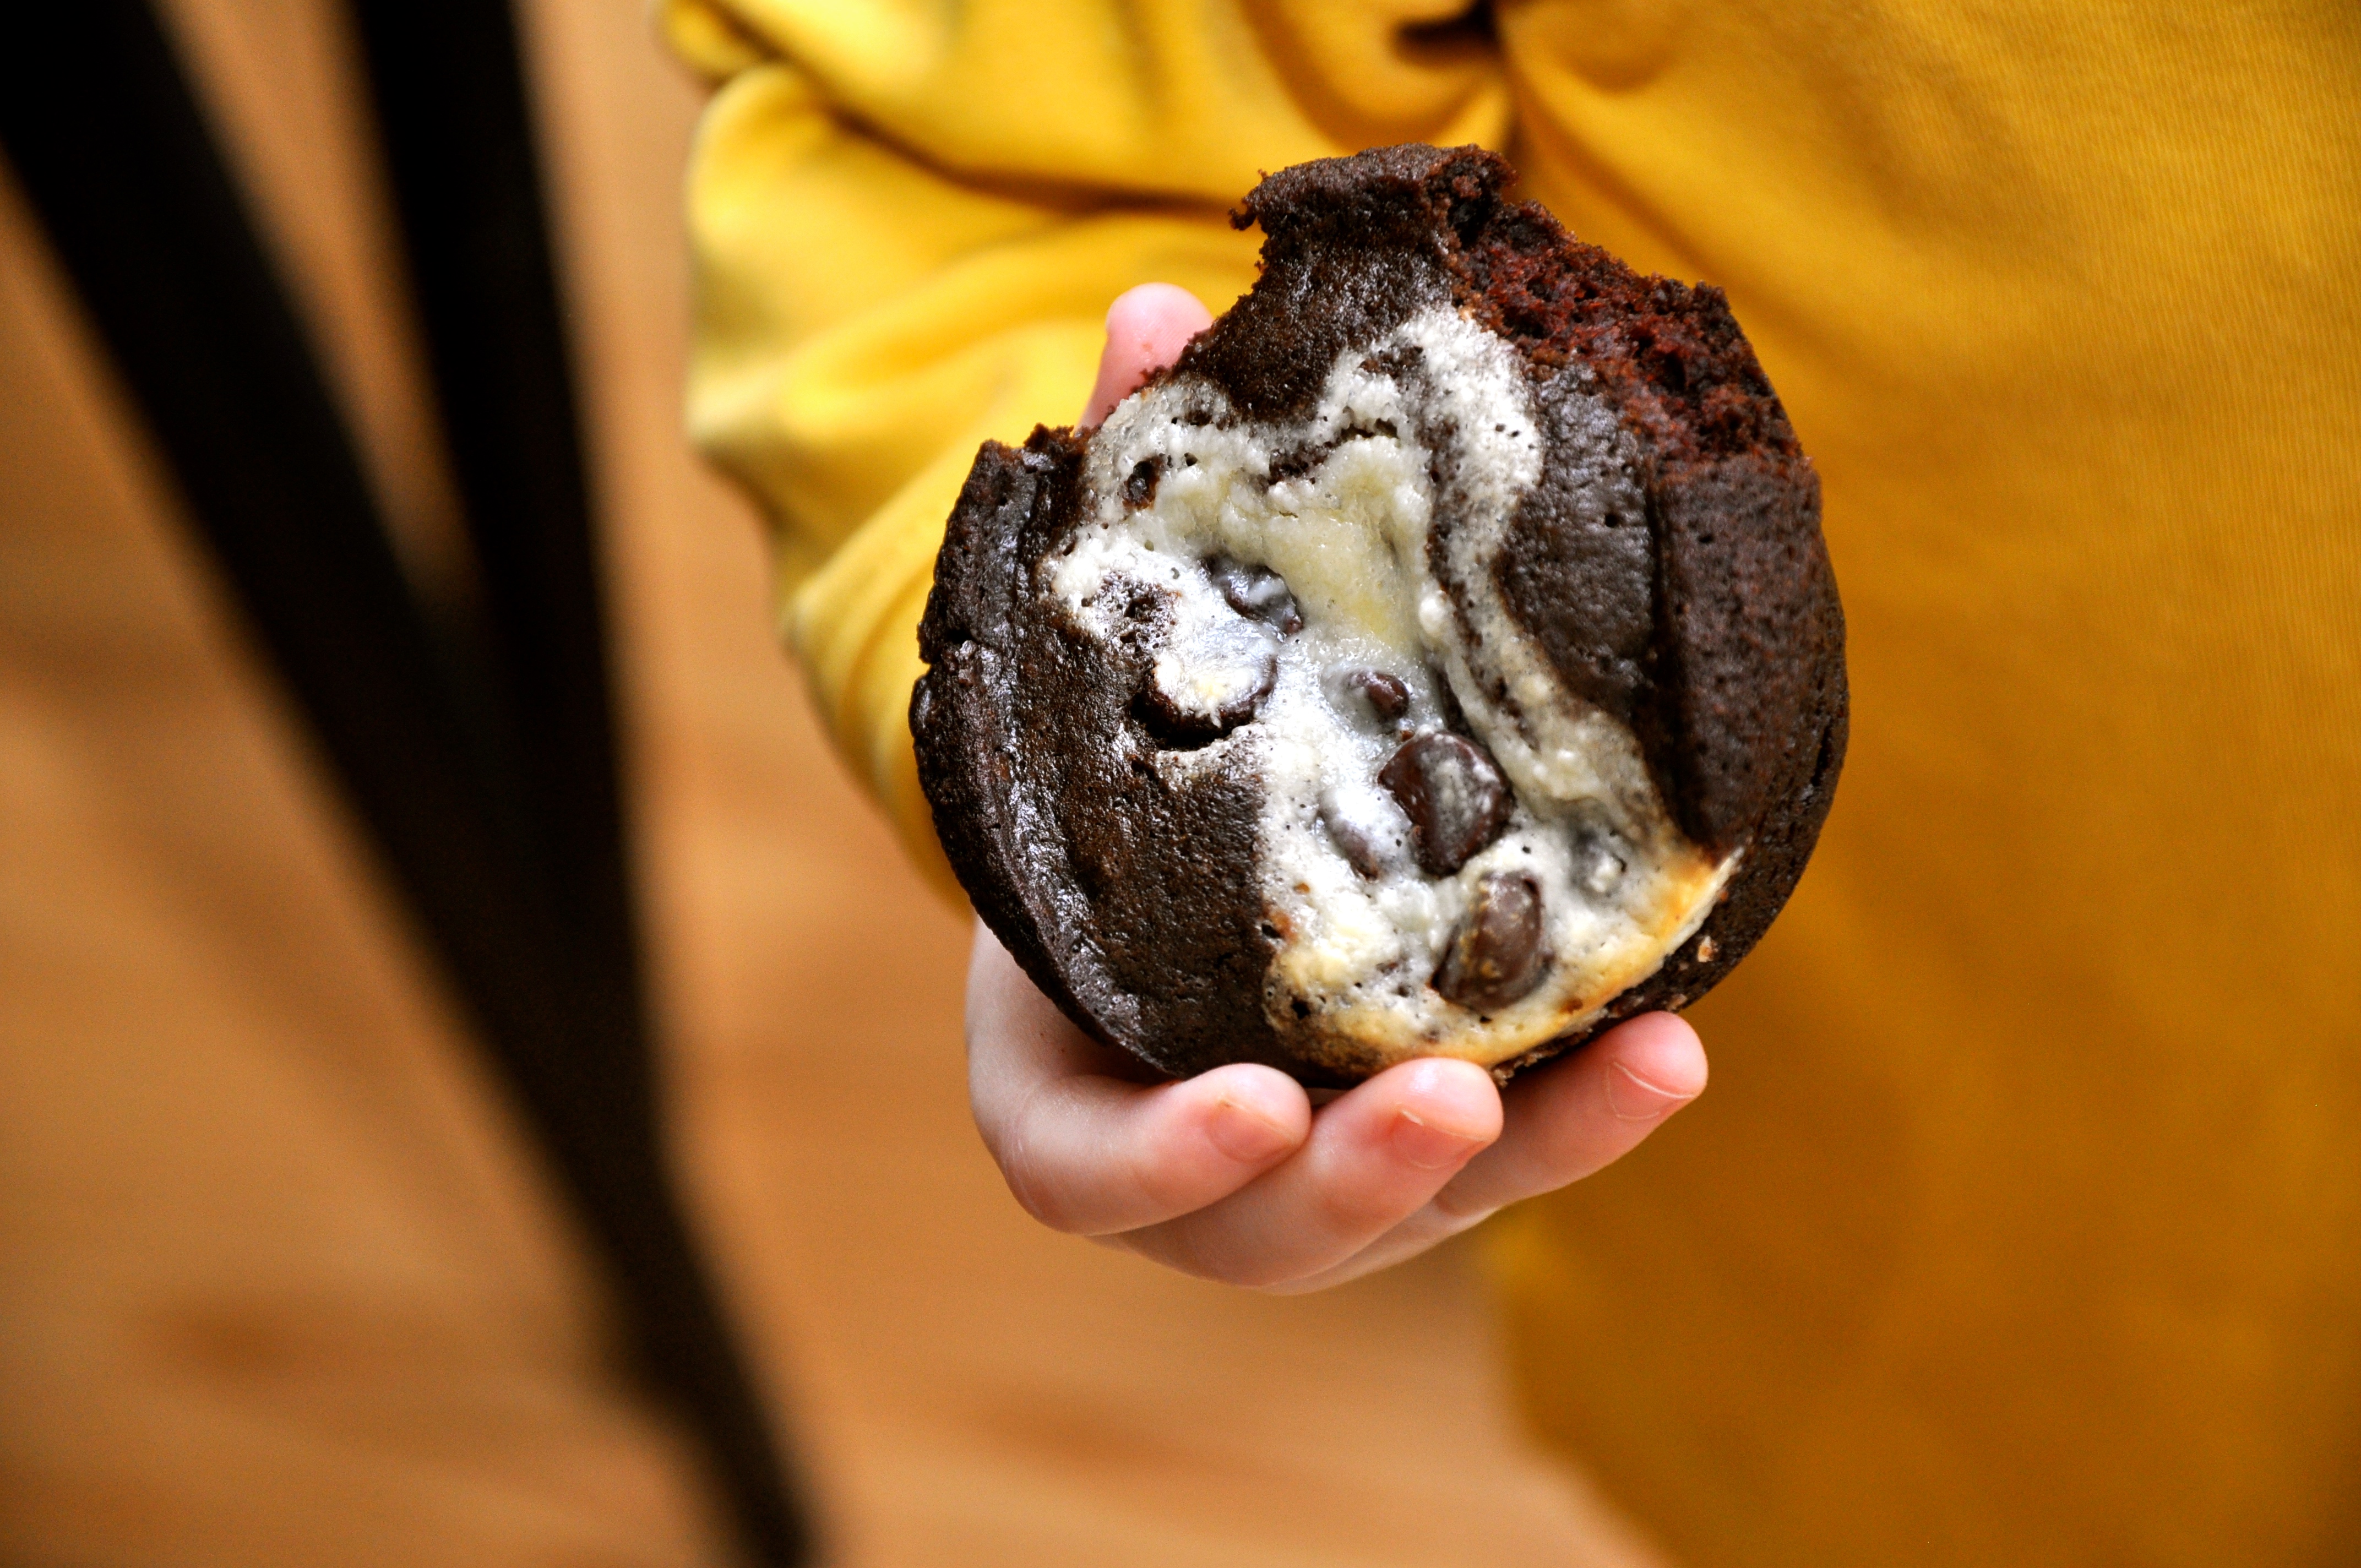
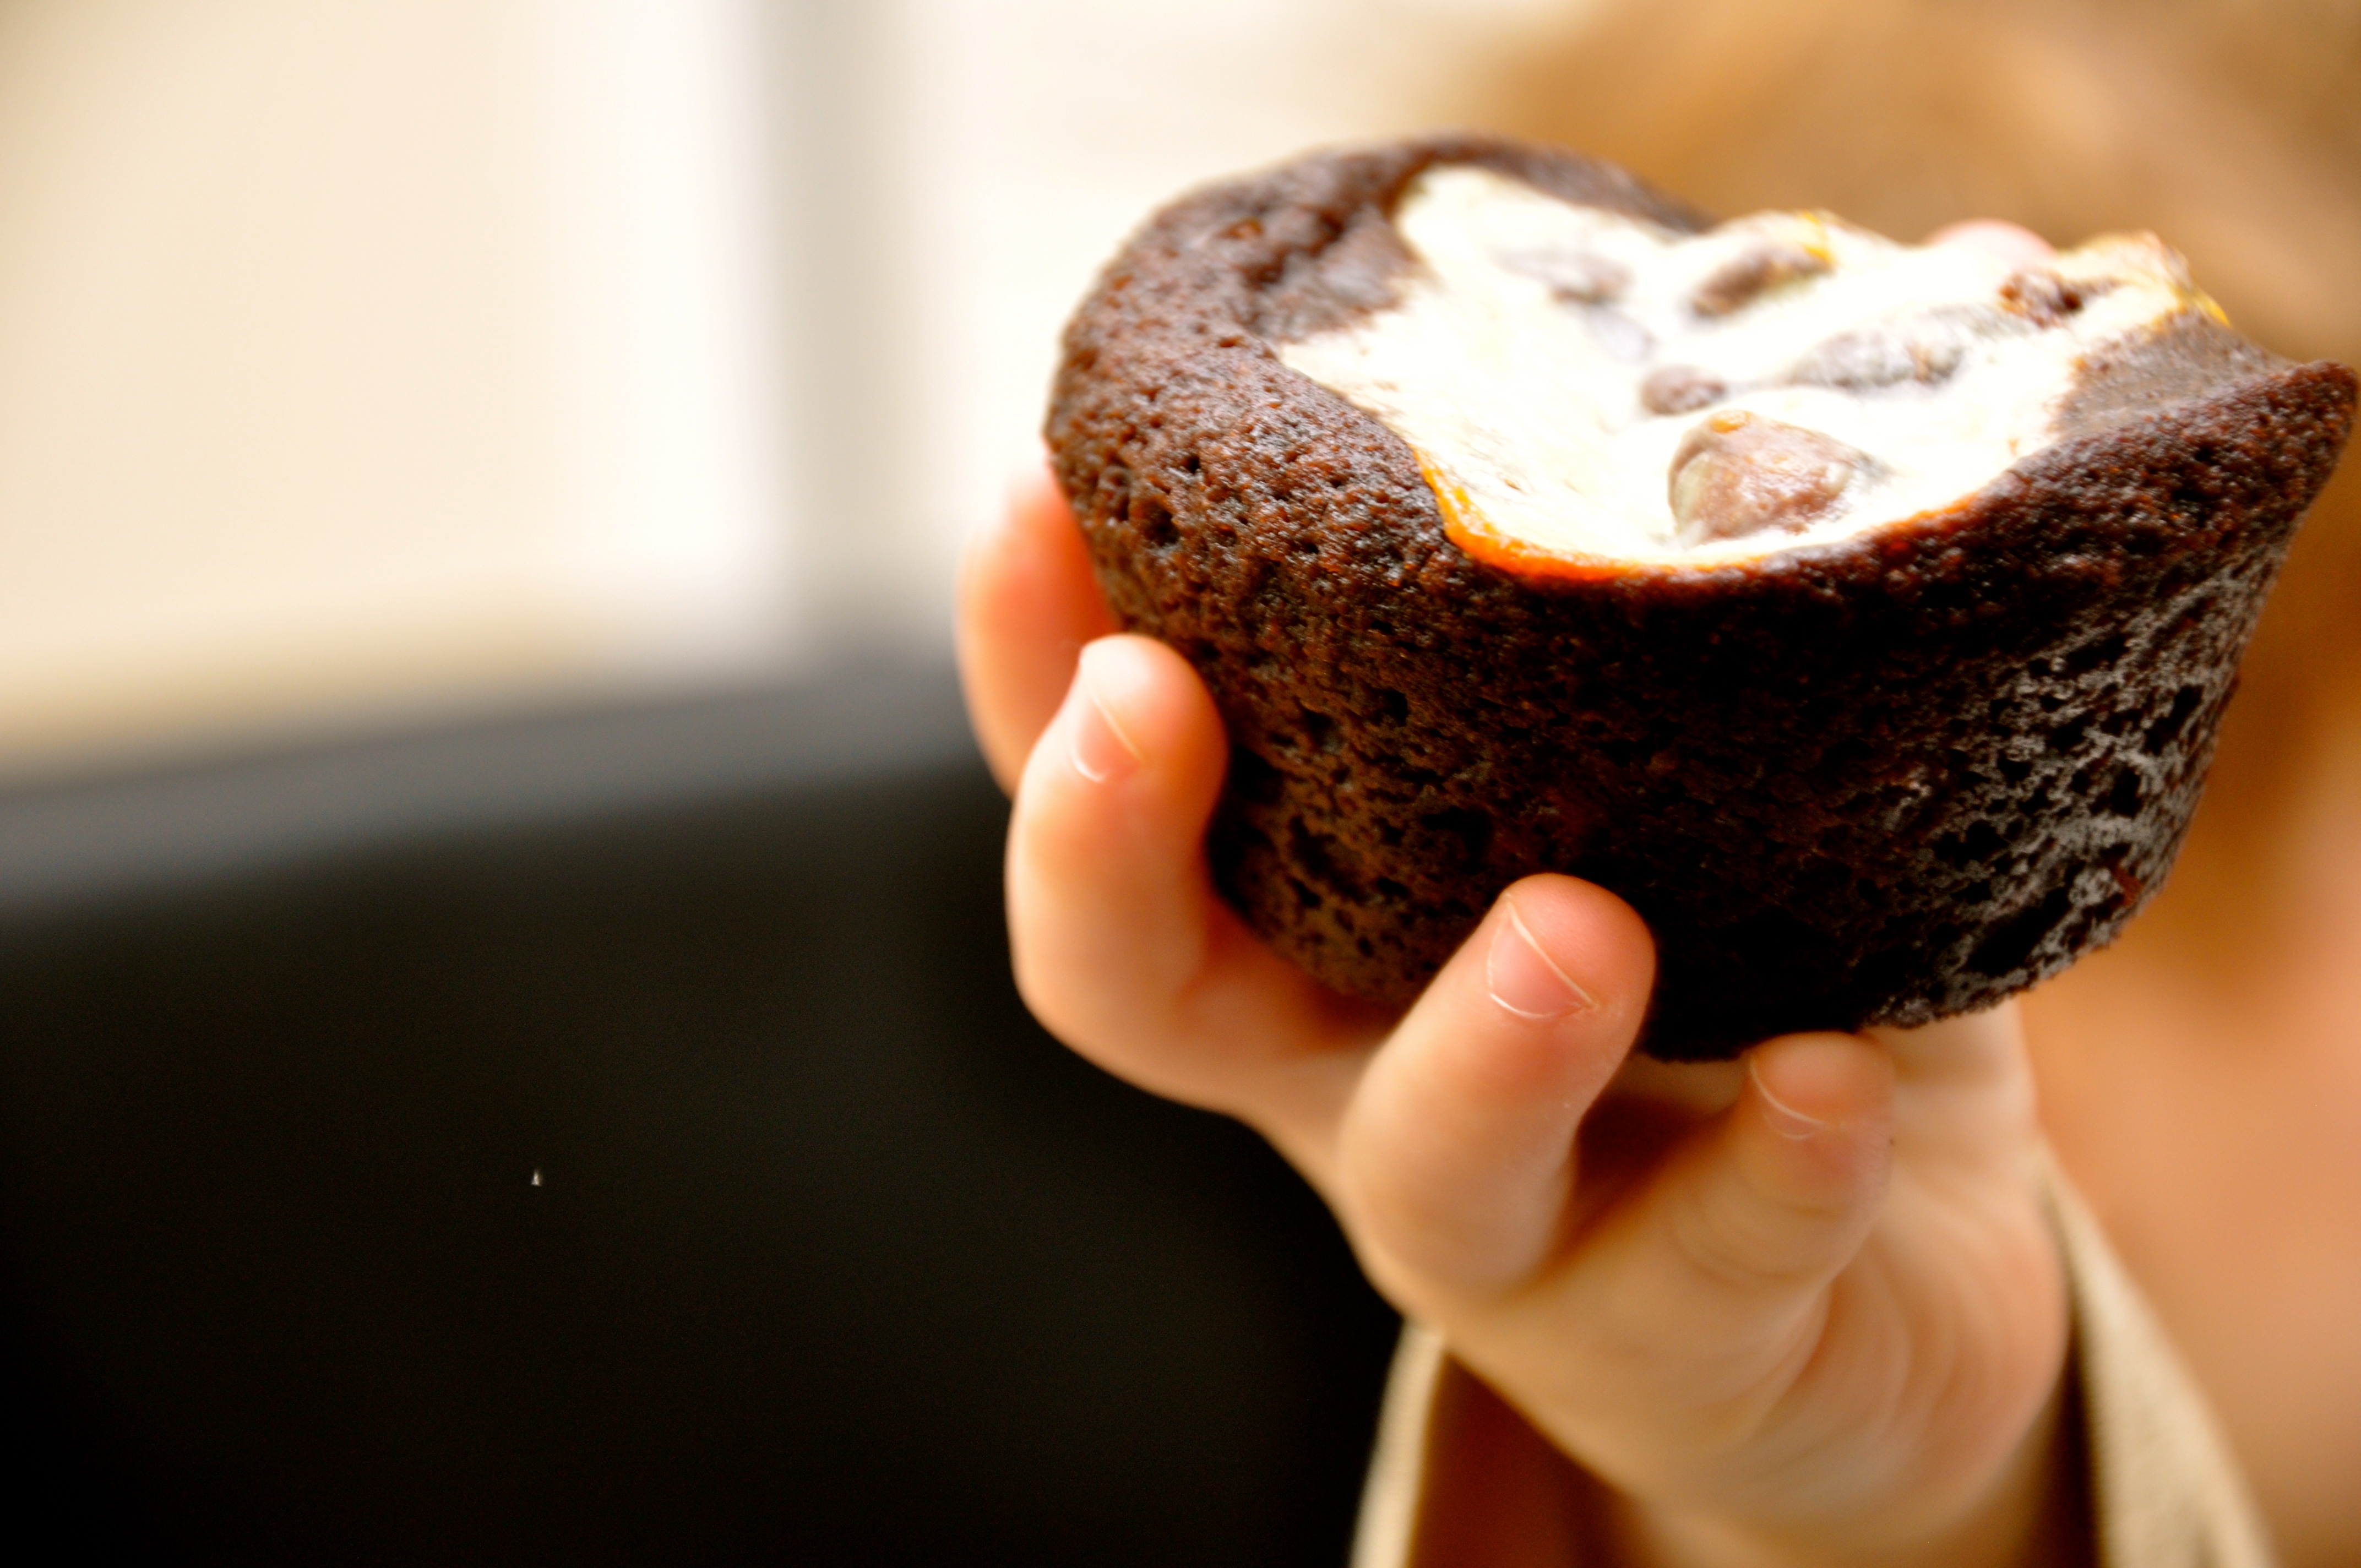
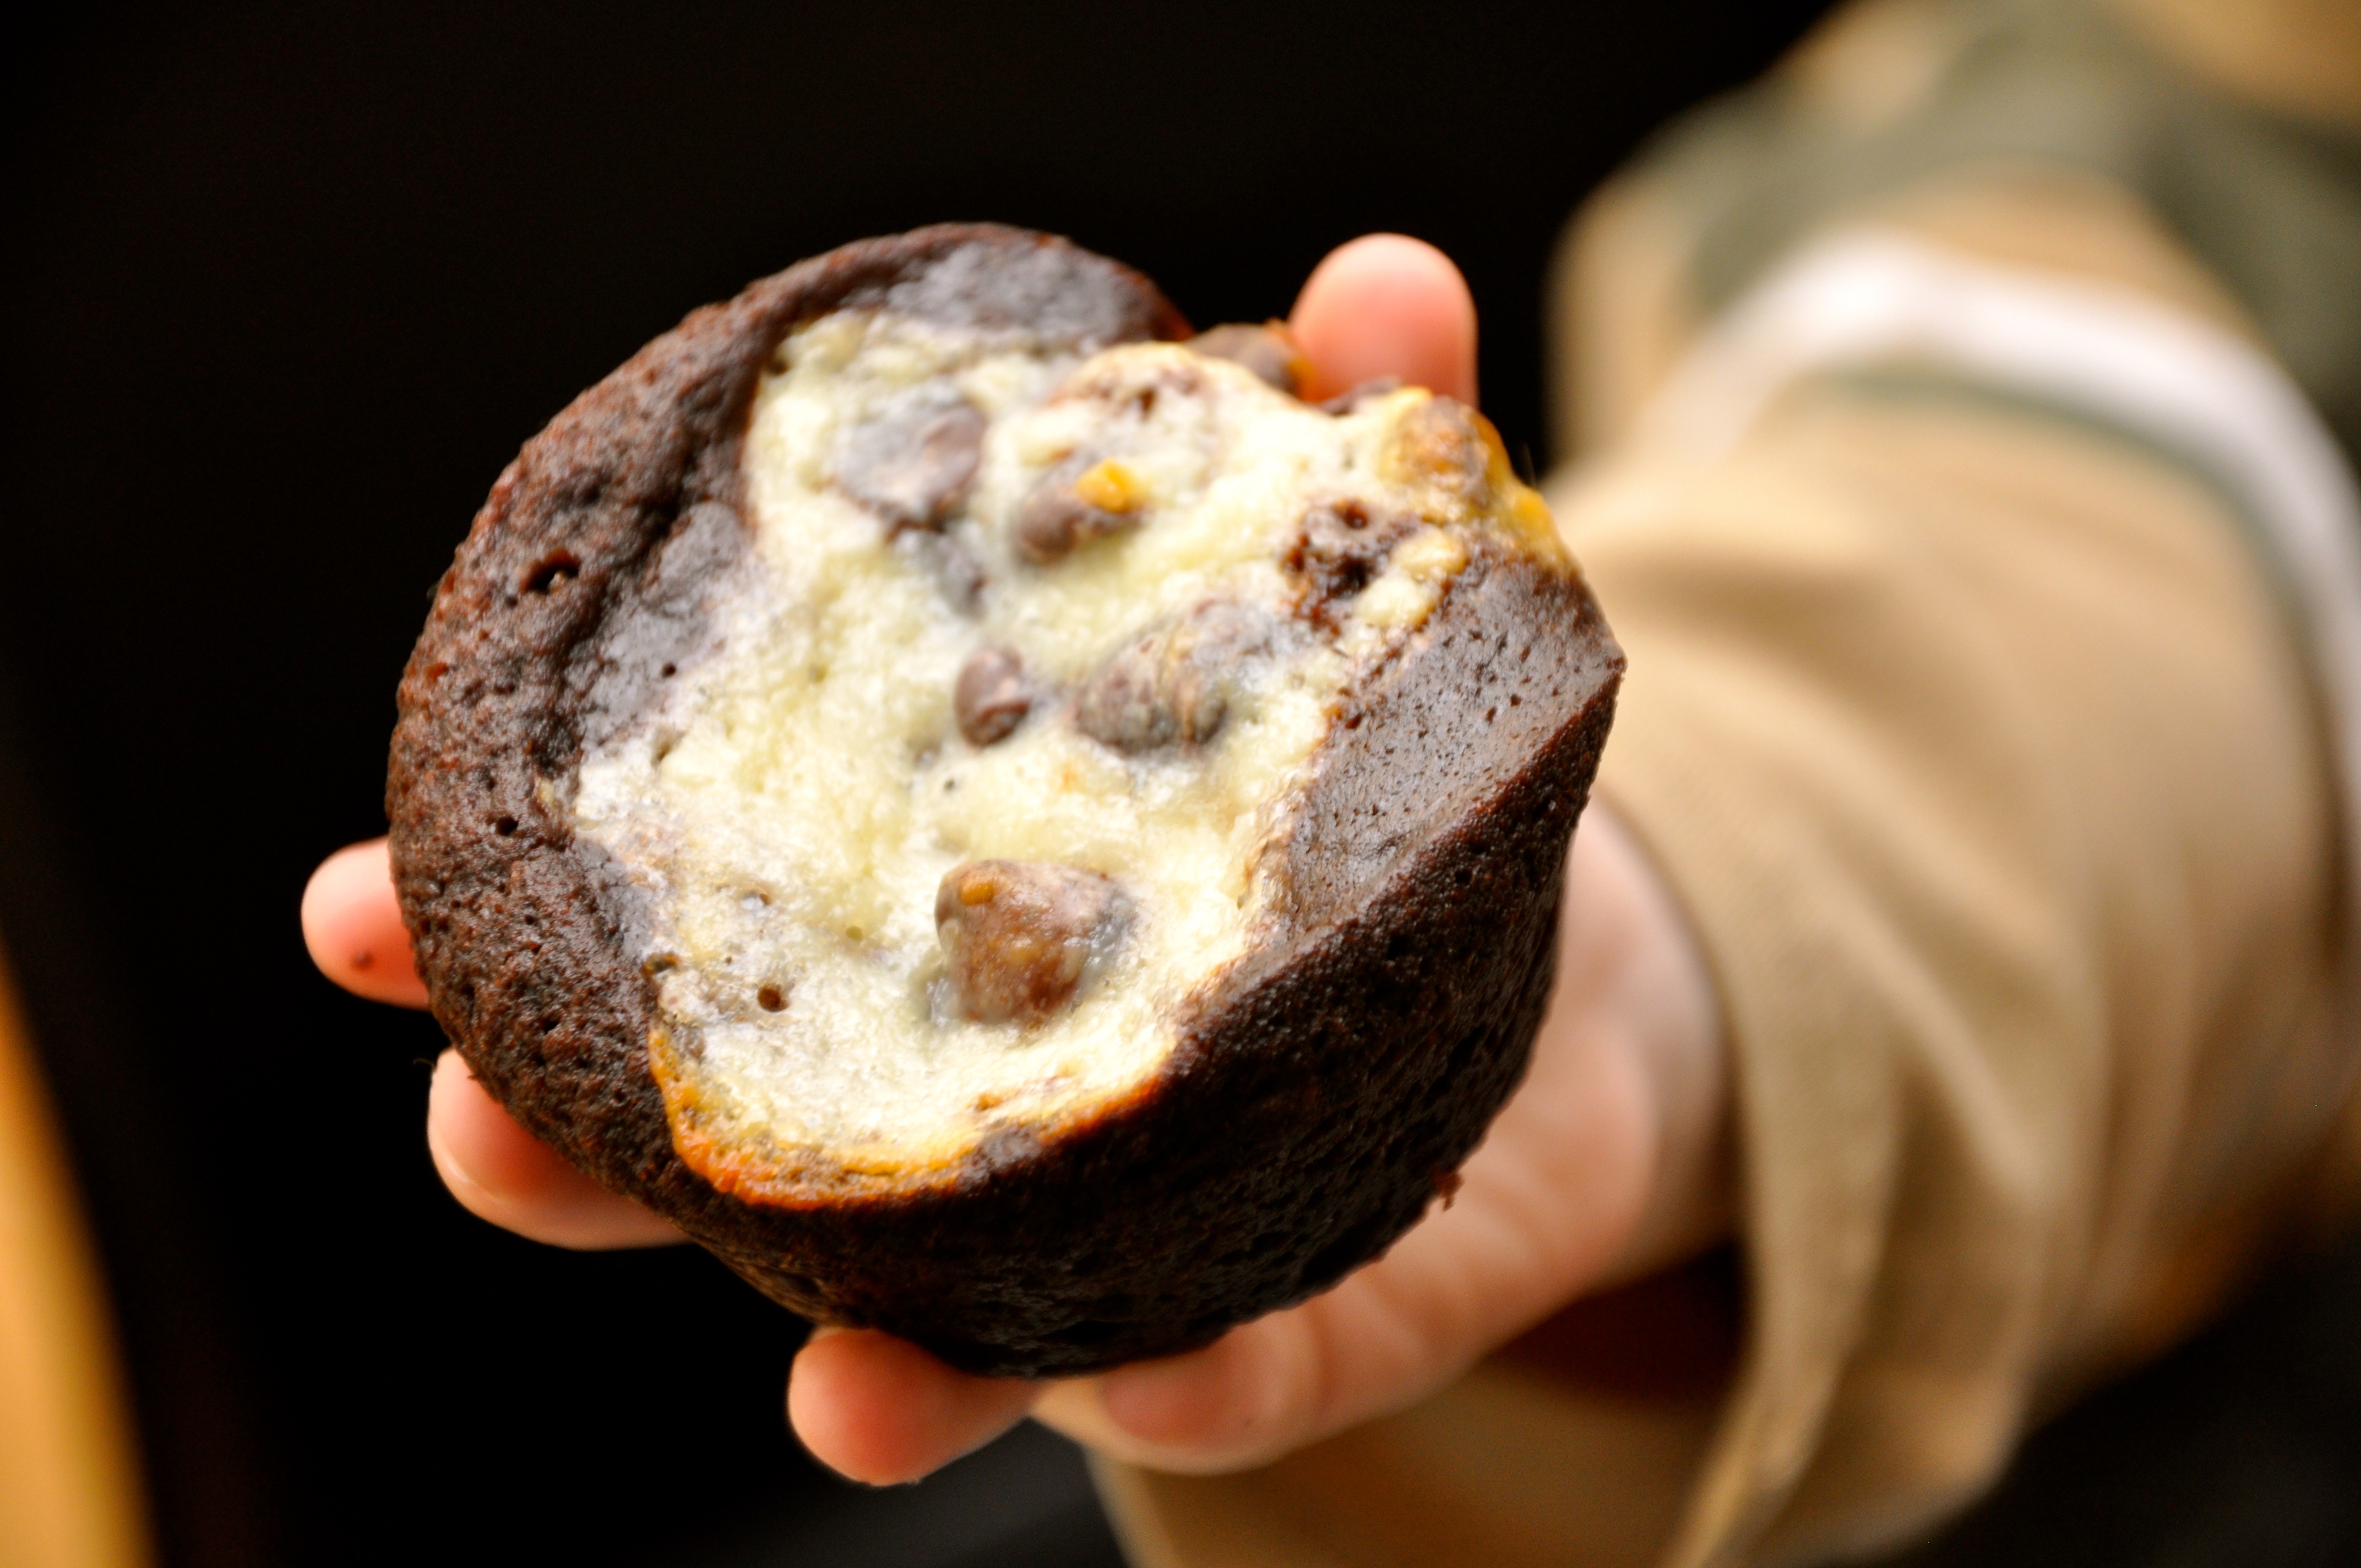
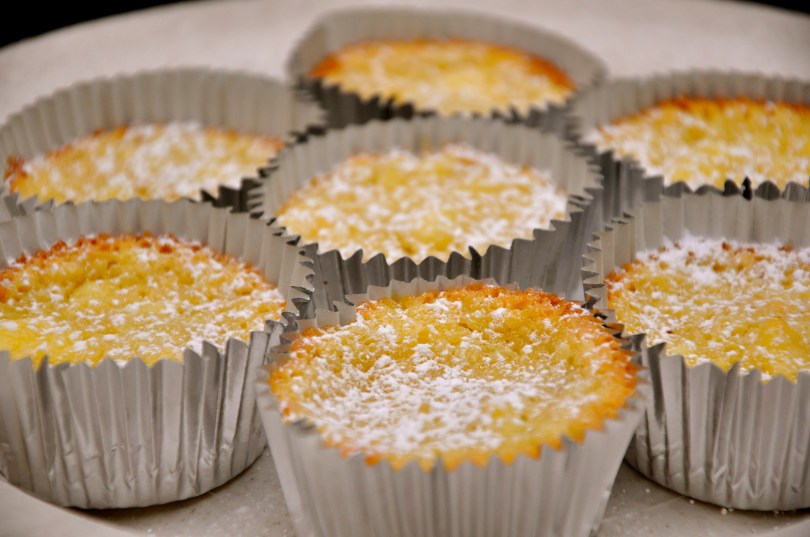
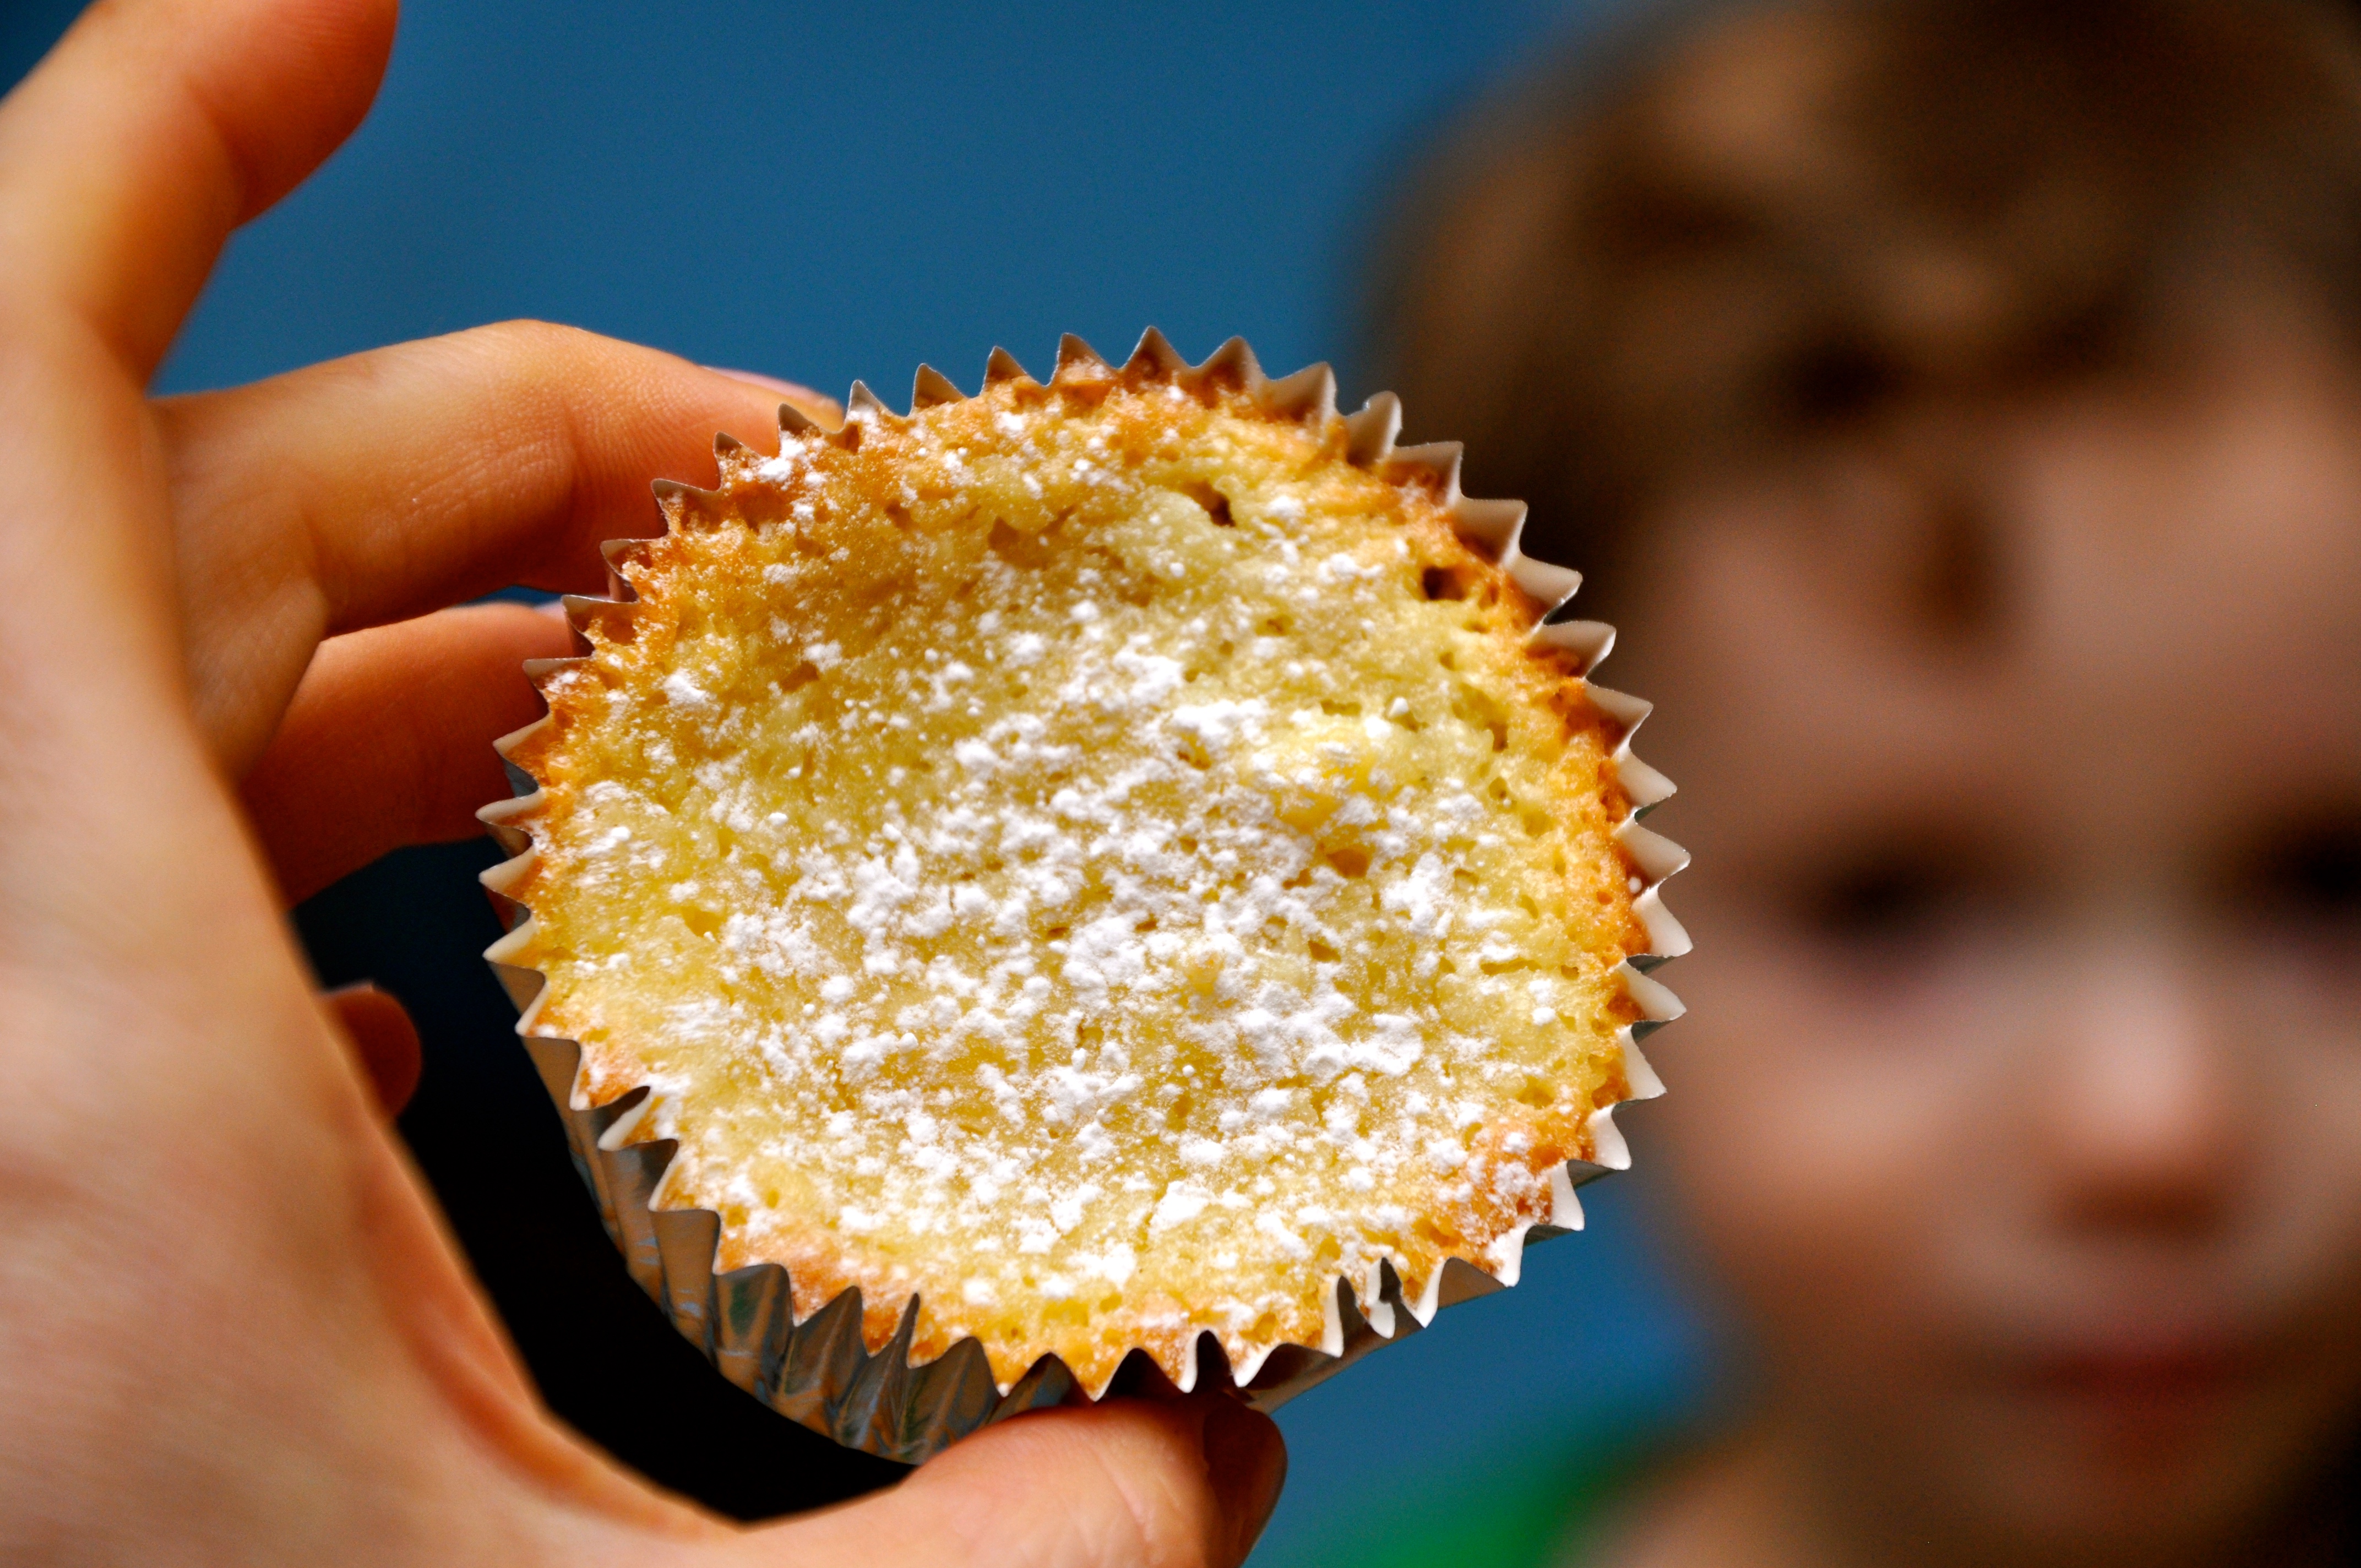
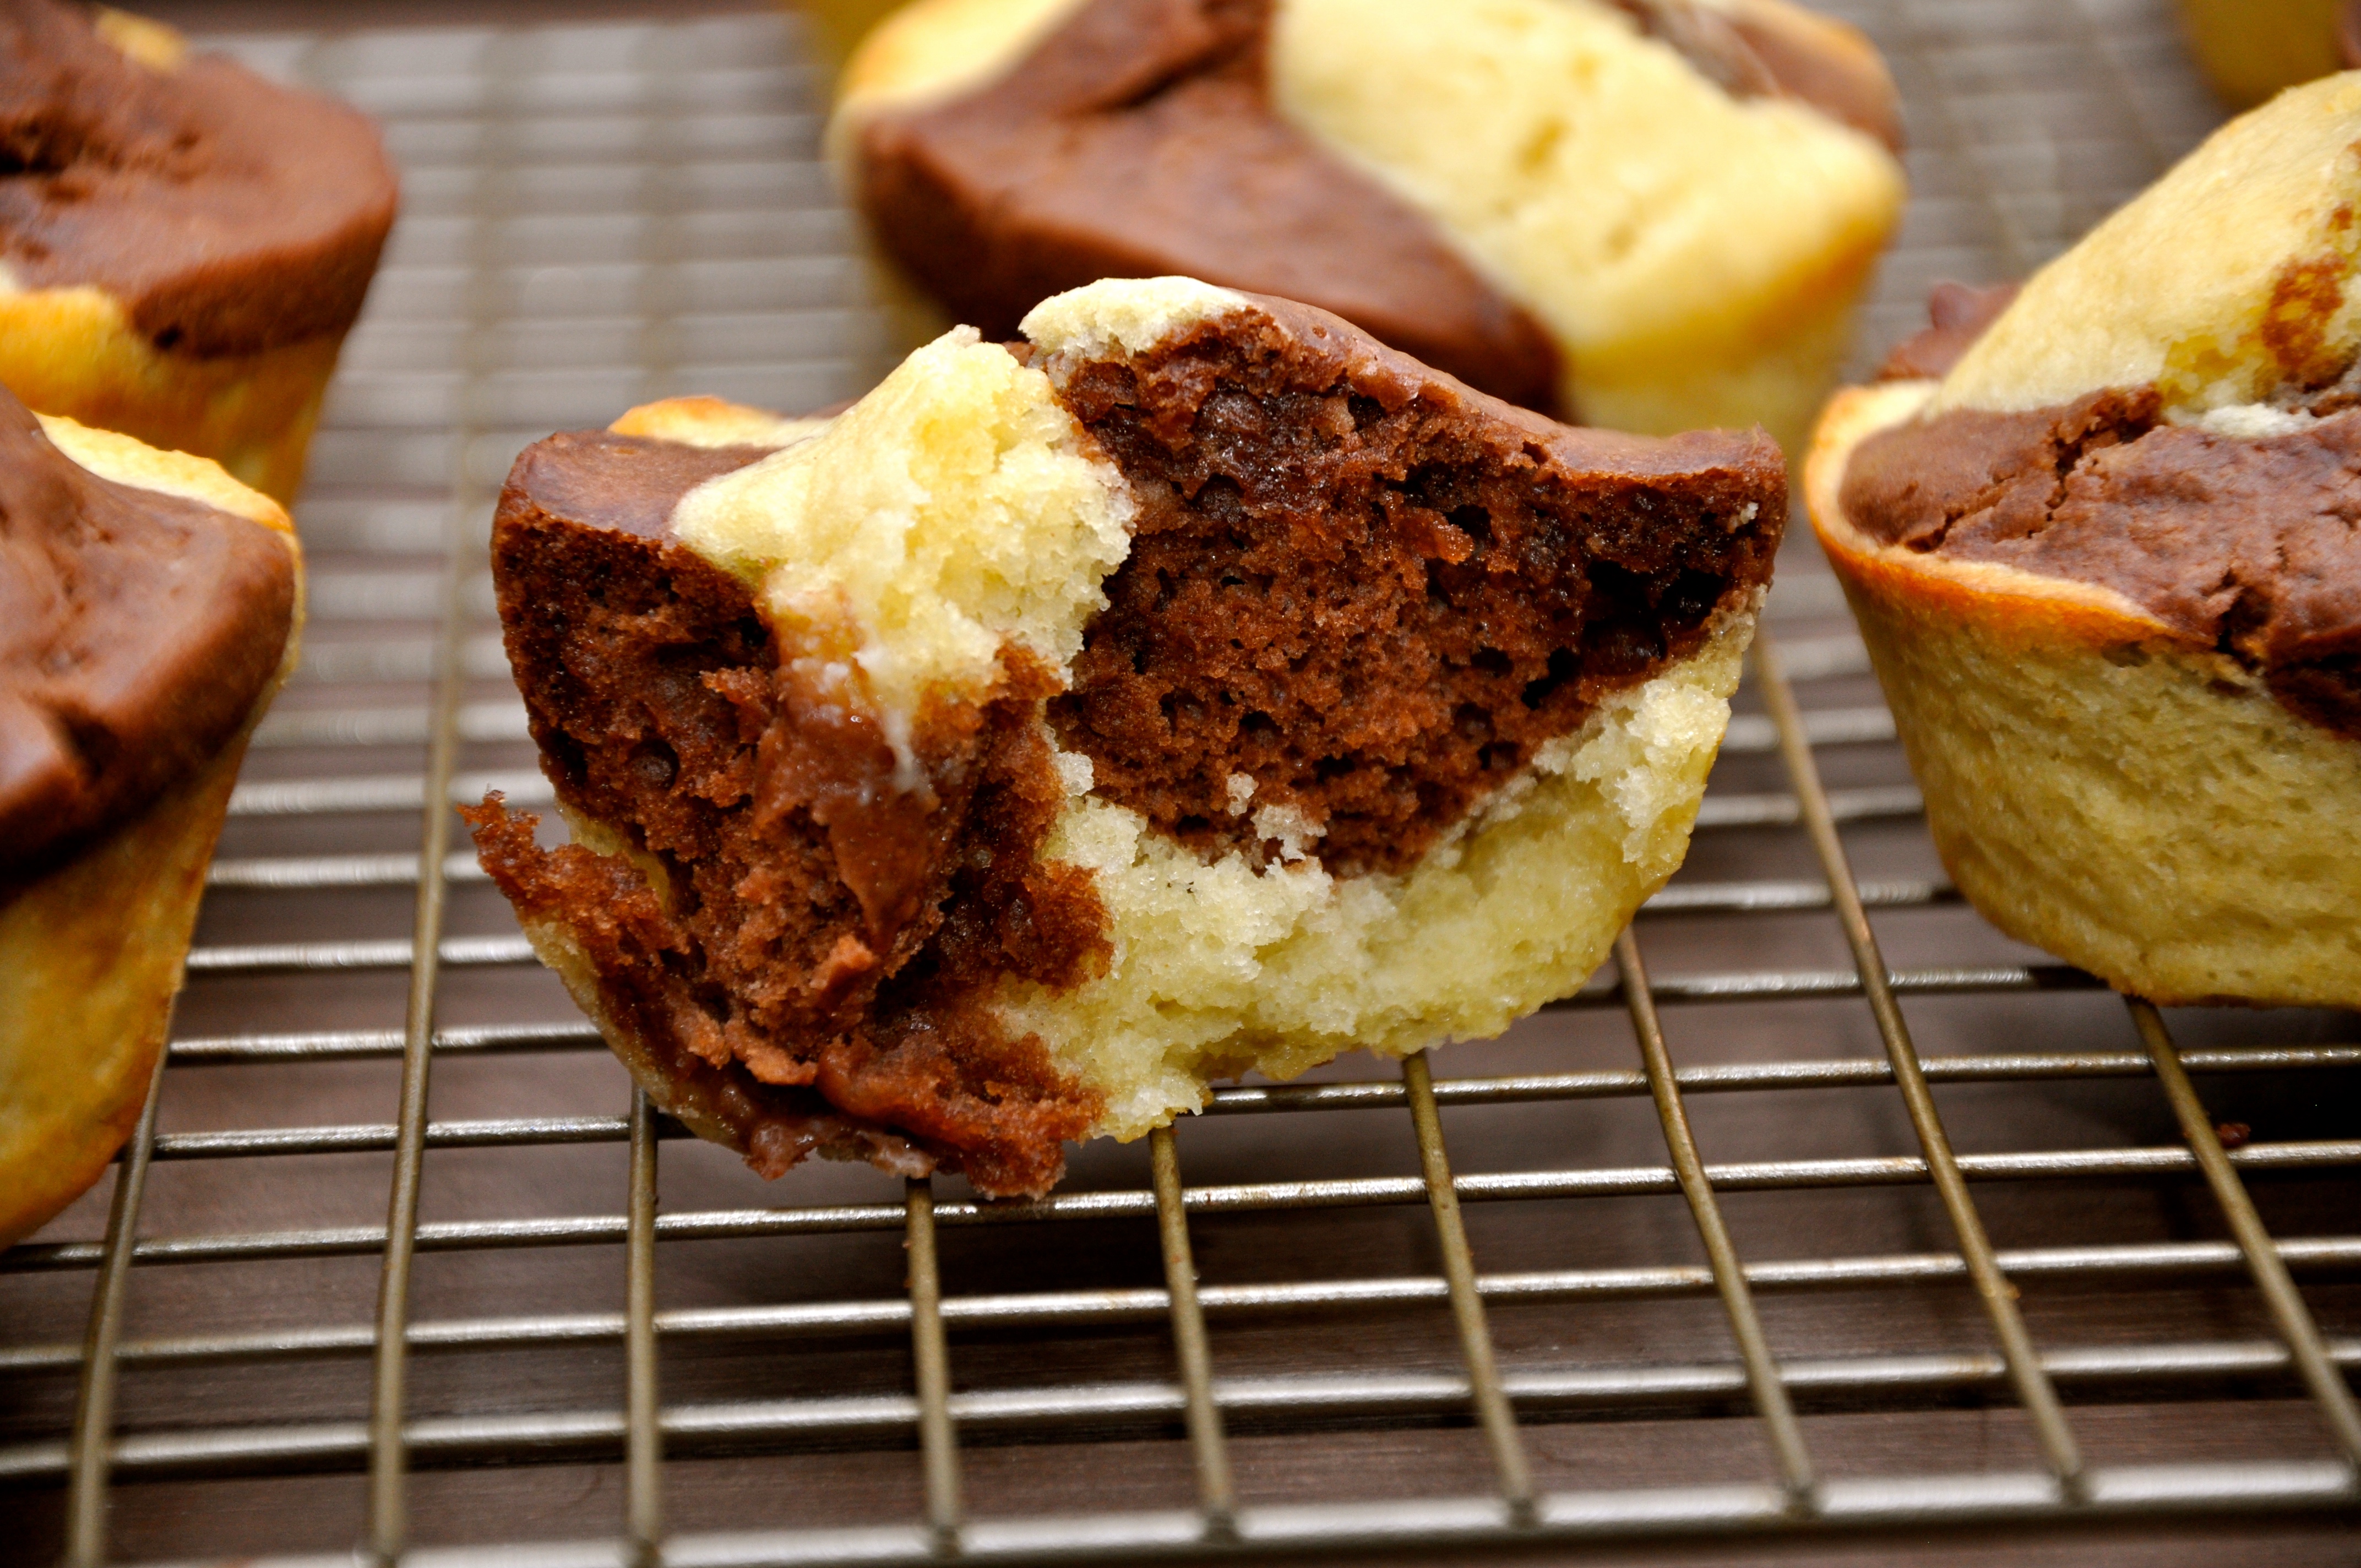
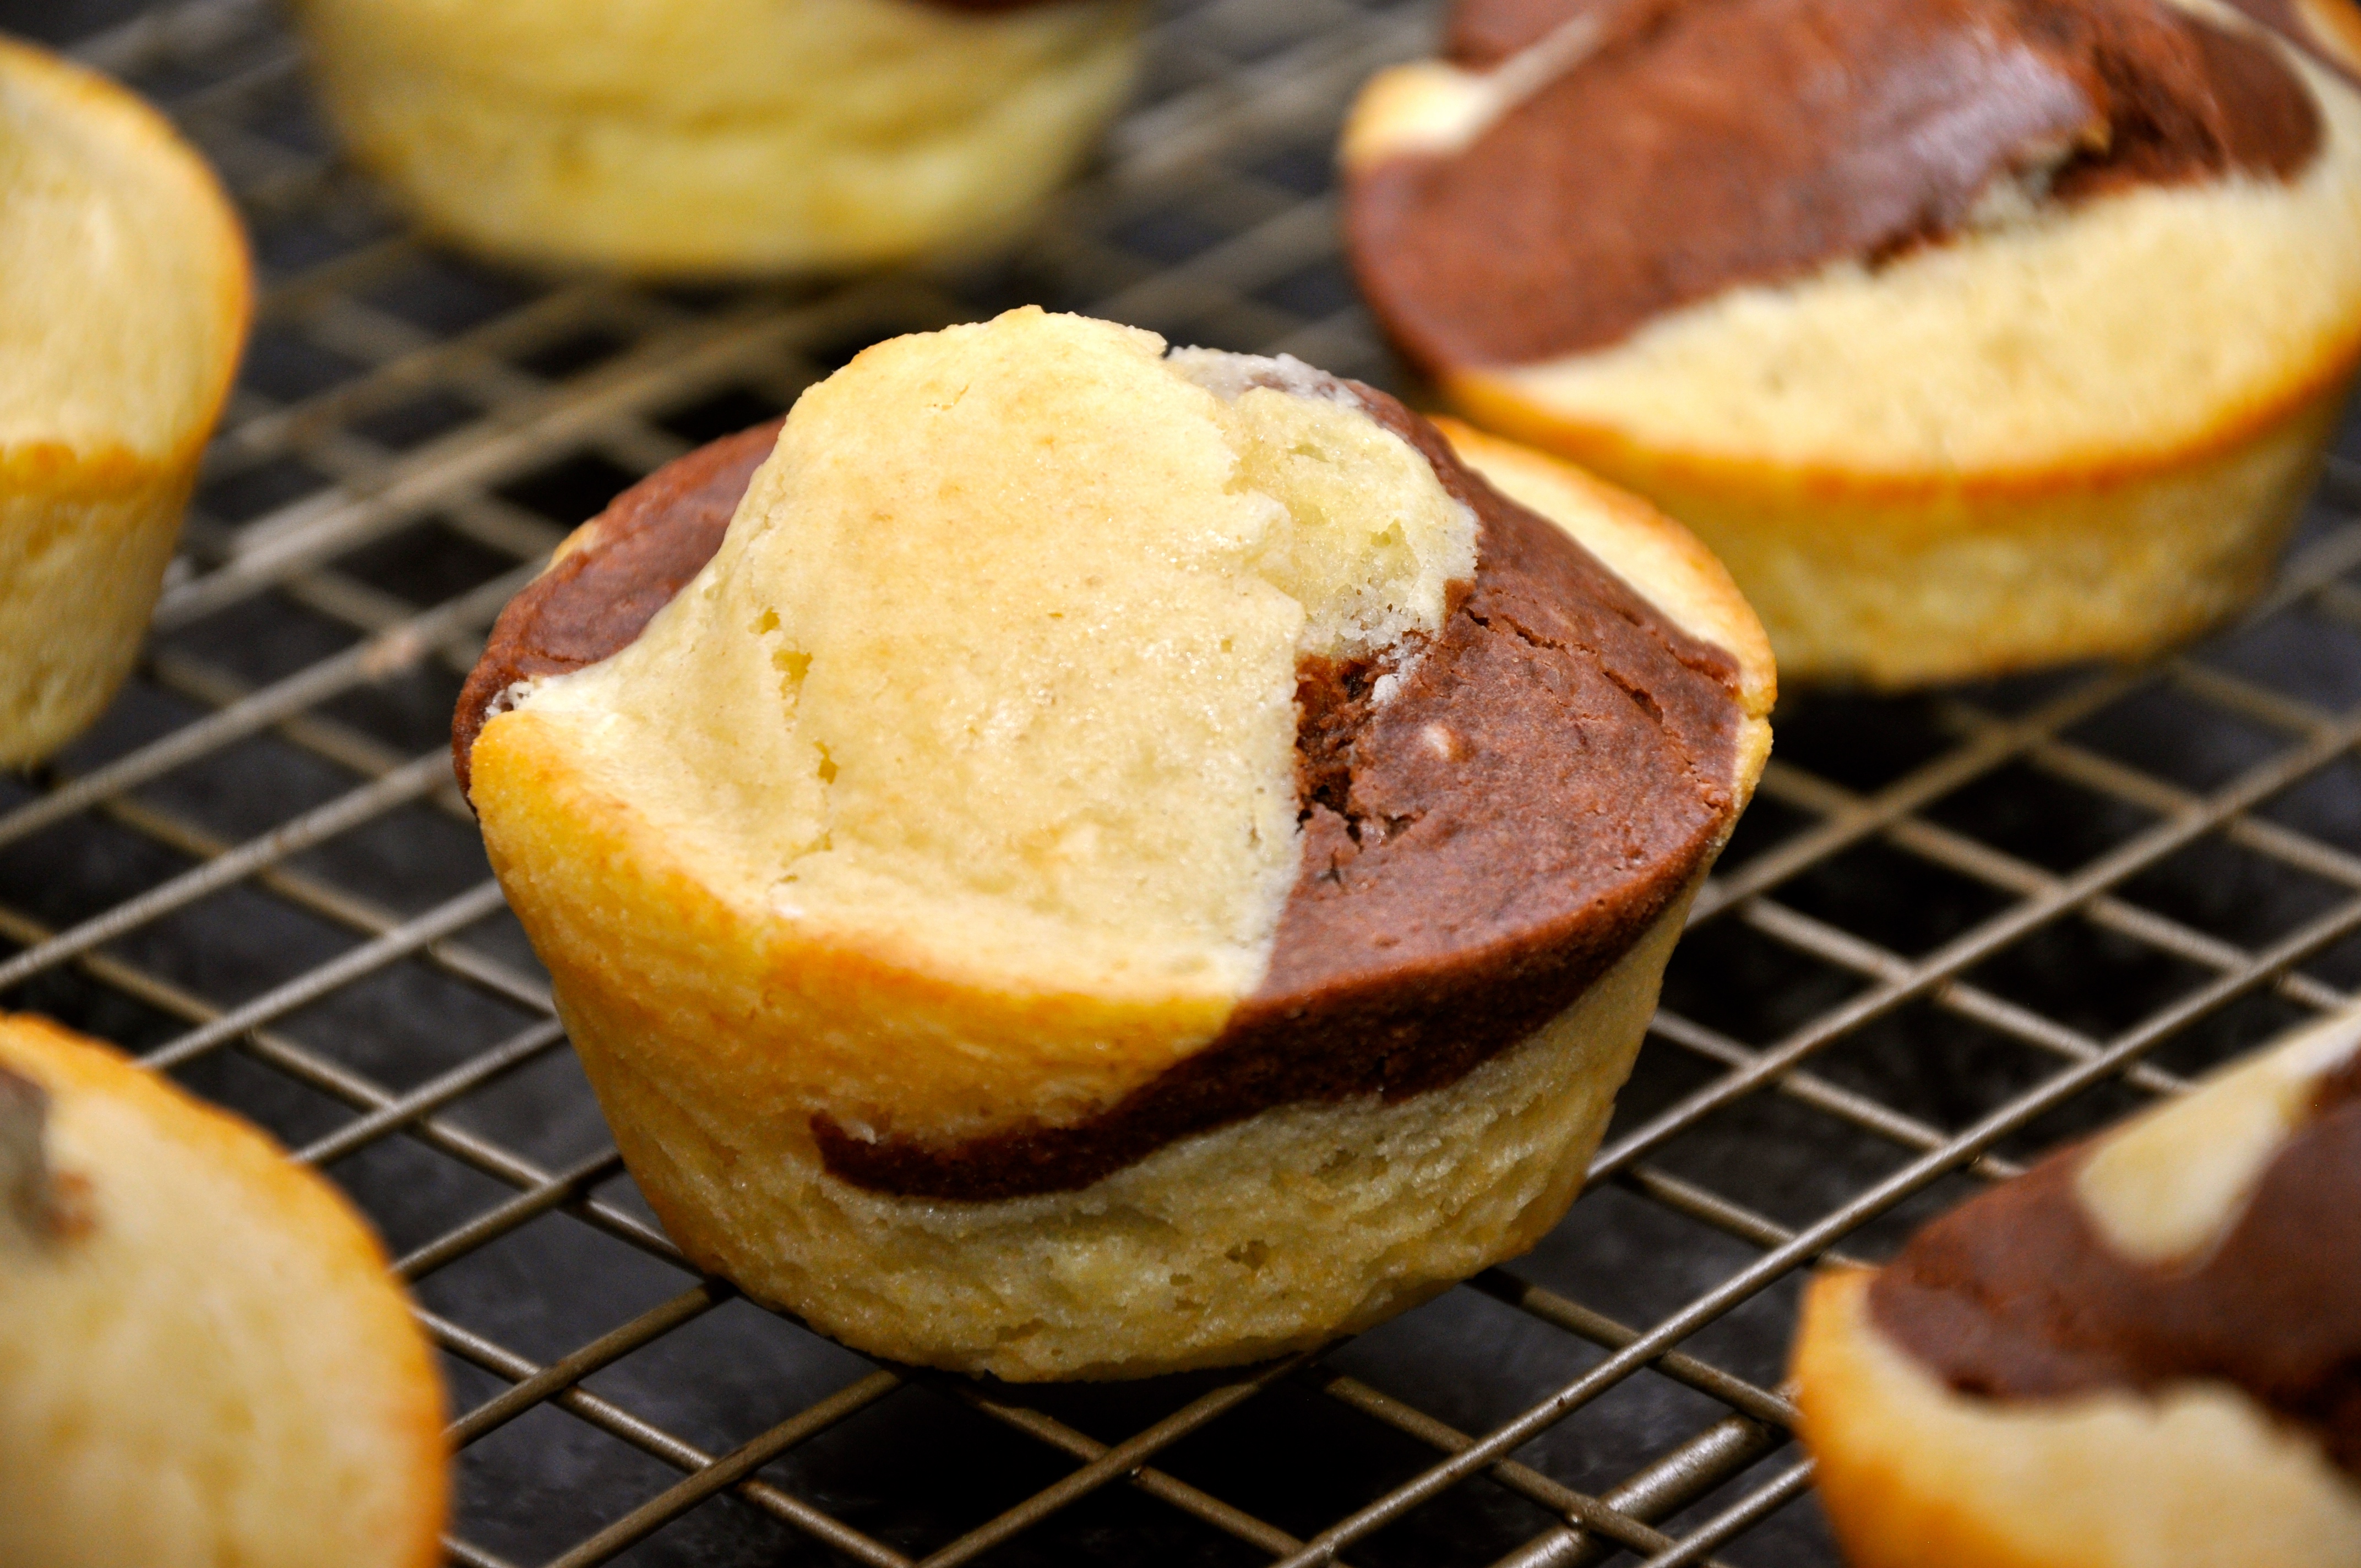
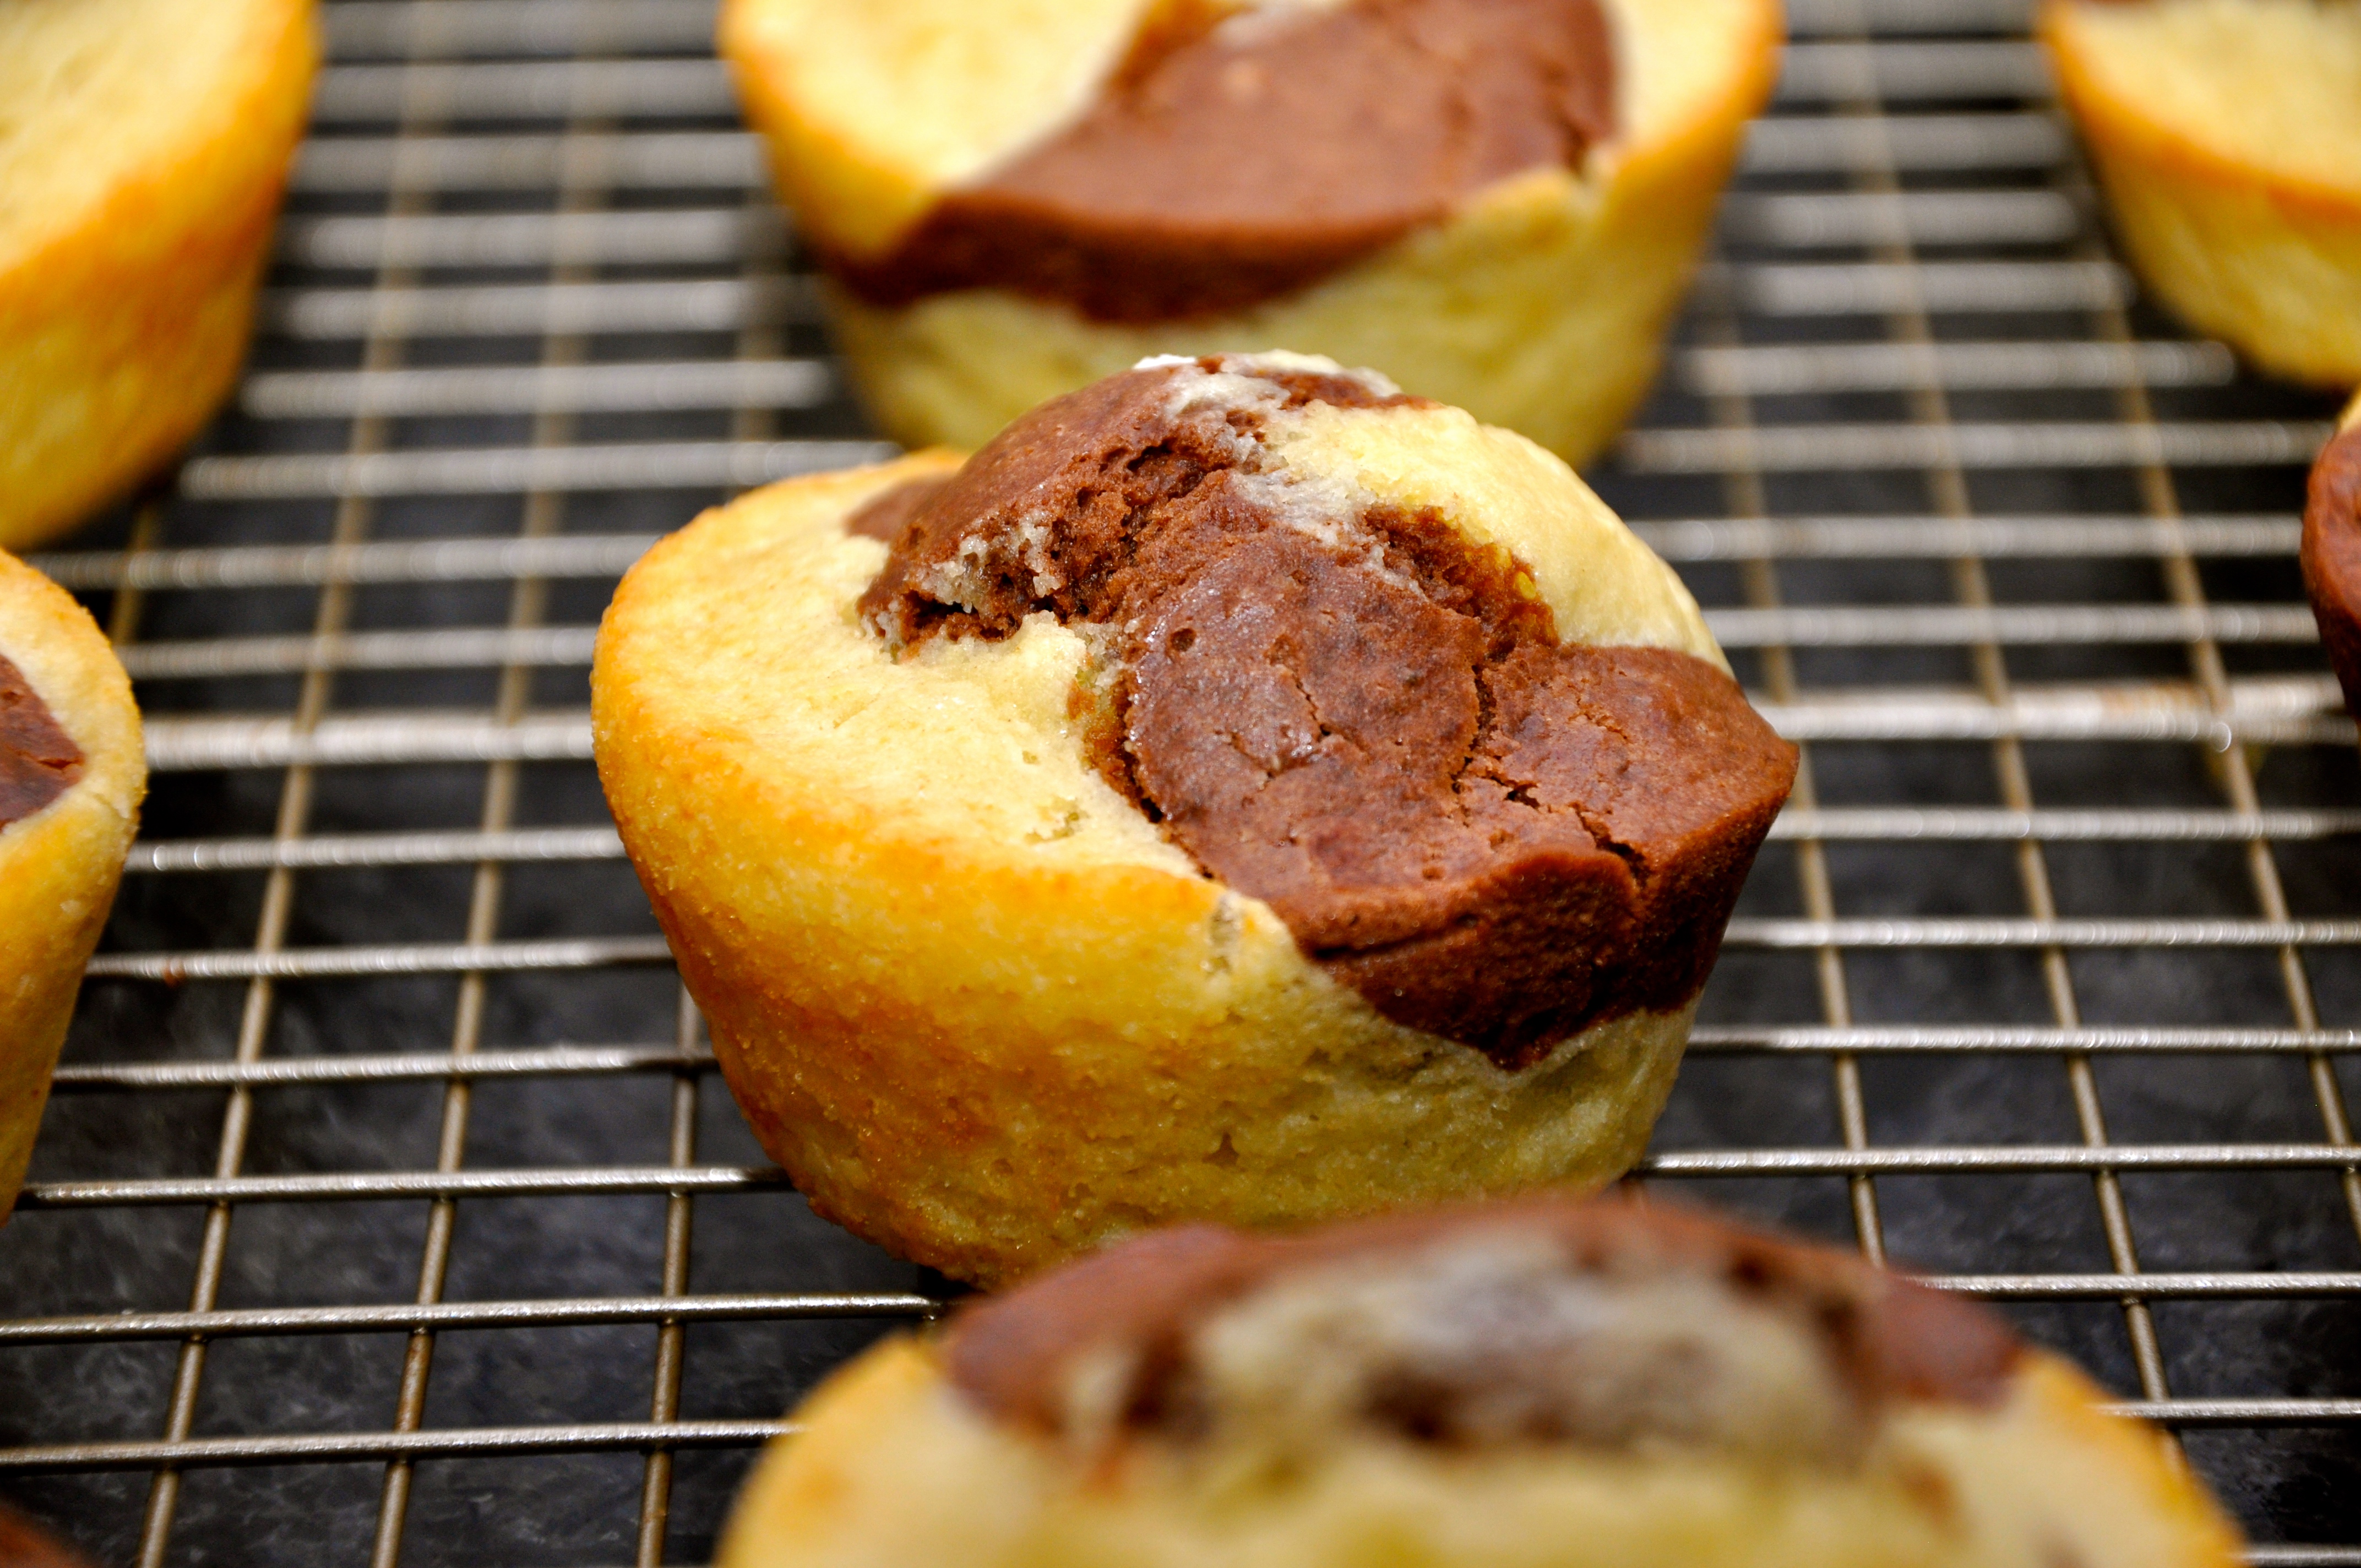
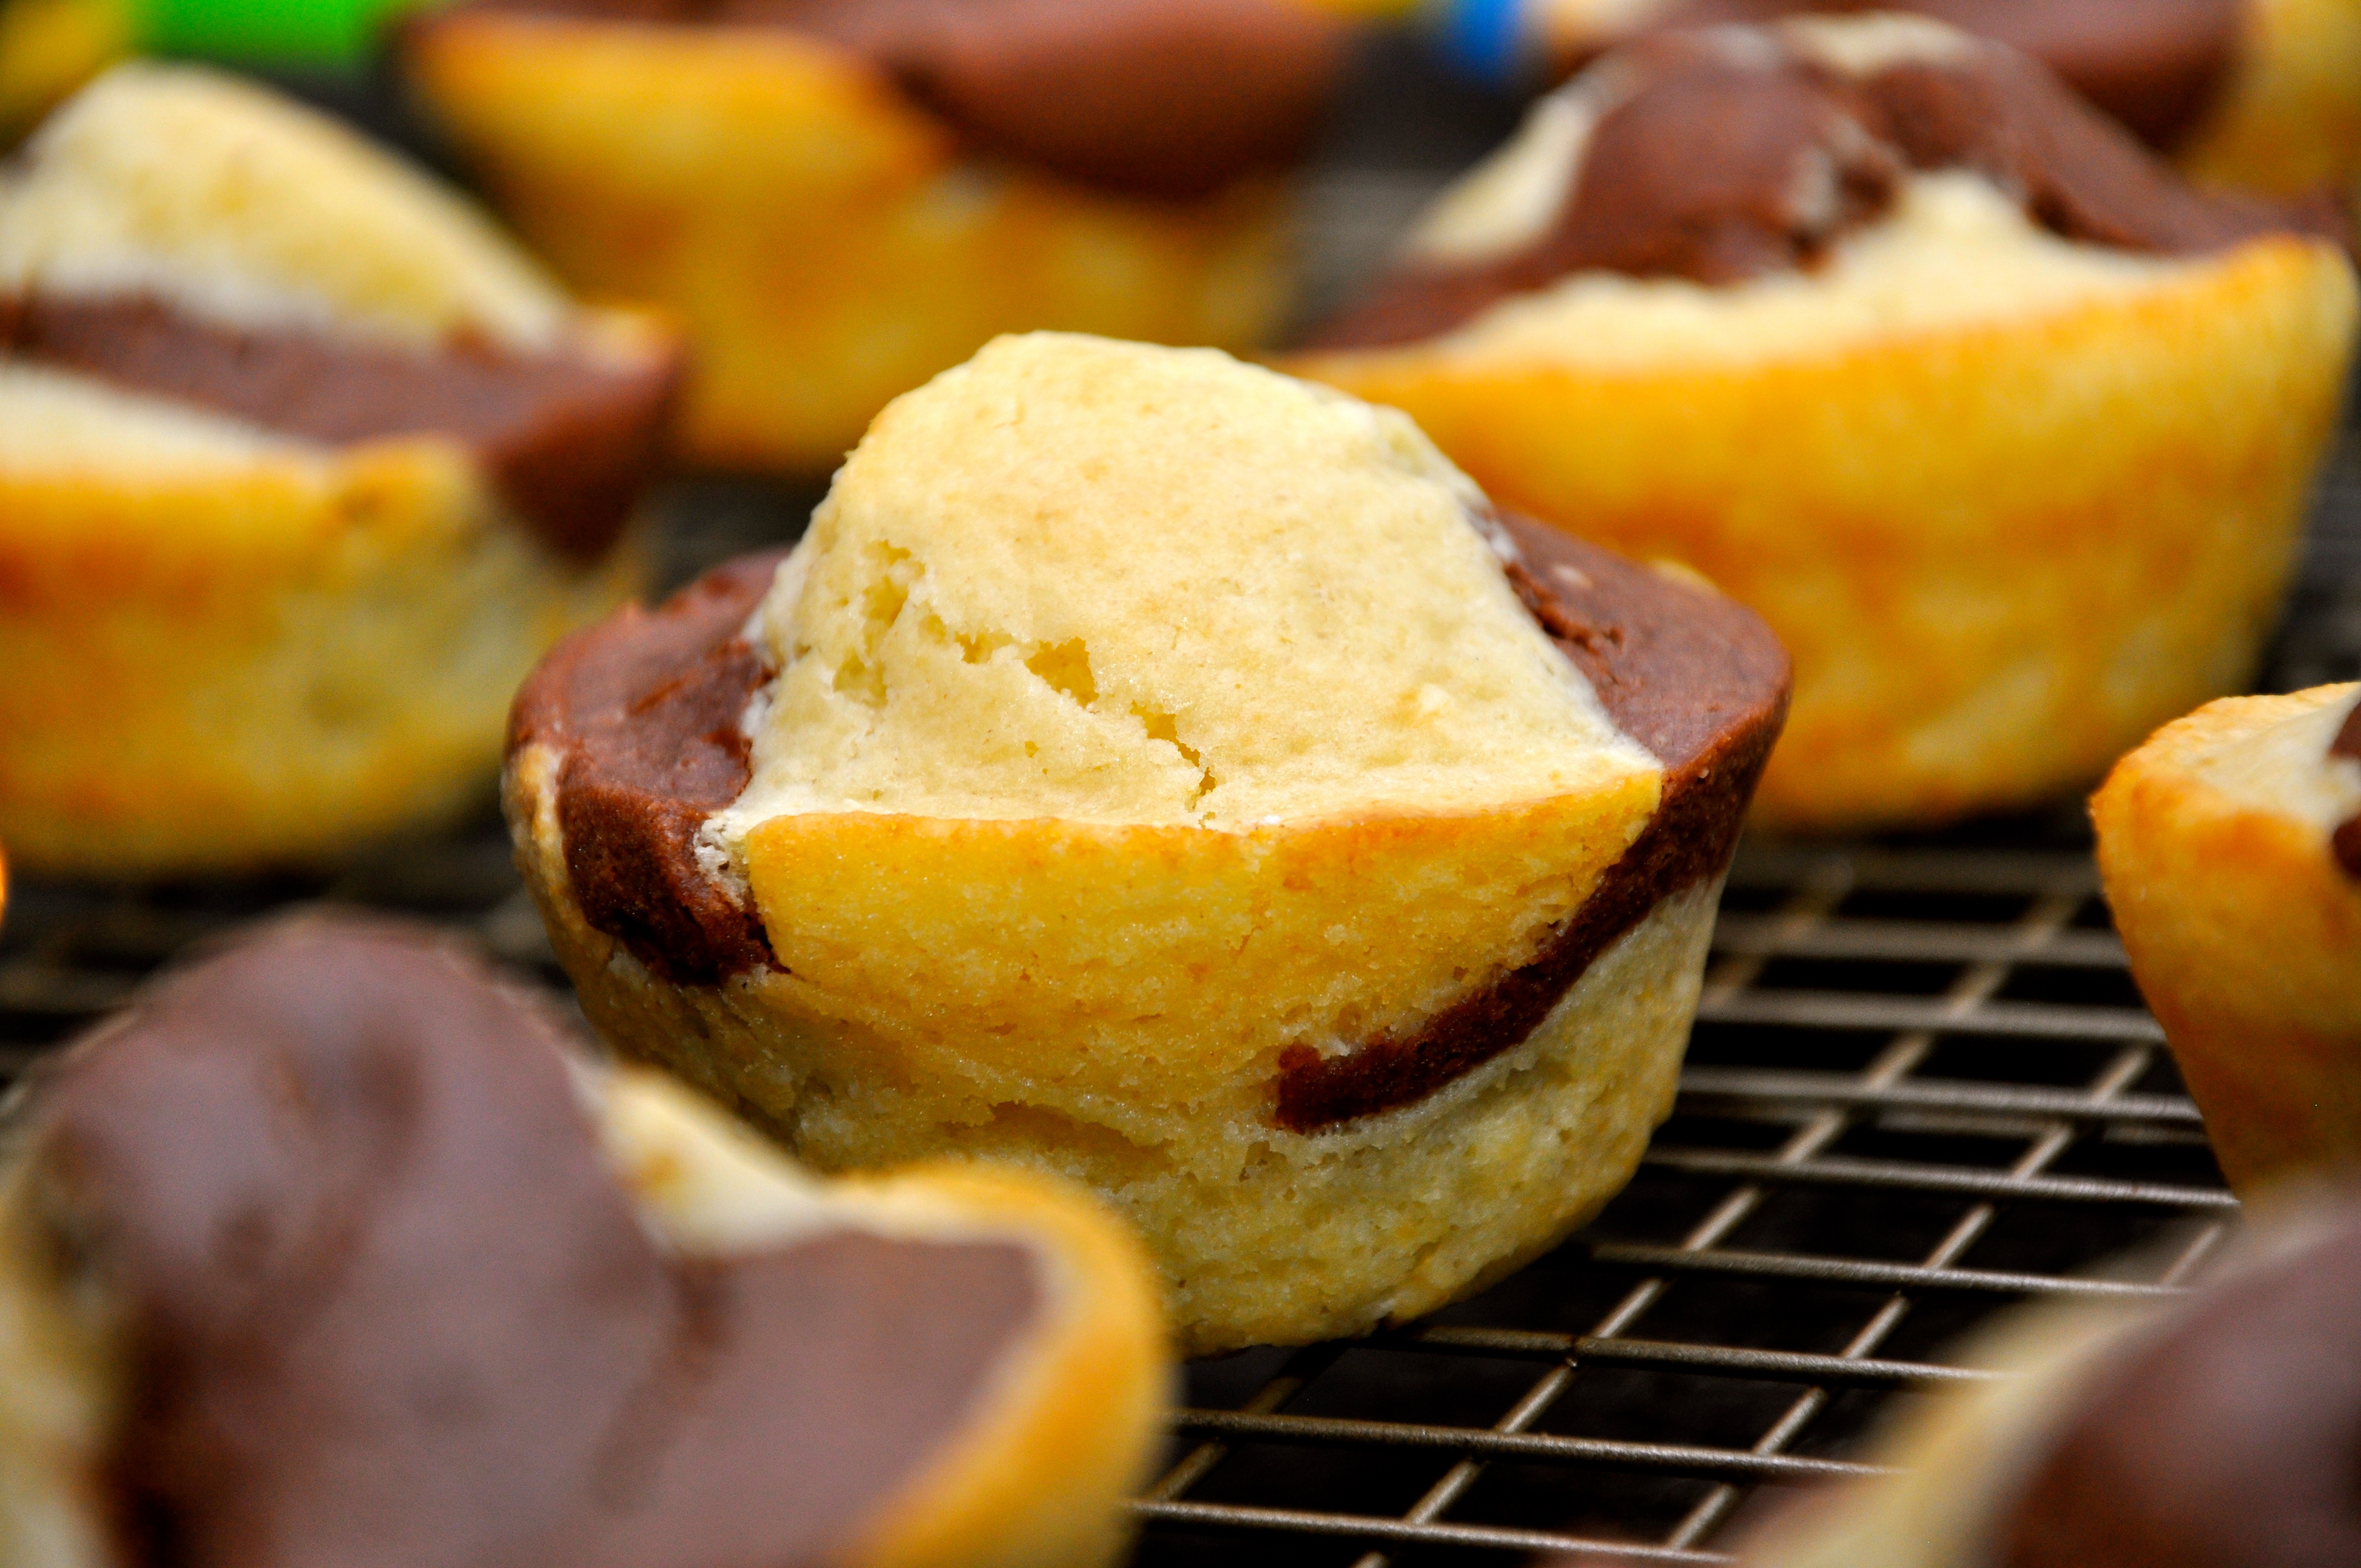
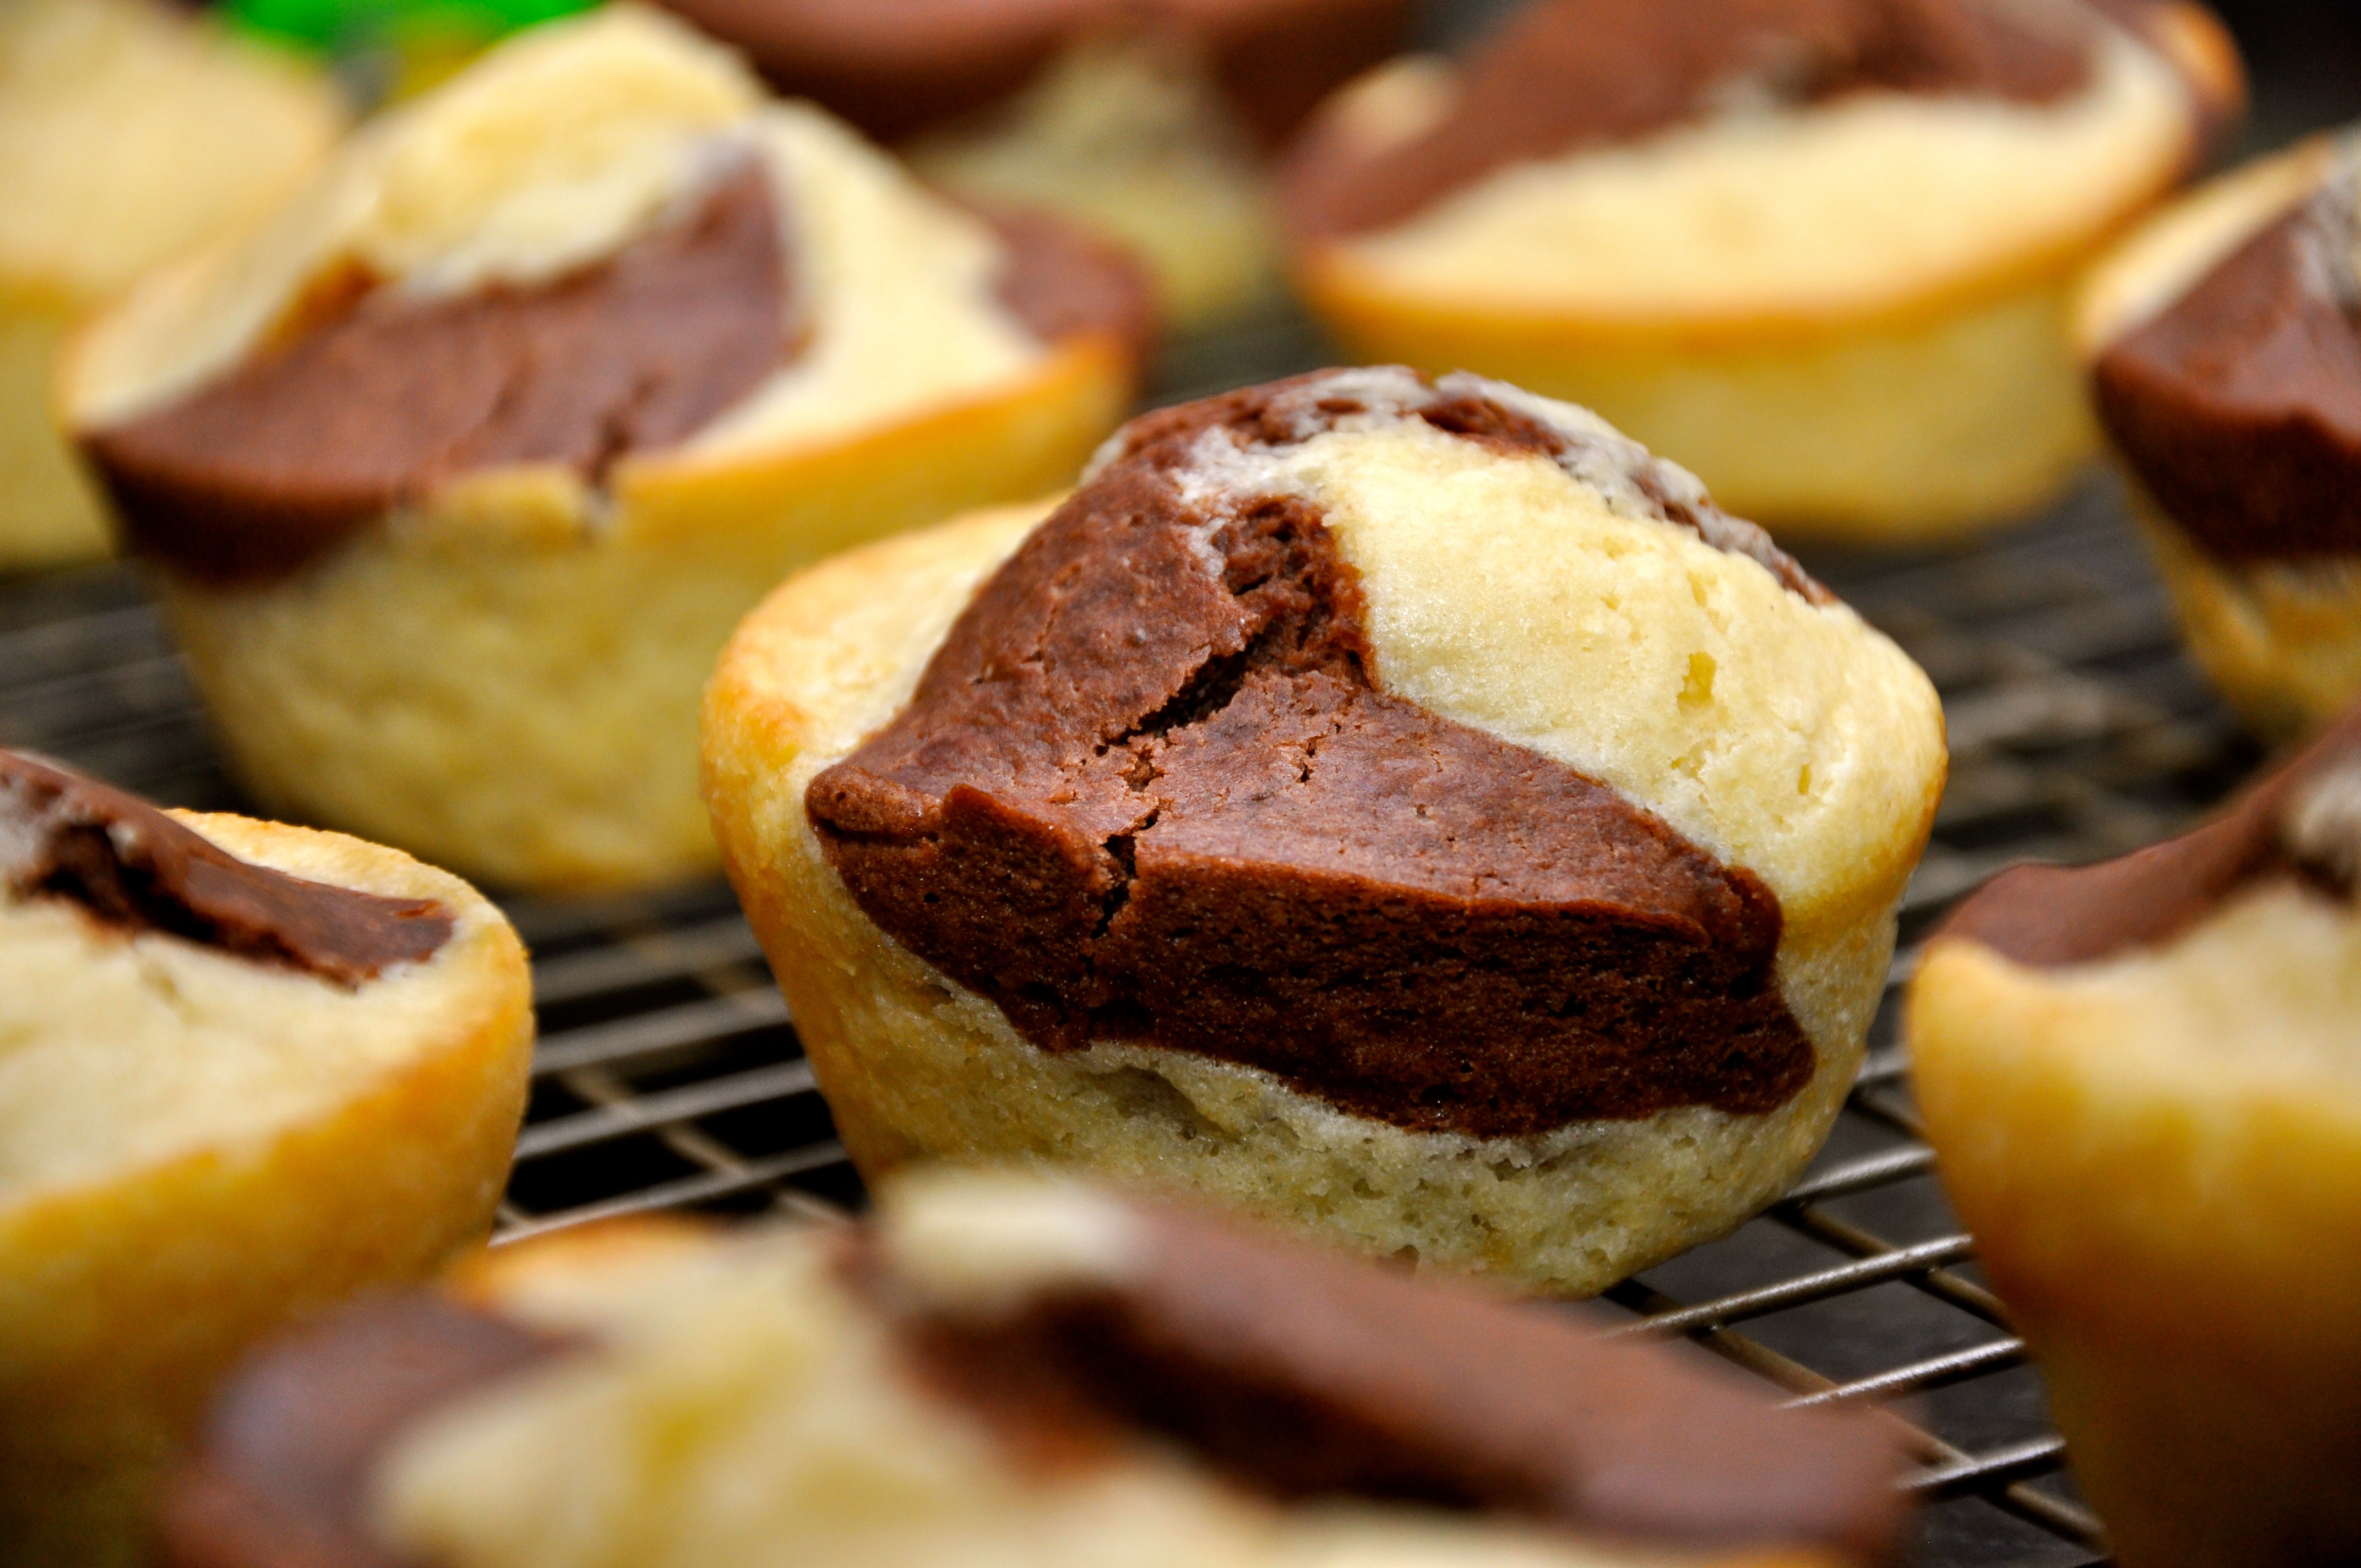
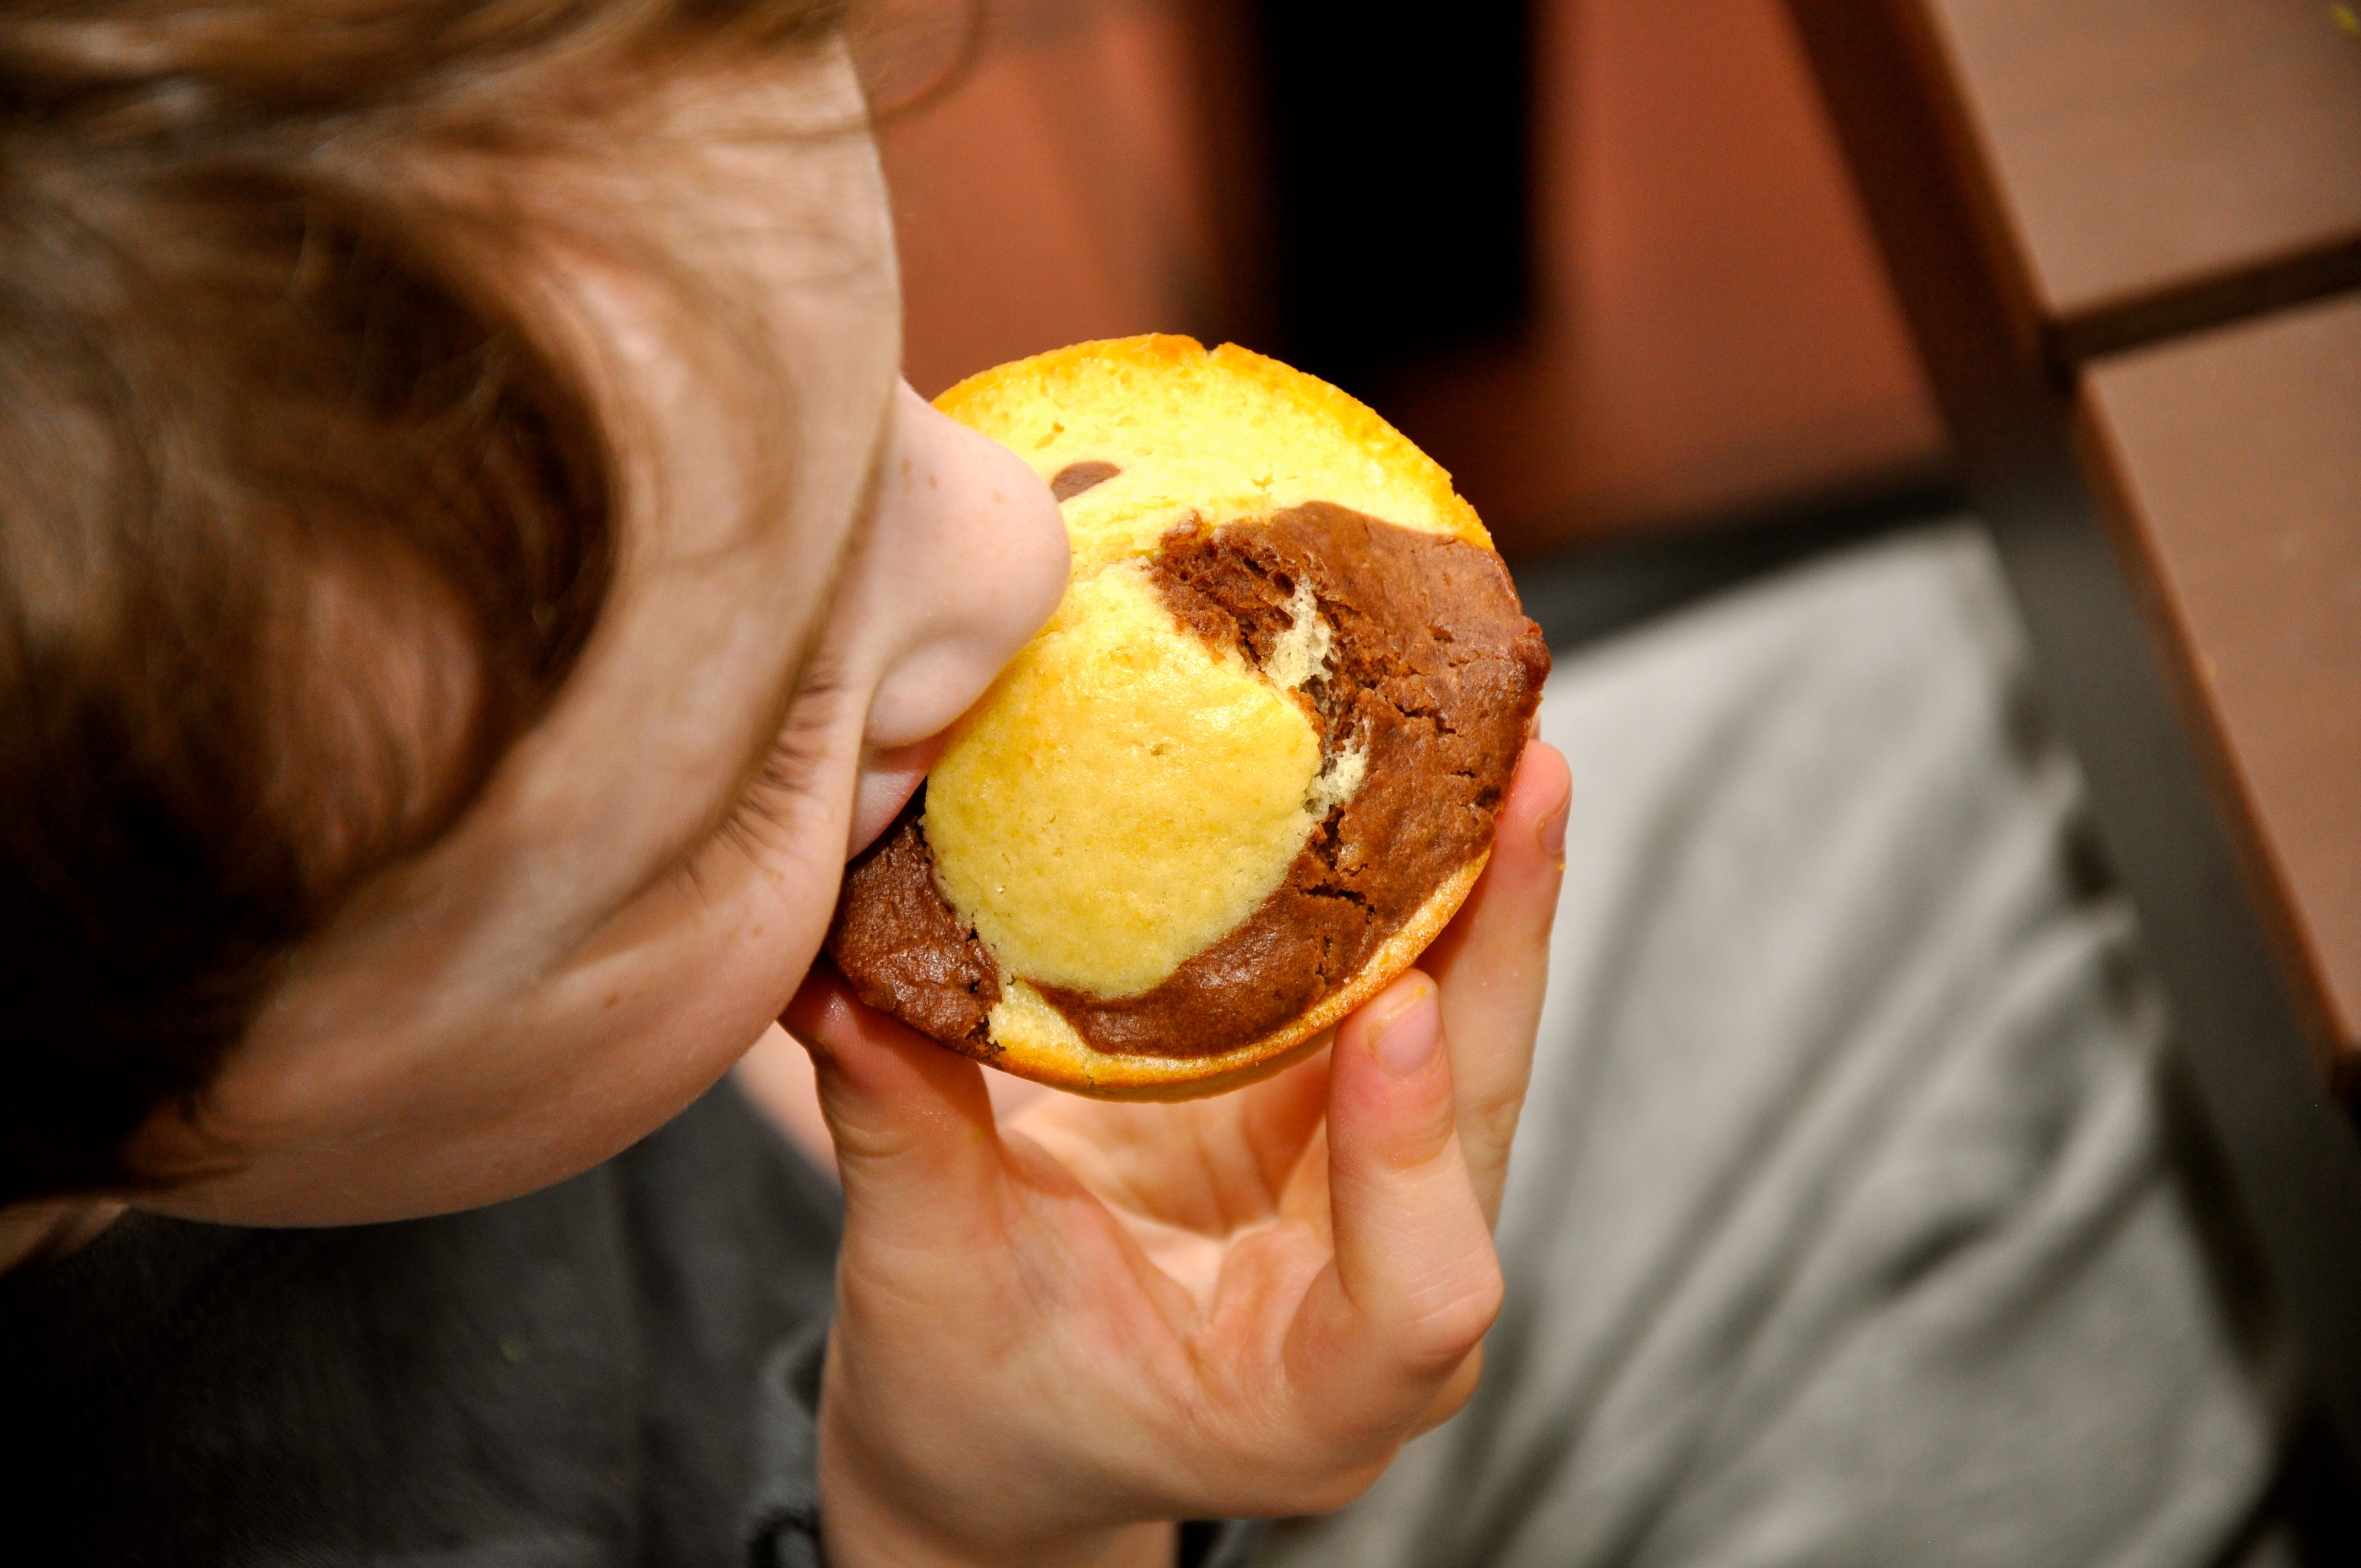
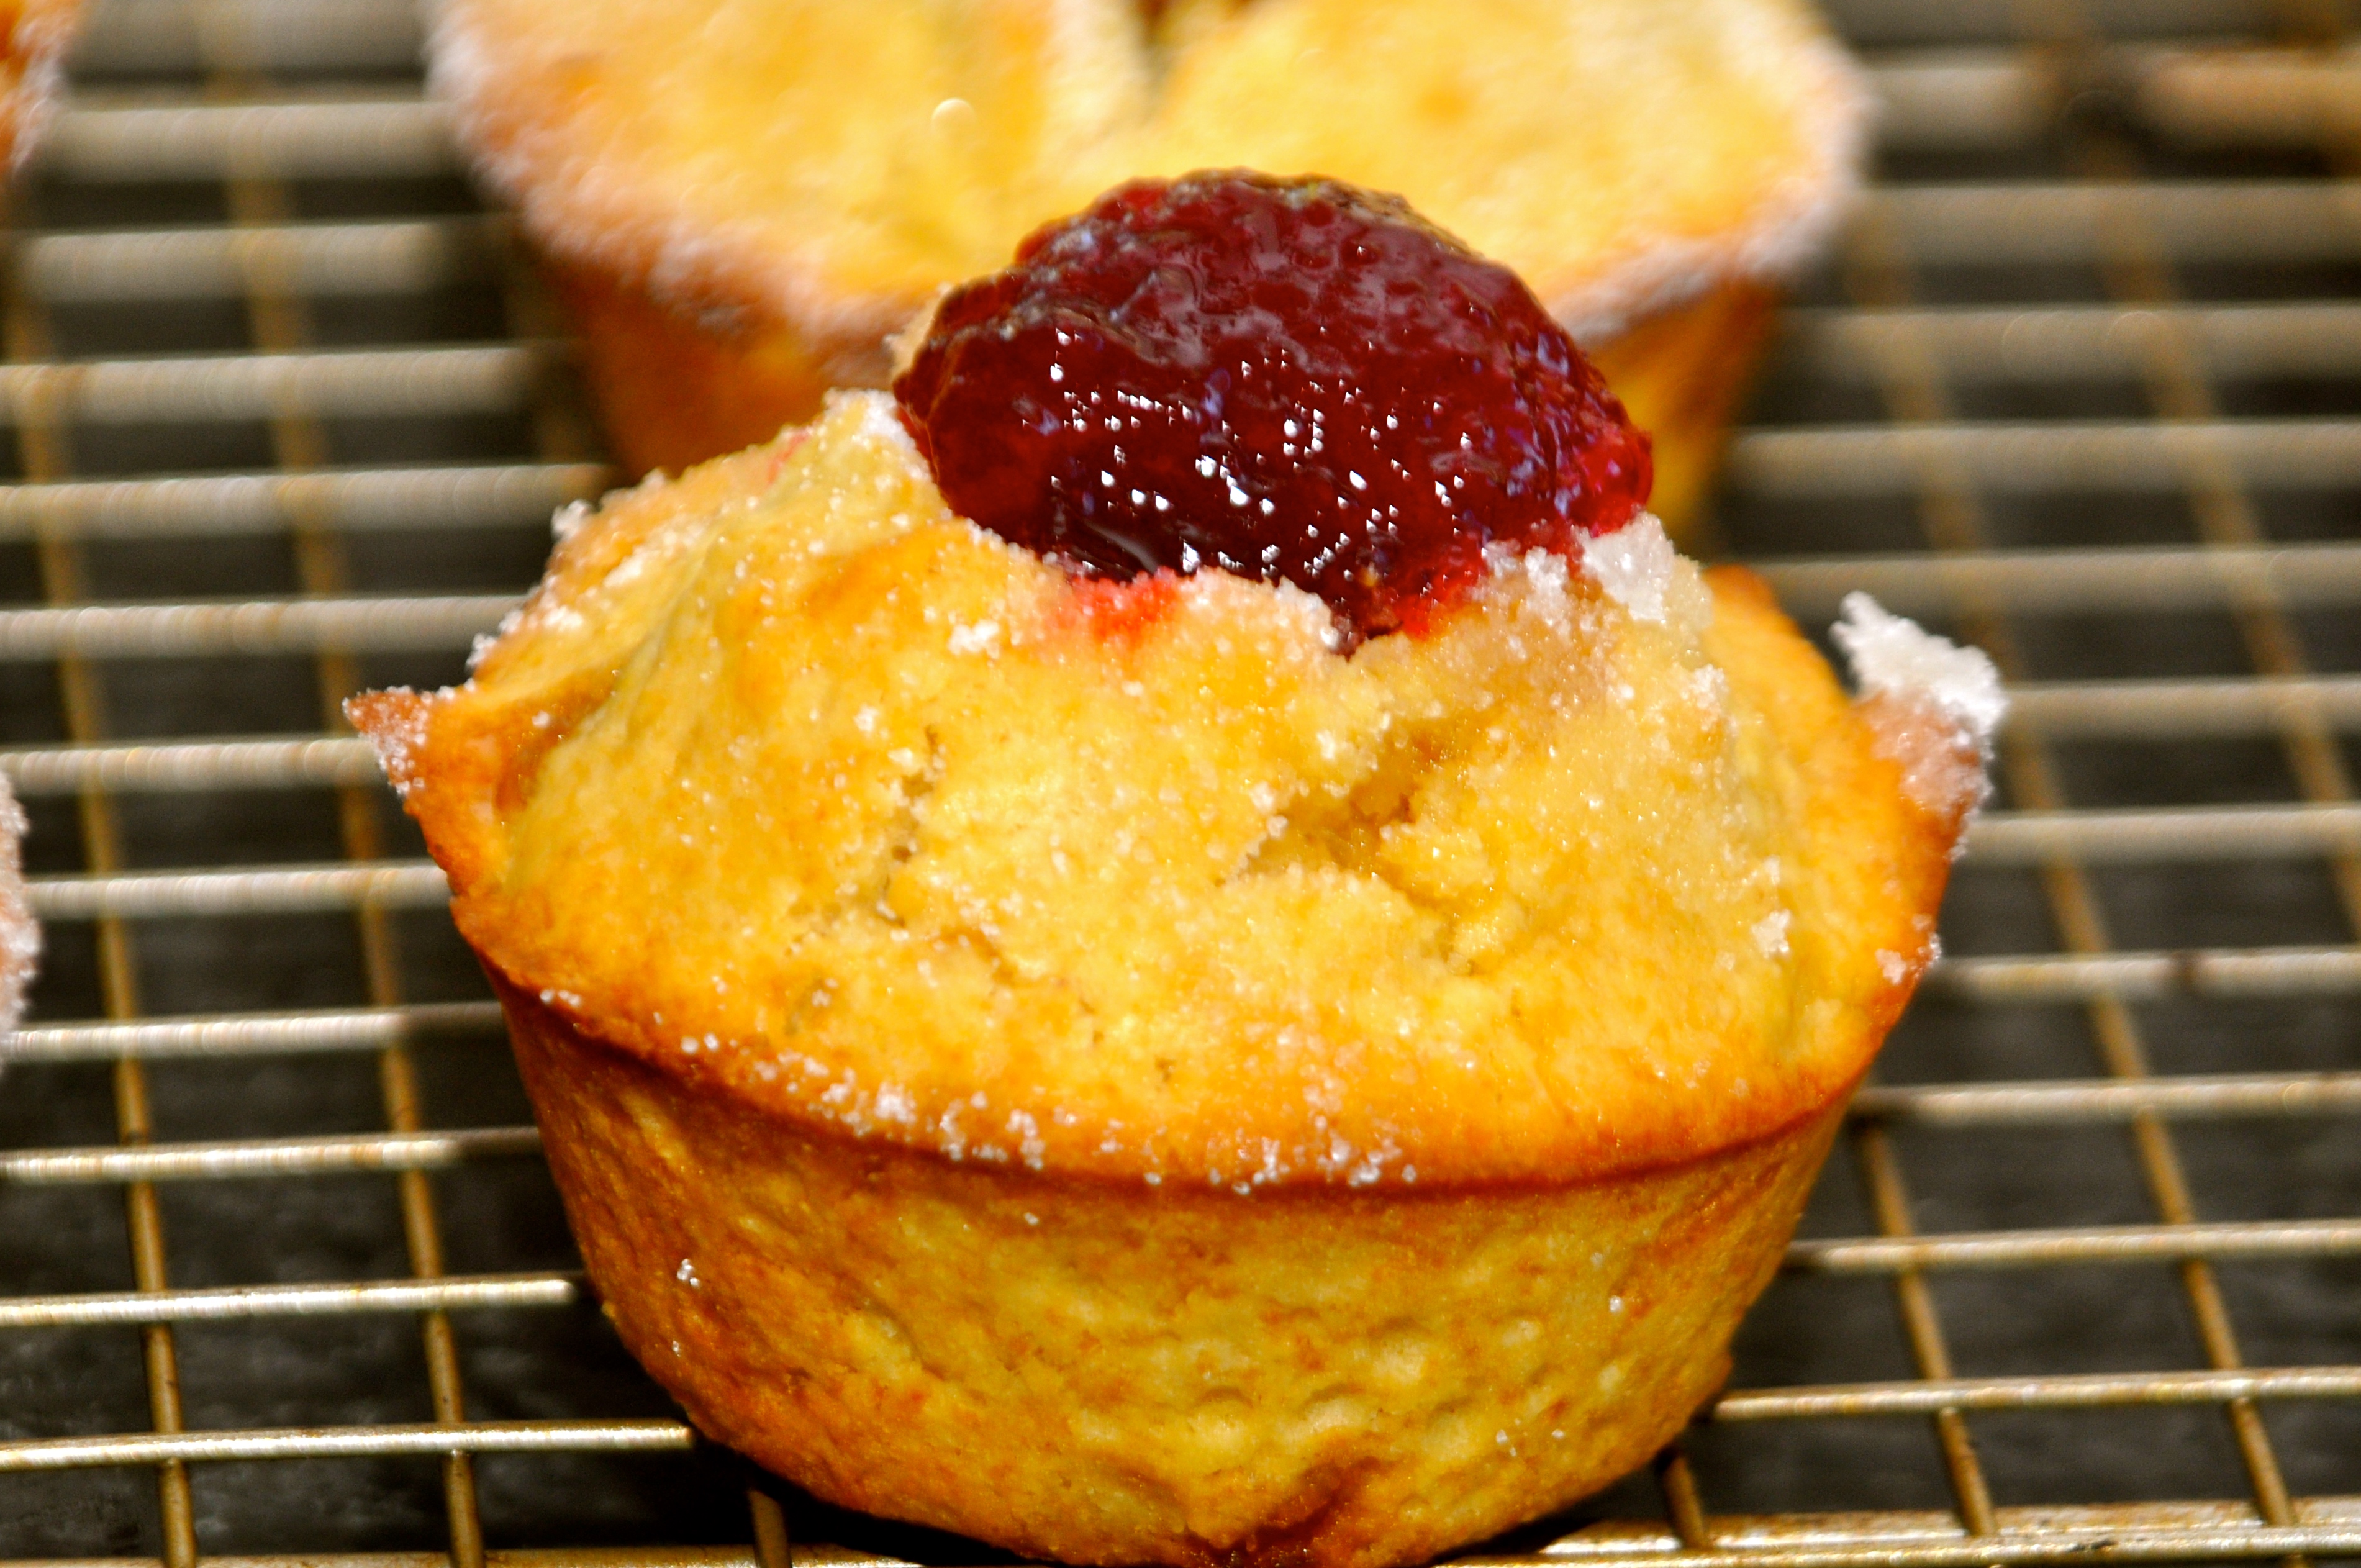
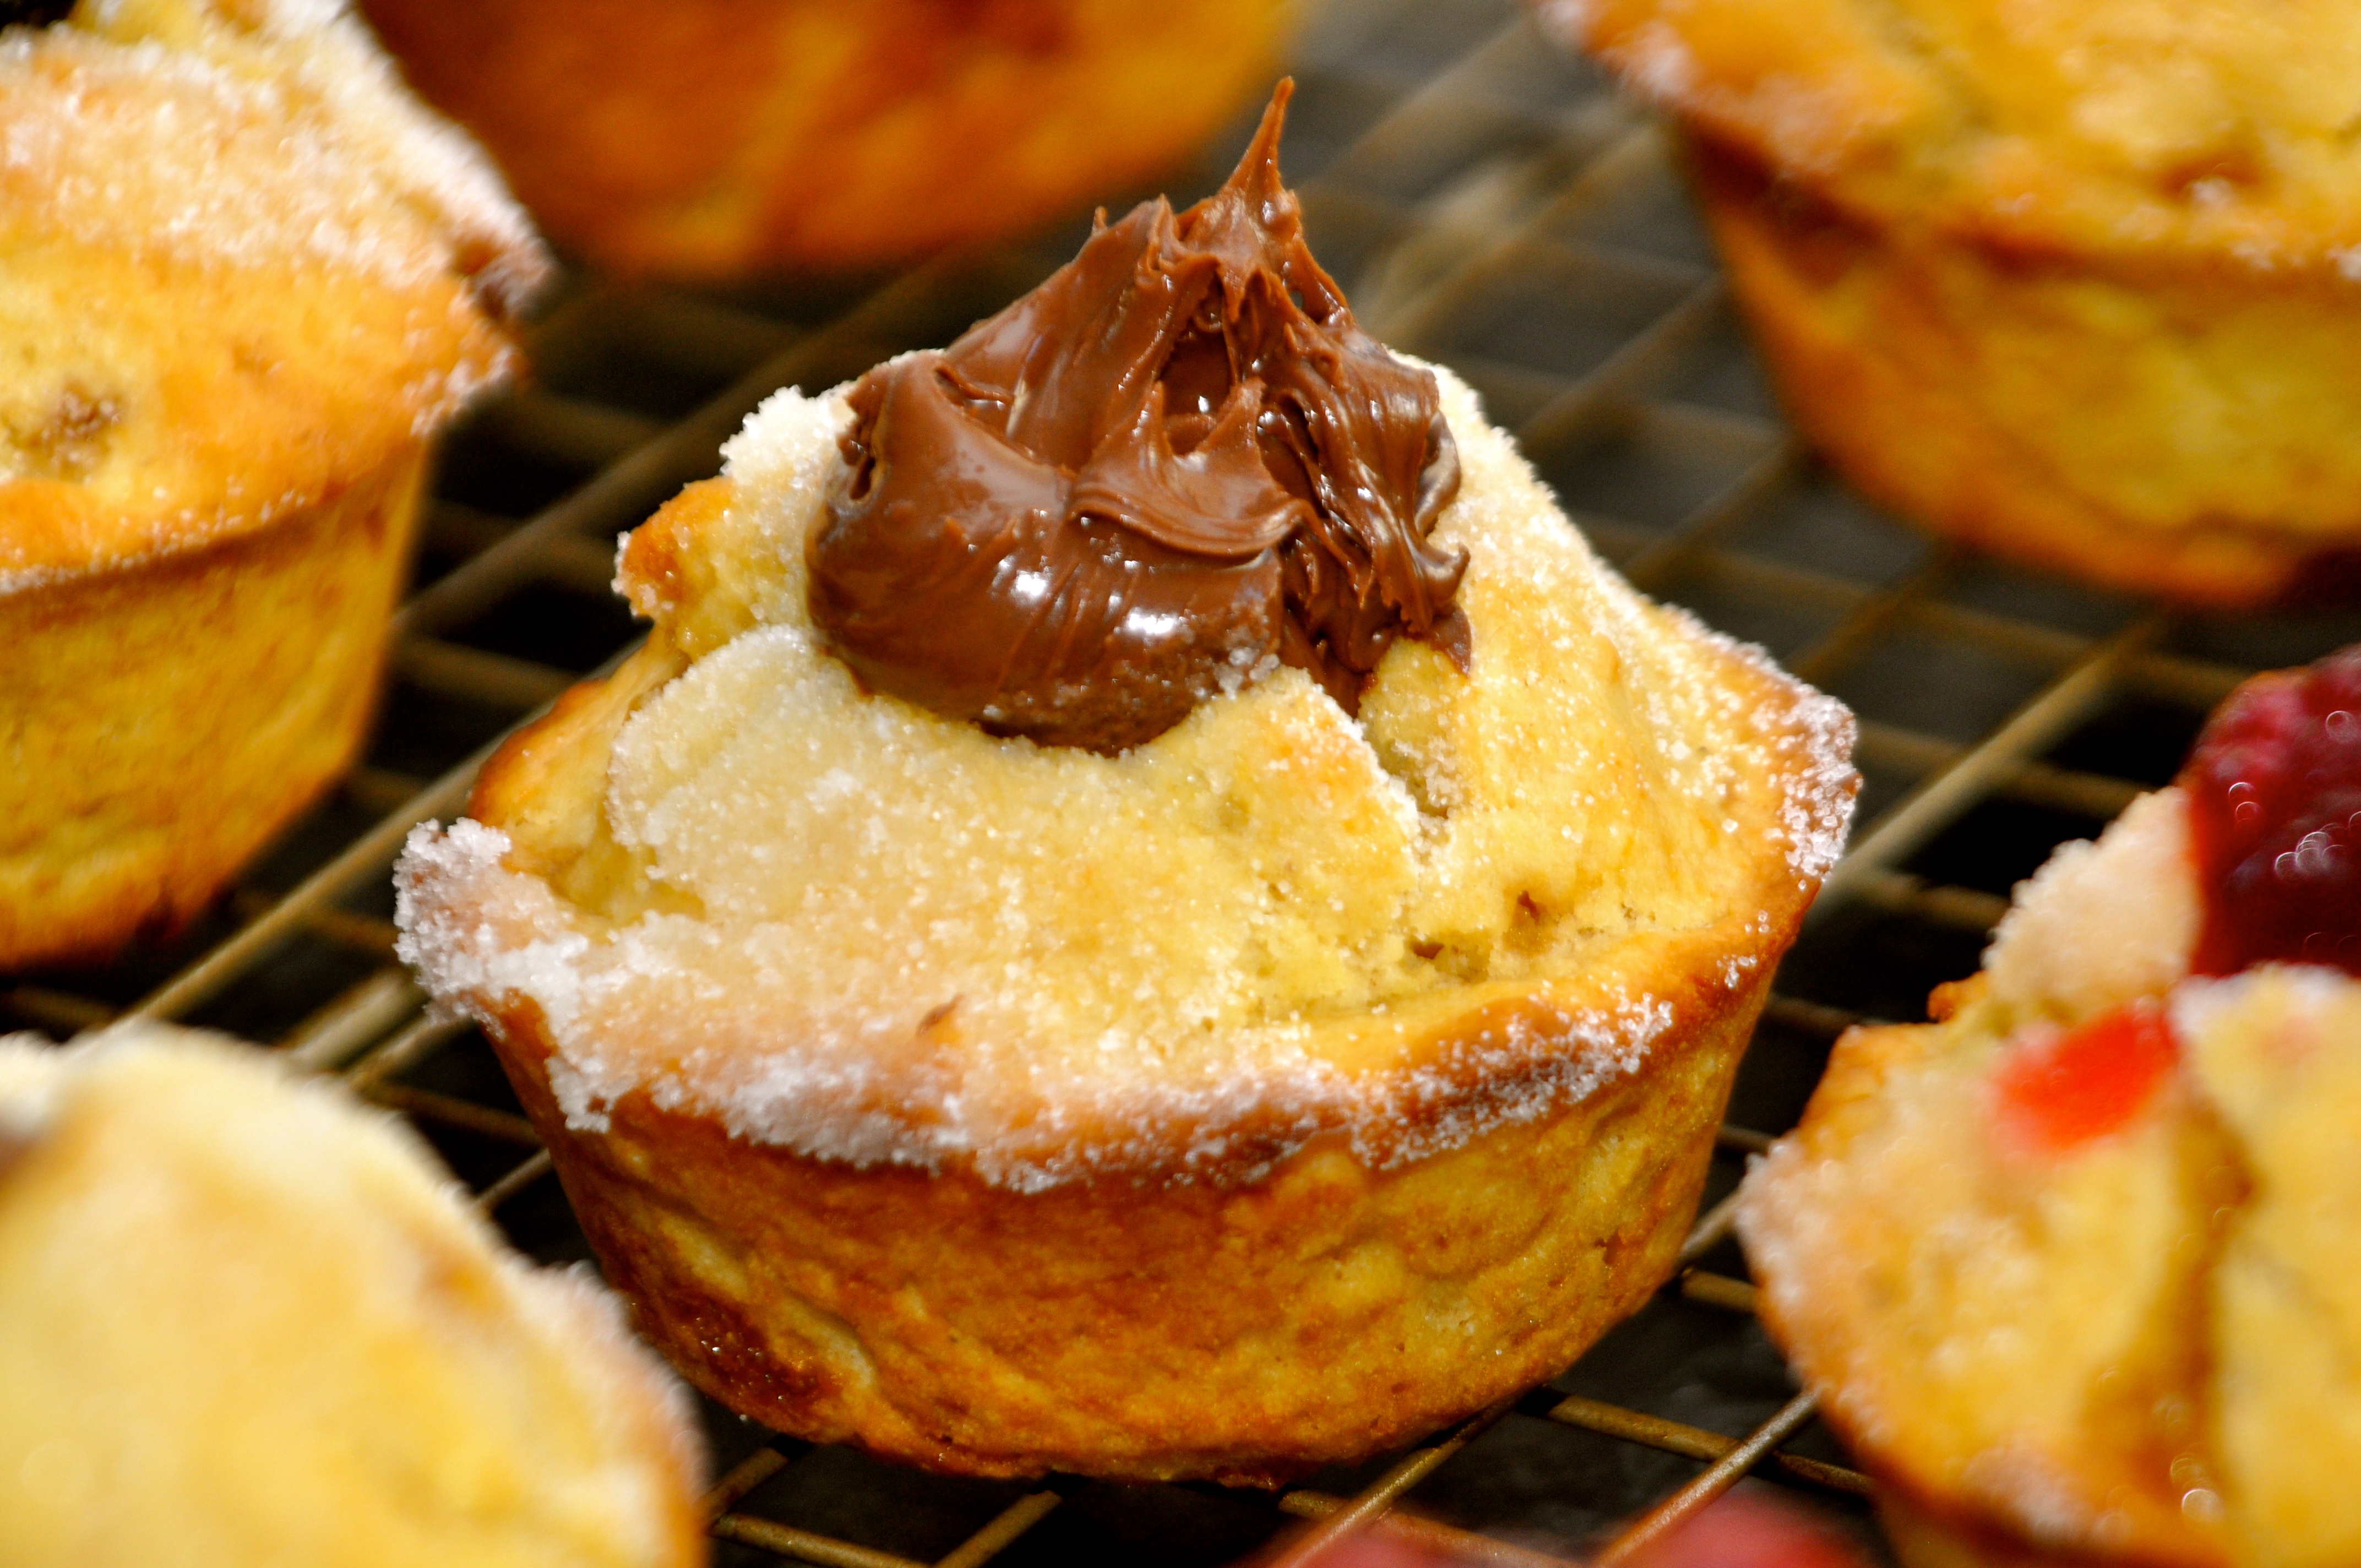
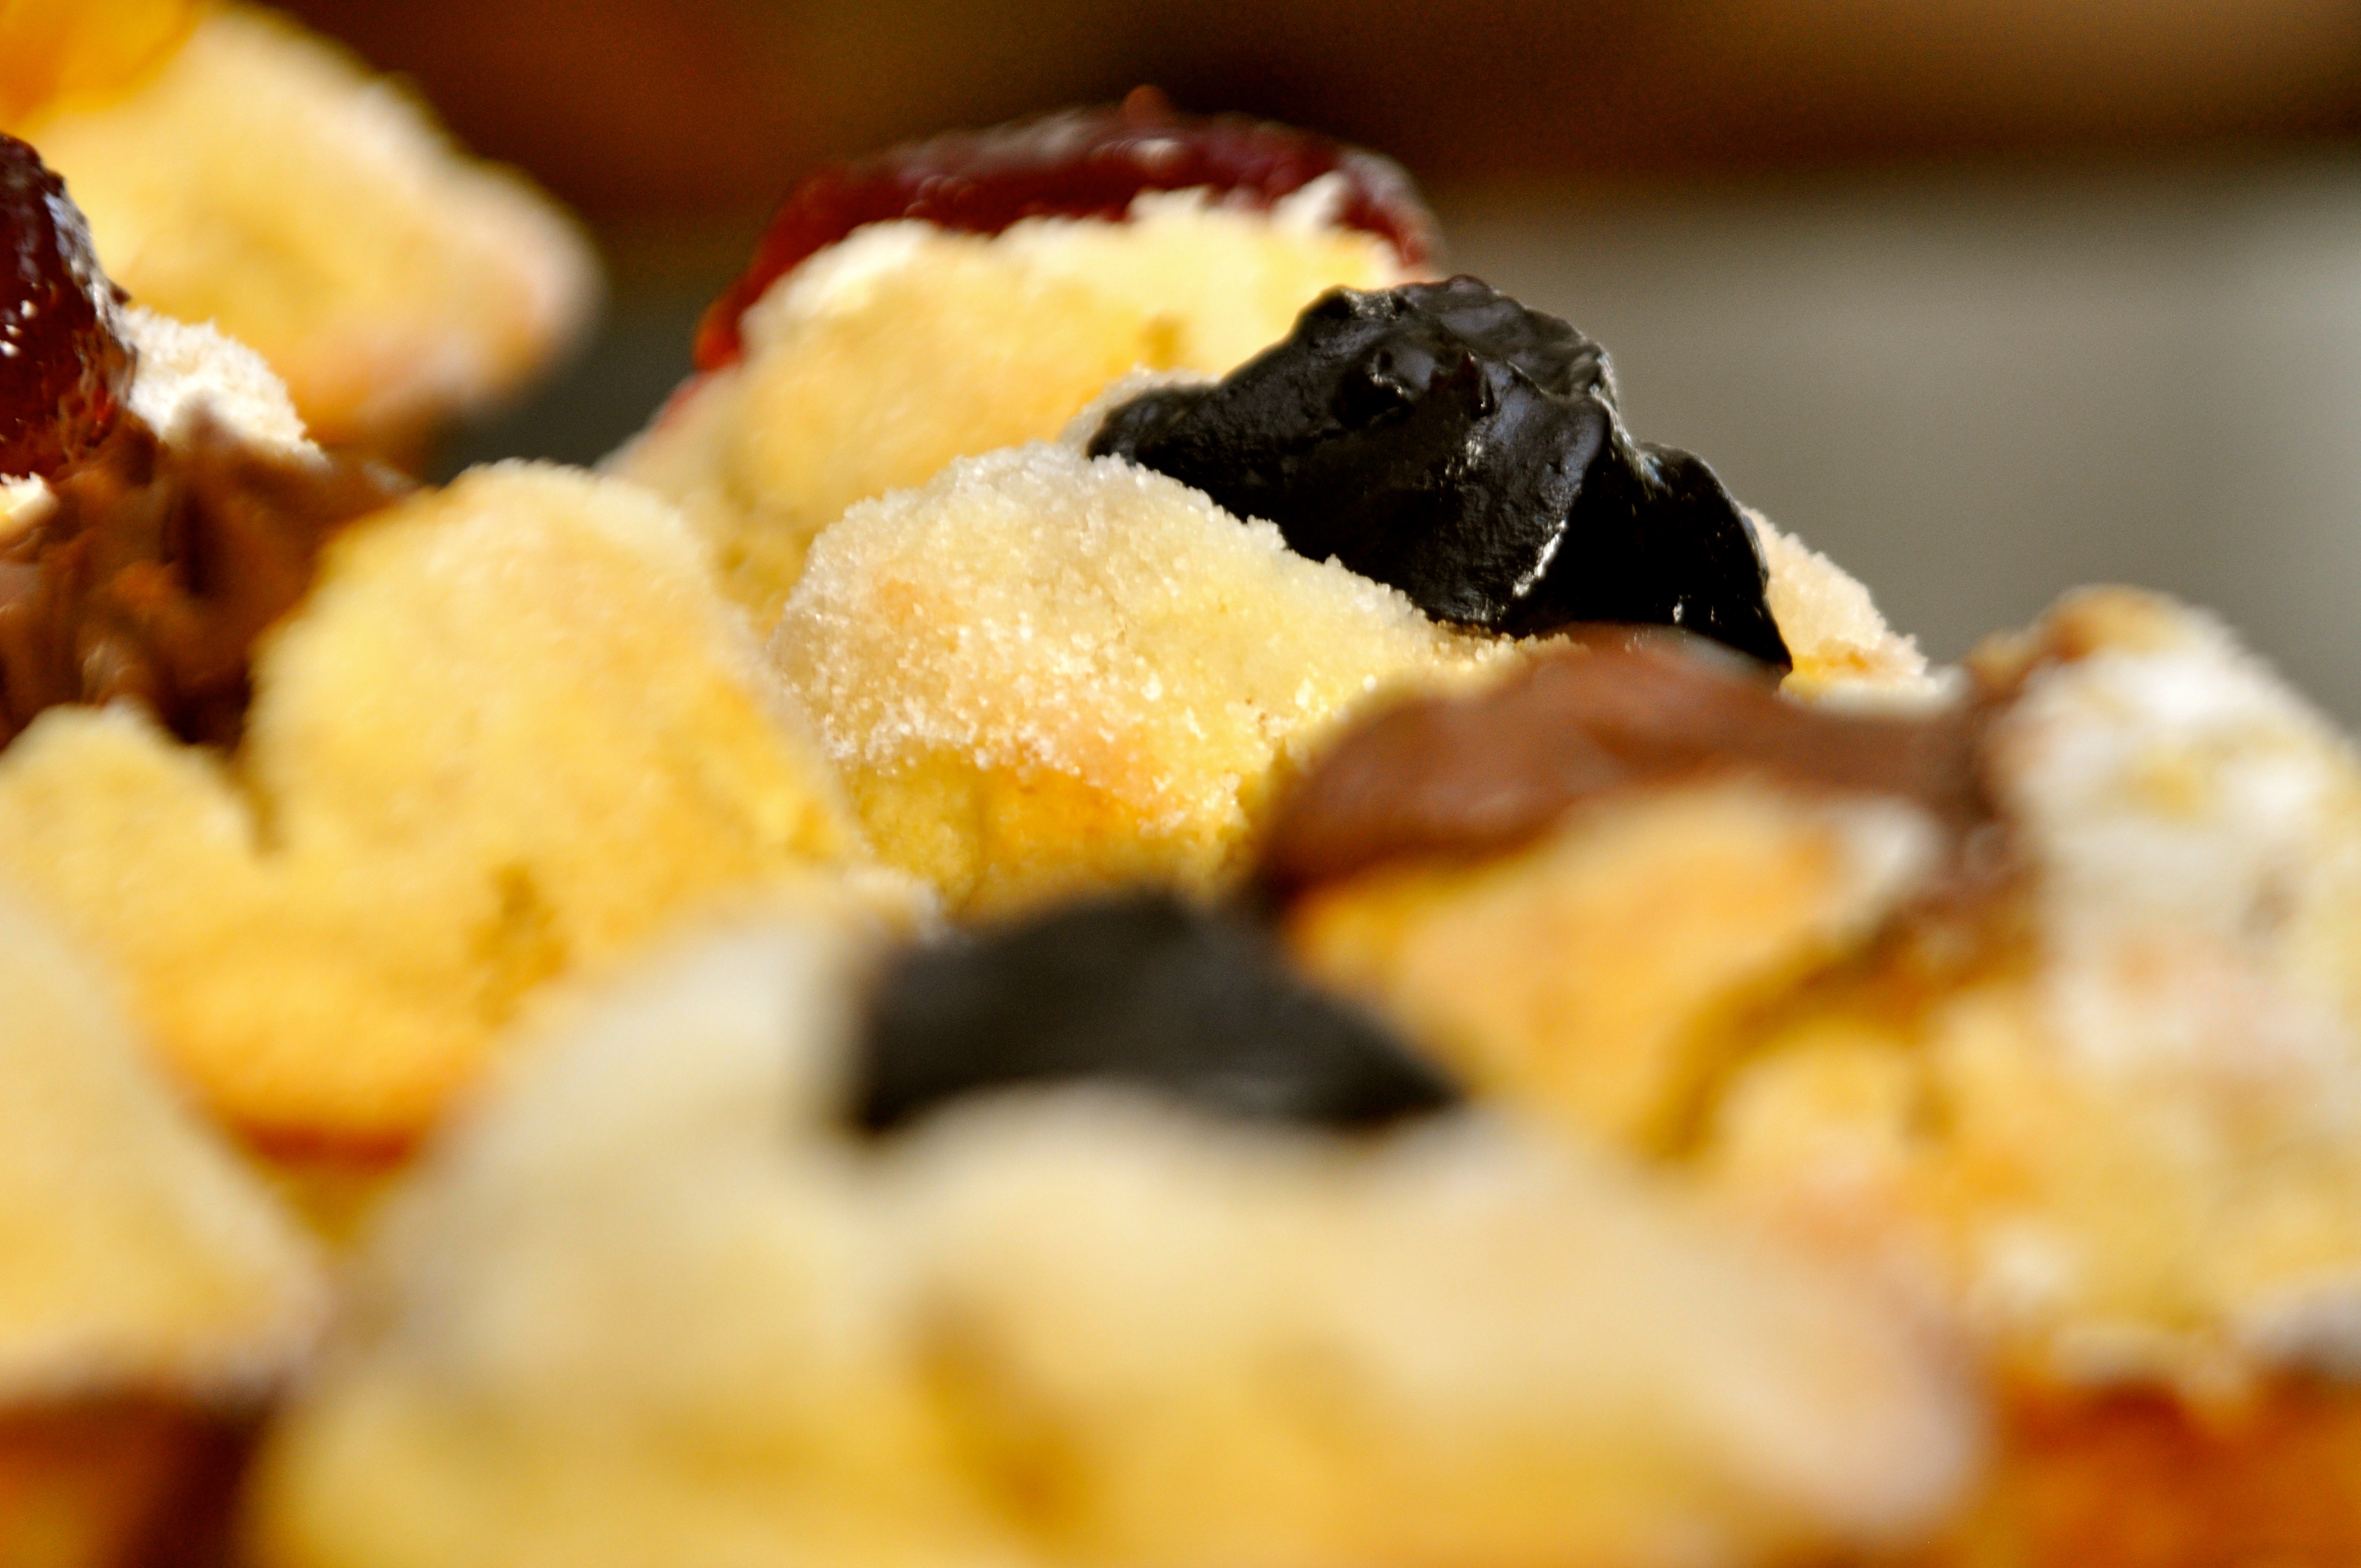
Pictured below are cherry, apricot, chocolate-hazelnut, and prune-filled hamantaschen muffins.

DSC_0414 DSC_0415 DSC_0417 DSC_0420 DSC_0517 DSC_0522

Hamantaschen Muffins (makes 12)

2 2/3 cups flour
1/2 cup sugar
1/3 cup packed brown sugar
1 1/2 tsp baking powder
1/4 tsp baking soda
1/4 tsp ground nutmeg
3/4 tsp salt
1/4 cup butter, melted and cooled
1/4 cup vegetable oil
2 large eggs
1 1/2 tsp vanilla
1 cup milk

Topping:
4 Tbsp butter, melted
1/3 cup sugar
12 oz jar jelly, jam or preserves

1. Preheat oven to 425 F. Grease muffin pan with cooking spray or line with paper liners.
2. In a large mixing bowl, whisk flour, sugars, baking powder, baking soda, nutmeg and salt.
3. In a separate mixing bowl, whisk butter, oil, eggs, vanilla and milk.
4. Pour wet ingredients over dry mixture and stir until thoroughly combined.
5. Bake for 15 minutes, until muffins are golden and tops spring back when touched lightly.
6. Let muffins cool for 15 minutes, then use a cupcake corer or knife to cut a hole in the top of each.
7. Dip each muffin in melted butter, then sugar.
8. Fill each hole with jelly.
9. Dip cut-outs from muffins into leftover melted butter and sugar (optional).


Onion Soup Muffins

DSC_0422

Ladies and gentlemen, this is quite a muffin.

I have fond memories of ordering French onion soup at a small restaurant in Elkin’s Park, PA, named Winston’s. The French onion soup was to die for. I remember eating the cheese first by twirling the spoon and “cutting” by pressing the cheese against the side of the soup bowl. The cheese would dangle from the spoon. And once the cheese was gone, the bread and broth was full of onion-y deliciousness.

These savory muffins are as much of an experience as eating the melted, bubbly cheese on top of the bowl.

The layers of flavors in these muffins mimic the half-crisp, cheese-covered croutons half submerged and soaked in delicious onion broth. They make the perfect accompaniment to soup, eggs, or greens.

DSC_0420 DSC_0426

Onion Soup Muffins (makes 6)

1 1/2 Tbsp butter
1 medium-large onion, halved and thinly sliced into half-moons
1/2 tsp salt, divided
1 large clove garlic, minced
1/3 cup yellow cornmeal
2 Tbsp all-purpose flour
1/2 tsp baking powder
1/4 tsp dried thyme
1/8 tsp black pepper
1/2 cup milk (I used whole)
1 large egg
1 Tbsp canola oil
1/2 tsp Worcestershire sauce
2 oz smoked Gruyere cheese, shredded (you may use Swiss, Asiago, Mozzarella, Pecorino Romano, or any combination of cheeses instead of Gruyere)

1. Preheat oven to 375F. Grease muffin pan with cooking spray.
2. Melt the butter in a medium skillet over medium heat; stir in the onion and 1/8 teaspoon salt. Cook until the onions are a rich caramel color, about 15 to 20 minutes, stirring occasionally. Add the garlic and cook 1 minute more, stirring constantly. Set aside to cool.
3. In a large mixing bowl, whisk together the cornmeal, flour, baking powder, thyme, black pepper, and remaining 1/4 + 1/8 teaspoon salt in a medium bowl.
4. In a separate medium mixing bowl, whisk together the milk, egg, oil, and Worcestershire.
5. Add the wet ingredients to the dry ingredients and stir until just combined, being careful not to over-mix. Fold in the caramelized onion and shredded cheese.
6. Fill each muffin cup with batter.
7. Fill the empty muffin tins halfway with water for even baking.
8. Bake for 18-20 minutes or until a toothpick inserted in the center of a muffin comes out clean.


Red Velvet Cream Cheese Muffins

DSC_0434

A red carpet delicacy, these cream cheese muffins are a muffinized™ Red Velvet cake, perfect for watching the Academy Awards (tonight). The color is rich and red, thanks to the beet powder, which is undetectable by taste.

The cream cheese swirled into the batter adds a subtle tang and provides extra moisture. The crumb topping is sweet, sandy, and slightly crunchy – it’s difficult not to pick off each crumb one by one!

DSC_0422

Red Velvet Cream Cheese Muffins (makes 12)

Crumb Topping*
1/2 cup sugar
1/4 cup all-purpose flour
5 Tbsp unsalted butter, diced into cubes
*recipe yields extra crumb topping

Cream Cheese Mixture
4 ounces brick-style cream cheese, softened
1/4 cup sugar
1/2 tsp vanilla extract

Muffins
1 1/4 cups all-purpose flour
1/2 cup sugar
2 tsp baking powder
1/2 tsp salt, or to taste
1 large egg
1/2 cup canola or vegetable oil
1/3 cup buttermilk
2 Tbsp natural unsweetened cocoa powder
4 tsp beet powder (or 2 tsp red liquid natural food coloring)

1. Preheat oven to 375 F. Spray muffin pan with cooking spray.
2. Crumb Topping– In a medium mixing bowl, add the sugar and flour. Use two forks or a pastry cutter to cut in the butter until you have coarse crumbs; set aside.
3. Cream Cheese Mixture– In a separate medium mixing bowl, combine the cream cheese, sugar, vanilla, and beat with a handheld electric mixer until smooth, or whisk by hand until smooth; set aside.
4. Muffins– In a large mixing bowl, whisk together the flour, sugar, baking powder, and salt; set aside.
5. In a separate medium mixing bowl, whisk together the egg, oil, buttermilk, cocoa powder, and beet powder.
6. Add the wet ingredients to the dry and stir just until moistened. (Do not overmix. Batter is thick and lumpy.)
7. Fold the cream cheese mixture into the muffin batter, being careful not to overmix. Some streaks of cream cheese should remain.
8. With an ice cream scoop, spoon batter into muffin pan, filling each cavity to two-thirds full. (Do not overfill. If cavities are too full, the crumb topping will spill onto muffin pan).
9. Evenly sprinkle each muffin with the crumb topping.
10. Bake for about 17 to 19 minutes, or until a knife inserted in the center of a muffin comes out clean. Allow muffins to cool in pan for 5 minutes before transferring to a wire cooling rack to cool completely.

*Notes:
Muffins will keep airtight at room temperature for up to 3 days, or in the freezer for up to 4 months.


Valentine S’more Muffins

DSC_0415 DSC_0428 DSC_0422 DSC_0419

If you’re a Valentine’s Day hater, let me apologize now. Today, I’m going to perpetuate the hype and share s’more.

These s’more muffins are pretty in pink and just as delicious as they look.

S’mores (the Girl Scout concoction of roasted marshmallow with melted chocolate sandwiched between two pieces of graham crackers) is one part of camping you can re-create in your kitchen without the packing, unpacking, and mosquitoes!

Still gooey, these are less messy and more contained than the classic sticky sandwich.

These muffins are the next best thing if you cannot make them by the campfire, in pink, for Valentine’s Day.

DSC_0442 (1) DSC_0442 DSC_0407 DSC_0429

Valentine S’more Muffins (makes 12)

1 ½ cups graham crackers, finely crushed (12 full sheets or 24 square crackers)
3/4 cup powdered sugar
1 cup and 2 tablespoons unsalted butter, melted
1 (4.4 oz) extra large milk chocolate bar, broken into rectangles (or 12 miniature milk chocolate bars)
12 large pink marshmallows (or heart shaped)

Topping:
1 (4.4 oz) extra large milk chocolate bar, broken into rectangles
1. Preheat oven to 350°F. Grease muffin pan with cooking spray.
2. In a medium-size mixing bowl, combine graham cracker crumbs, powdered sugar and butter.
3. Evenly divide crumb mixture into each cup of a 12-cup muffin pan. Use your finger to press an indent into the center of each muffin cup.
4. Bake 7-10 minutes or until edges are bubbling. Pull out and immediately place one mini chocolate bar on each cup.
5. Place one marshmallow vertically in the center of each muffin and push it into the melted chocolate/graham cracker crust.
6. Return muffin pan to oven for 1-2 minutes or until marshmallows are slightly softened.
7. Place muffin pan on a cooling rack for 15 minutes before carefully removing cups from pan. After 5 minutes, gently press marshmallows to flatten them slightly.
8. Transfer muffins to cool completely on wire rack.
9. To prepare topping: place milk chocolate in a small bowl. Microwave on high for 1 minute-1 1/2 minutes or until melted and smooth, stirring every 30 seconds.
10. Dip the top of each marshmallow into the melted chocolate. Turn top-side up and let stand until set.

*Notes:
Store the cups in a single layer in an airtight container for up to 1 week.
Freezing is not recommended.

If You Give Your Love a Muffin

This article was featured in Real Woman on February 12, 2015.

FullSizeRender

The idea of Valentine’s Day makes me blanch. We all love love, but some of us are perplexed by the popularity of a national holiday that leaves singles bitter, promotes the exchange of tacky gifts, and encourages children to trade “statements of love.” I, for one, resent the pressure on couples, young and old, to indulge in prix fixe meals that they would not otherwise stomach.

I feel so strongly about it that when my older son was 3, I took a stand. His preschool teachers told parents to pack a dozen personalized valentines to give out on the Day of Love. Like most 3-year-olds, my child could not yet write his name, so the task was clearly intended for the parents to transliterate scribbles on cards.

I did not enjoy the homework assignment, nor did I appreciate the expectation placed on my preschooler to send so-called-love-notes to children who could not yet read.

So I complained.

The director of the preschool rescinded the “assignment,” and the mothers went wild with disapproval. The Chicago moms had no clue that I was the culprit (until now).

Regardless of that year’s freedom from insincere Hallmark greetings, I’m still baffled by how second nature it is for today’s youth to swap cheesy Sponge Bob and Spider-Man valentines and for grown men to scurry off to grab the remnants of red roses at the grocery store. I do wonder what I’m missing.

But since it feels cynical to shut out the best thing we humans do on Earth (love), I share this recipe, for Valentine’s Day, straight from my heart.

DSC_0078

Cream Cheese Chocolate Muffins (makes 18)

1 1/2 cups all-purpose flour
1 cup sugar
1/4 cup baking cocoa
1 tsp baking soda
1/2 tsp salt
1 cup water
1/3 cup canola oil
1 Tbsp white vinegar
1 tsp vanilla

Filling
1 cup (8oz.) cream cheese, softened
1/3 cup sugar
1 egg
1/8 tsp salt
2 cups chocolate chips (or 1 cup chocolate chips and 1 cup peanut butter chips)

1. Preheat oven to 350 degrees. Grease muffin cups with cooking spray, or line with paper liners.
2. In a large bowl, combine flour, sugar, cocoa, baking soda, and salt. Add water, oil, vinegar, and vanilla. Mix well.
3. For the filling: In a separate mixing bowl, combine cream cheese, sugar, egg, salt, and chocolate chips. Mix well.
4. Use an ice cream scoop to spoon batter into muffin cups until half full.
5. Top each muffin cup with 2 Tbsp of filling.
6. Bake for 25 to 30 minutes.
7. Cool for 10 minutes before removing from pan to place on a wire cooling rack.

* Pair these muffins with a bottle of wine for a true Valentine’s Day


Cream Cheese Chocolate Muffins

DSC_0054 DSC_0056 DSC_0057 DSC_0064 DSC_0066 DSC_0070 DSC_0077 DSC_0078

Rich, creamy, and decadent, these muffins look heavenly and make a perfect dinner party dessert. The chocolate is fudgy and rich. The cream cheese filling makes a creamy, chewy kind of sink-hole for the crunchy chocolate chips.

Chances are you may already have the ingredients for this recipe, which is easy to whip up last minute and only requires two mixing bowls. These are impressive for a bake sale, charity, or dinner party.

DSC_0080 DSC_0082 DSC_0083 DSC_0086 DSC_0079 DSC_0080

Cream Cheese Chocolate Muffins (makes 18)

1 1/2 cups all-purpose flour
1 cup sugar
1/4 cup baking cocoa
1 tsp baking soda
1/2 tsp salt
1 cup water
1/3 cup canola oil
1 Tbsp white vinegar
1 tsp vanilla

Filling

1 cup (8oz.) cream cheese, softened
1/3 cup sugar
1 egg
1/8 tsp salt
2 cups chocolate chips (or 1 cup chocolate chips and 1 cup peanut butter chips)

1. Preheat oven to 350 degrees. Grease muffin cups with cooking spray, or line with paper liners.
2. In a large bowl, combine flour, sugar, cocoa, baking soda, and salt. Add water, oil, vinegar, and vanilla. Mix well.
3. For the Filling: In a separate mixing bowl, combine cream cheese, sugar, egg, salt, and chocolate chips. Mix well.
4. Use an ice cream scoop to spoon batter into muffin cups until half full.
5. Top each muffin cup with 2 Tbsp of Filling.
6. Bake for 25 to 30 minutes.
7. Cool for 10 minutes before removing from pan to place on a wire cooling rack.

Popcorn Muffins

DSC_0074   DSC_0095

As if “popcorn” is not the epitome of flavors, this buttered popcorn muffin is oozing with a creamy caramel center. The recipe blends the salt of popcorn with the sweetness of Dulce de Leche.

These muffins are made with air-popped popcorn. Make a double batch for your Super Bowl gathering or movie night. Serve for an after-school or midnight snack.

DSC_0081   DSC_0090

Popcorn Muffins (makes 12)

1-1/2 cups all-purpose flour
3/4 cup light brown sugar, packed
1-1/2 tsp baking powder
1/2 tsp salt
1/2 cup (1 stick) unsalted butter, melted and cooled
2 eggs
1 tsp vanilla extract
1/2 cup milk
2 cups unsalted popcorn, popped
12 pieces of popcorn for decoration (optional)
¼ cup (12 tsp) Dulce de Leche Caramel spread

1.Preheat oven to 350 F. Grease muffin pan with cooking spray or line with paper liners.
2. In a large mixing bowl, combine flour, sugar, baking powder, and salt.
3. In a separate mixing bowl, whisk eggs, milk, vanilla and butter.
4. Pour wet ingredients over the dry mix. Stir until completely incorporated.
5. Fold in 3 cups of popcorn and stir (popcorn will break up into smaller pieces).
6. Fill muffin cups 1/3 full. Spoon 1tsp Dulce de Leche spread on each muffin cup and cover with the remaining batter.
7. Place one piece of popcorn on the center of each muffin cup.
8. Bake for 15-18 minutes.


Cheesecake Muffins

DSC_0385

Luscious and dainty, these cheesecake muffins are dusted with powdered sugar, inspired by the delicate dance of the Sugar Plum Fairy.

Their sweet taste is tinged with a cheese-cake-y tang that is out-of-this-world. The vanilla extract and wafer cookie crust send a hint of caramel right to the heart of the cakes. And the bottoms are not soggy!

Rich and creamy, this great dinner party dessert is perfect for any season. The sprinkled powdered sugar on top suggests an edible winter wonderland. The velvety-smooth cream cheese makes a platter ideal for spring and summer and any holiday that highlights dairy foods.

These beautiful cakes are light but dense with flavor. They are sized just right for the calorie conscious and baked in small cups for little hands.

The best part of this recipe is that it’s so easy and effortless while still creating the illusion that a pastry chef has spent hours in the kitchen.

For a taste of New York, make cheesecake muffins ahead of time and serve, any time of the day.

DSC_0389 DSC_0393DSC_0392 DSC_0390

Cheesecake Muffins (makes 12)

24 vanilla wafer cookies (I recommend Nilla Wafers)
One 8 oz packages cream cheese (softened)
1/2 cup sugar
1 Tbsp flour
1/8 tsp baking powder
1/2 Tbsp fresh lemon juice
1 egg
3/4 tsp vanilla extract
12 foil cupcake liners
1 Tbsp powdered sugar

1. Preheat oven to 375 F. Spray muffin pan with cooking spray or line it with paper liners and spray liners.
2. In a large bowl beat cream cheese and sugar. Add in flour and baking powder and beat until combined. Then mix in eggs, one at a time, lemon juice, and vanilla.
3. Fill a muffin pan with cupcake liners and place two vanilla wafer cookies at the bottom of each one. Divide batter between 12 liners, filling each cup up to about 1/4 inch from the top.
4. Bake for 22-25 minutes or until a toothpick comes out clean.
5. Remove muffins from oven and place them on a cooling rack to cool completely.
6. Chill in refrigerator for two to four hours.
7. Top with powdered sugar and serve.

Coconut Muffins

DSC_0007
luscious and decadent, and not too sweet

My kids could not figure out the curly “things” on top.

Cheese? No…coconut.

In America, we do not see coconuts often, but hands down, the flavor is mouth-watering, especially in these muffins that are full of applesauce, coconut milk, and shredded coconut. The moist, home-baked goods practically call your name by filling your house with amazing aromas.

The coconut flavor is not overwhelming. For a stronger taste, substitute coconut extract for the vanilla. For a sweeter muffin, increase the amount of sugar in the recipe.

The tops round out nicely, in golden brown. The coconut flakes form toasty edges on top. Call these “muffins” if you like, but these are like CAKE.

DSC_0012 DSC_0006 DSC_0020 DSC_0017

Coconut Muffins (makes 12)

2 cups all-purpose flour
1 cup sugar
1 tsp baking powder
1 tsp baking soda
1/2 tsp salt
1 14 oz. can unsweetened coconut milk (a generous 1 1/2 cups)
1/3 cup unsweetened applesauce
1 tsp vanilla extract
1/2 cup shredded coconut (plus 1/4 cup to sprinkle on tops)

1. Preheat the oven to 400 degrees. Grease muffin pan with cooking spray or line with paper liners.
2. In a large mixing bowl, stir together flour, sugar, baking powder, baking soda, and salt.
3. In a separate bowl (or a liquid measuring cup), combine coconut milk, applesauce, and vanilla.
4. Make a well in the dry ingredients, add the wet ingredients, and stir just to combine. Fold in the shredded coconut.
5. Spoon batter into greased muffin pan, filling each muffin cup about 2/3 full. Sprinkle additional shredded coconut on top.
6. Bake for 15 minutes and allow to cool before removing muffins from tin.

Swirly Hot Cocoa Muffins

DSC_0391 DSC_0389 DSC_0388 DSC_0385 DSC_0384 DSC_0383

Your eyes are not playing tricks. This is hot cocoa, muffinized™. Now you can EAT your hot cocoa, as a muffin, baked in a coffee mug to complete the illusion.

These muffins are delicious and easy to make. Serve with a steamy hot beverage (hot chocolate or perhaps hot apple cider).

DSC_0398 DSC_0400 DSC_0399 DSC_0404

Swirly Hot Cocoa Muffins (makes 12 muffins or 6 mugs)

2 cups all purpose flour
1 Tbsp baking powder
1/8 teaspoon salt
3/4 cup sugar
2 large eggs
1 cup milk
½ cup butter, melted (and cooled)
1 tsp vanilla extract
2 Tbsp unsweetened cocoa

1. Preheat oven to 400 degrees F. Spray muffin pan (or 6 coffee mugs) with cooking spray, or line the pan with paper liners.
2. In a large mixing bowl, whisk flour, baking powder, salt and sugar.
3. In a separate bowl, whisk eggs, then beat in milk, butter and vanilla.
4. Create a well in the flour mixture and add the liquid ingredients to the flour mixture. Gently stir to combine.
5. Divide batter into two bowls. Add unsweetened cocoa to one of the bowls of batter and stir just until mixed.
6. Place a layer of the plain batter on the bottom of each mug or muffin cup. Then, a layer of chocolate, then more plain, and end with a dab of the chocolate.
7. Bake for 13-18 minutes until golden brown on top.
8. Remove from oven to cool completely (or not) on a wire cooling rack.